Test Sets
- Expand Test Sets menu on the left navigation bar to view the following menus.
- Linear Test Sets
- LOFT Test Sets - TBD
- CAT Test Sets
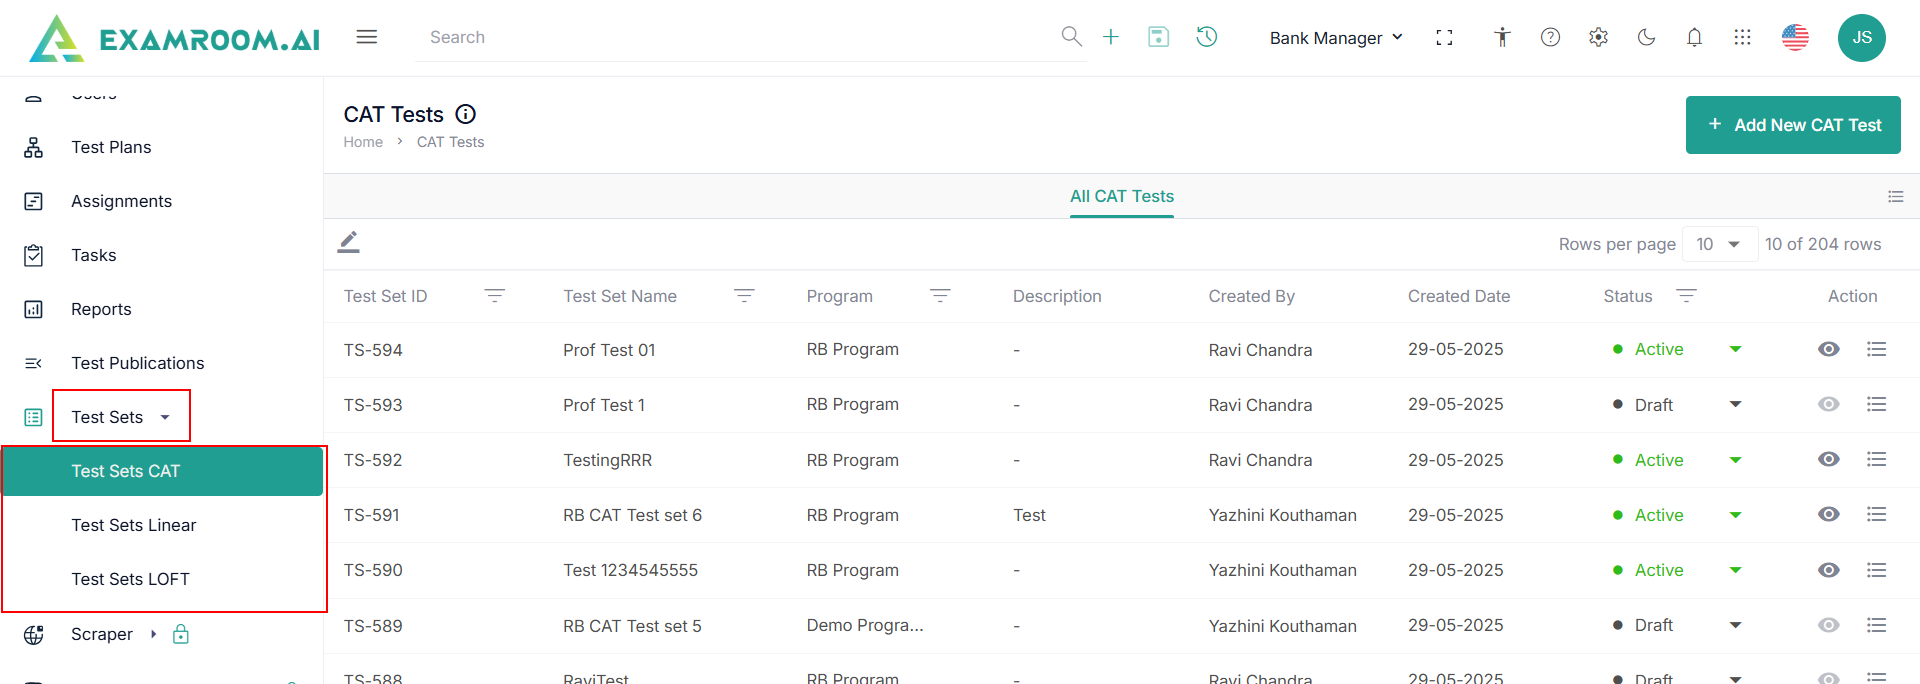
Linear Test Sets
- Navigate to the left navigation menu and select Linear Test Sets.
- The application displays the Linear Tests page in a table view comprising of the linear test list.
- The following are the table headers:
- Test Set ID: Unique ID generated when a test set is created.
- Test Set Name: Test set name of the Test Set ID created.
- Description: A short description of the test set.
- Created By: Name of the person who created the test set.
- Created Date: Date when the test set was created.
- Status:
- Draft
- Active
- Inactive
- Expired
- Action: A choice to Edit and view the test set.

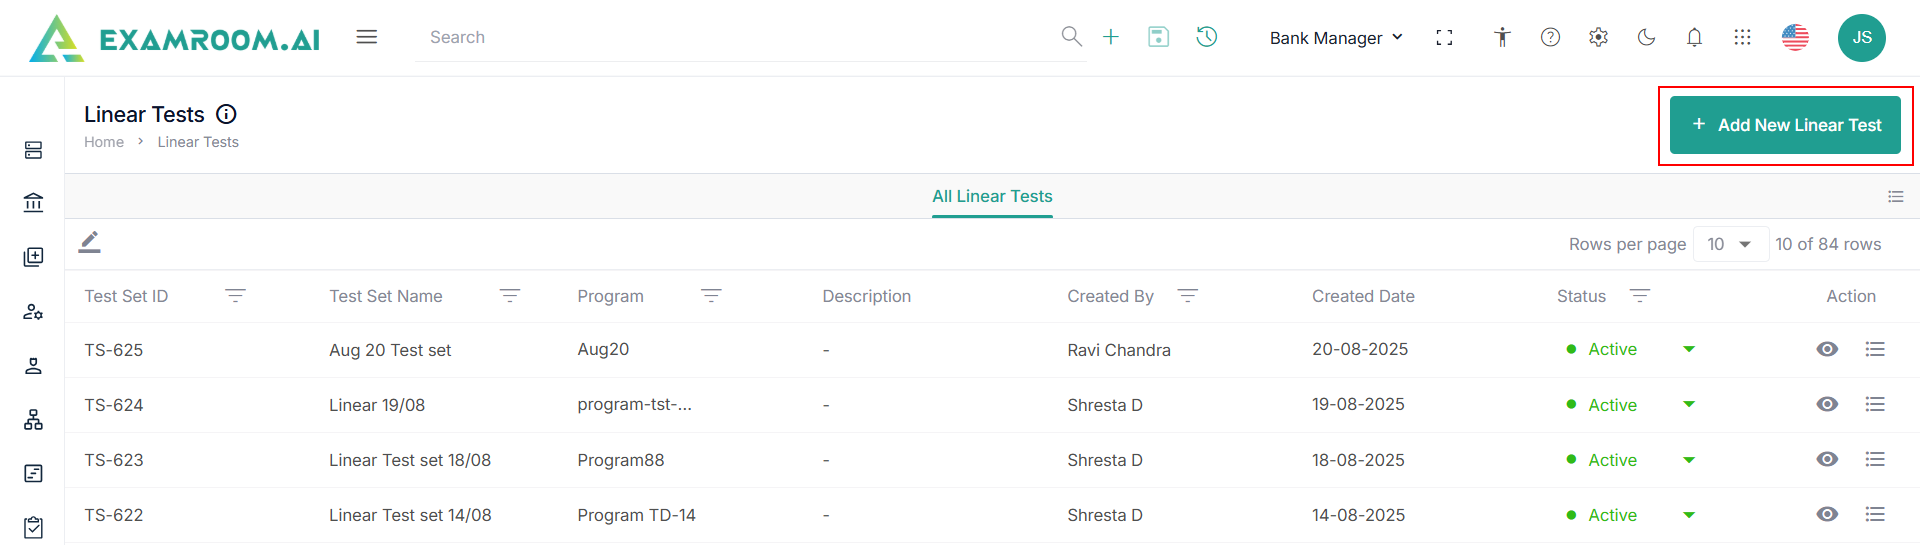
Add New Linear Test Set
To add a new linear test set, perform these steps.
- Click Add New Linear Test Set.
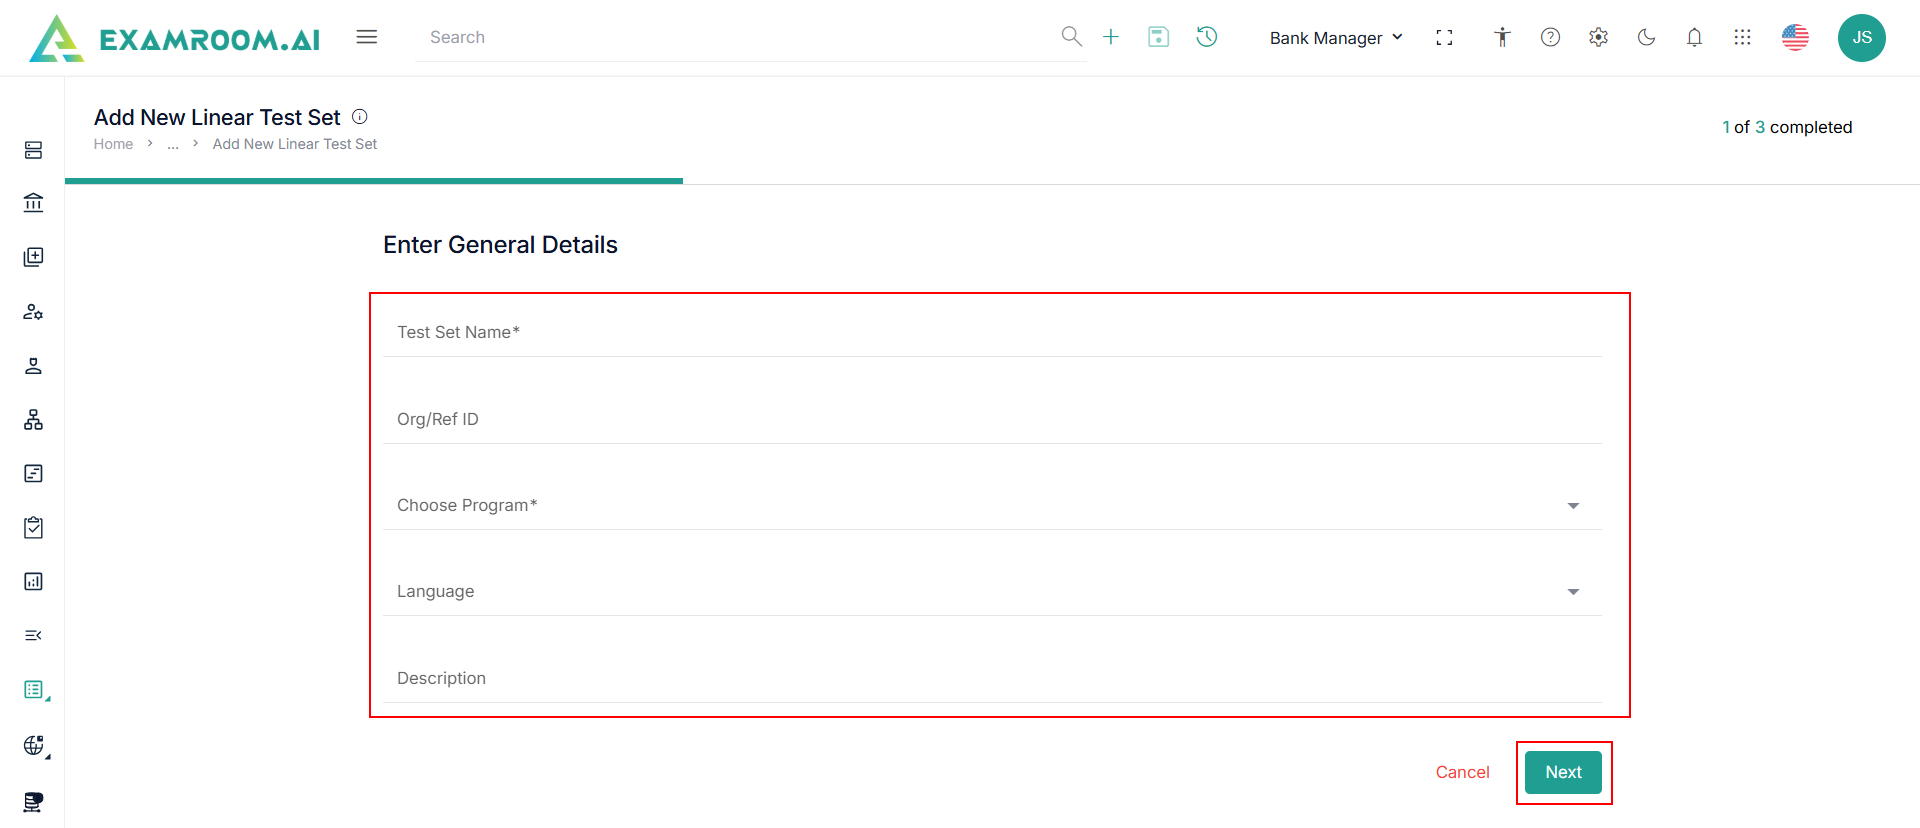
- Enter the following general details in the Add New Linear Test Set page.
- Enter the Test Set Name, Org/Ref ID, and Description.
- Choose the Program and Language from the dropdown.
- Click Next to proceed to the next step.
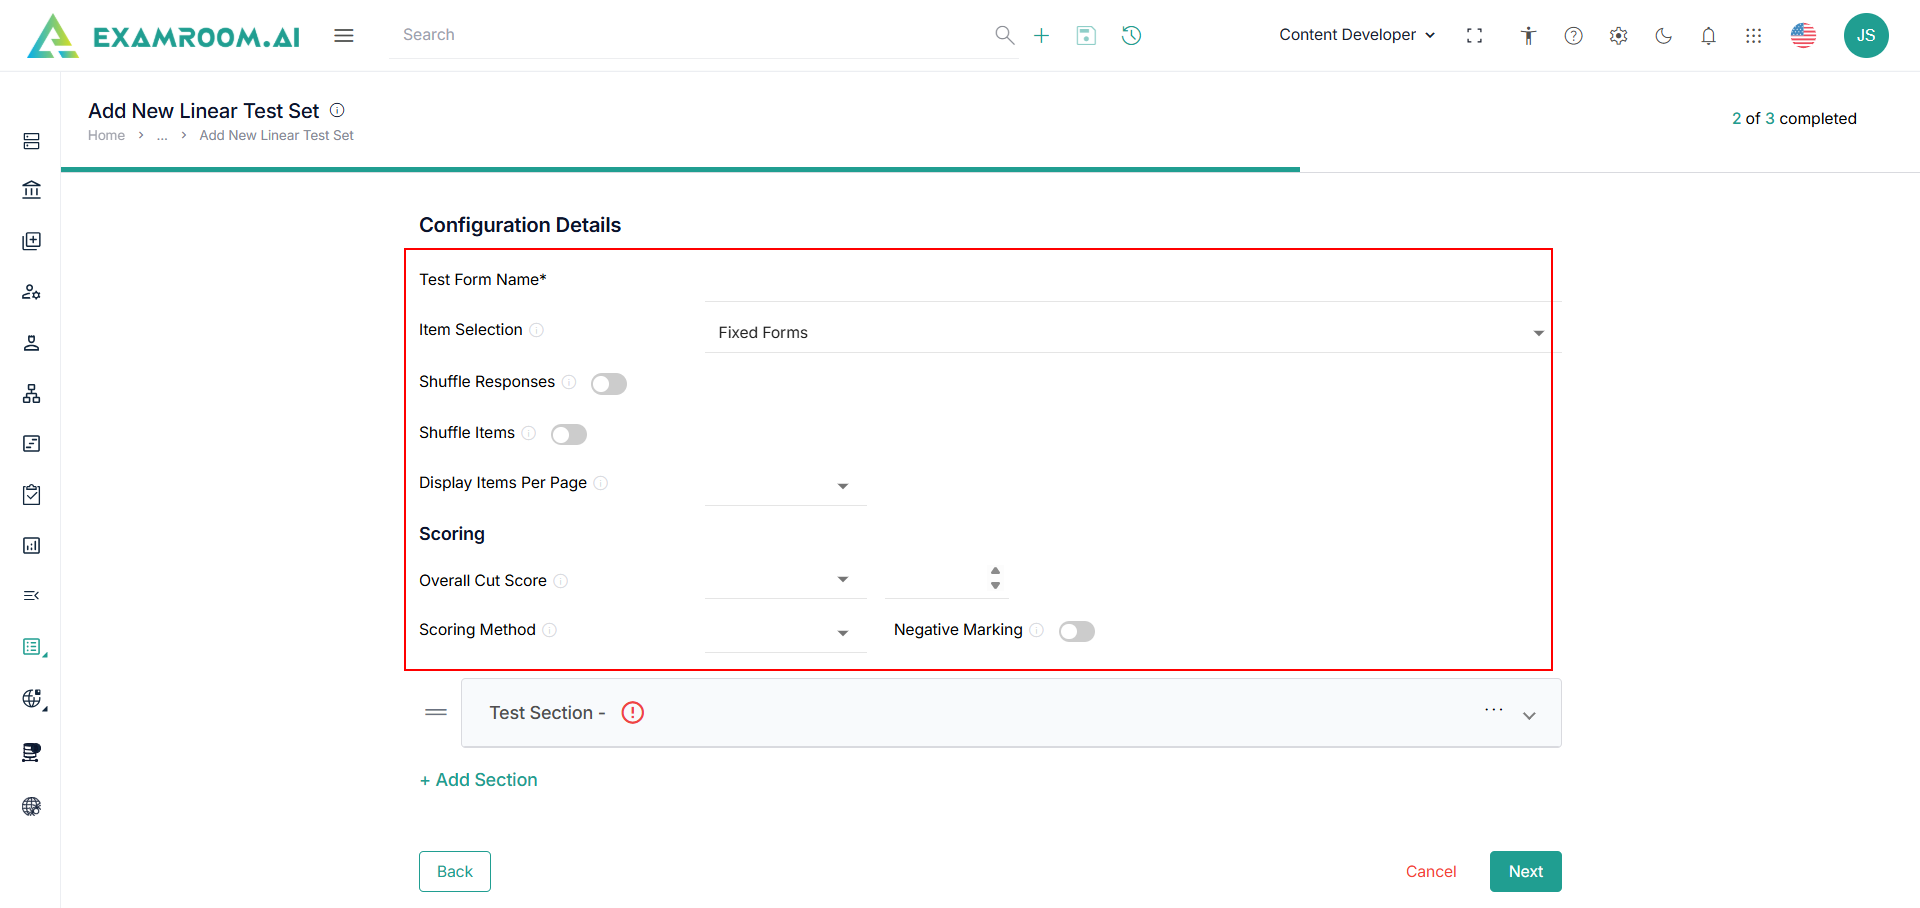
Configuration Details
- Enter the following general details in the Configuration Details step.
- Enter the Test Form Name.
- Select the Item Selection from the dropdown menu.
Note: Shuffle Responses, and Shuffle Items are grayed out, as these options are not available for the Fixed Forms. - Select One, All Item, Custom from the Display Items Per Page dropdown.
- Select Raw Score, Points, or Percentage from the Overall Cut Score dropdown and based on the selection enter the cutoff score in the field.
- Select Scoring Method from the dropdown and click the toggle button for Negative Marking.
- Click Add Section to add the following Test Section details.
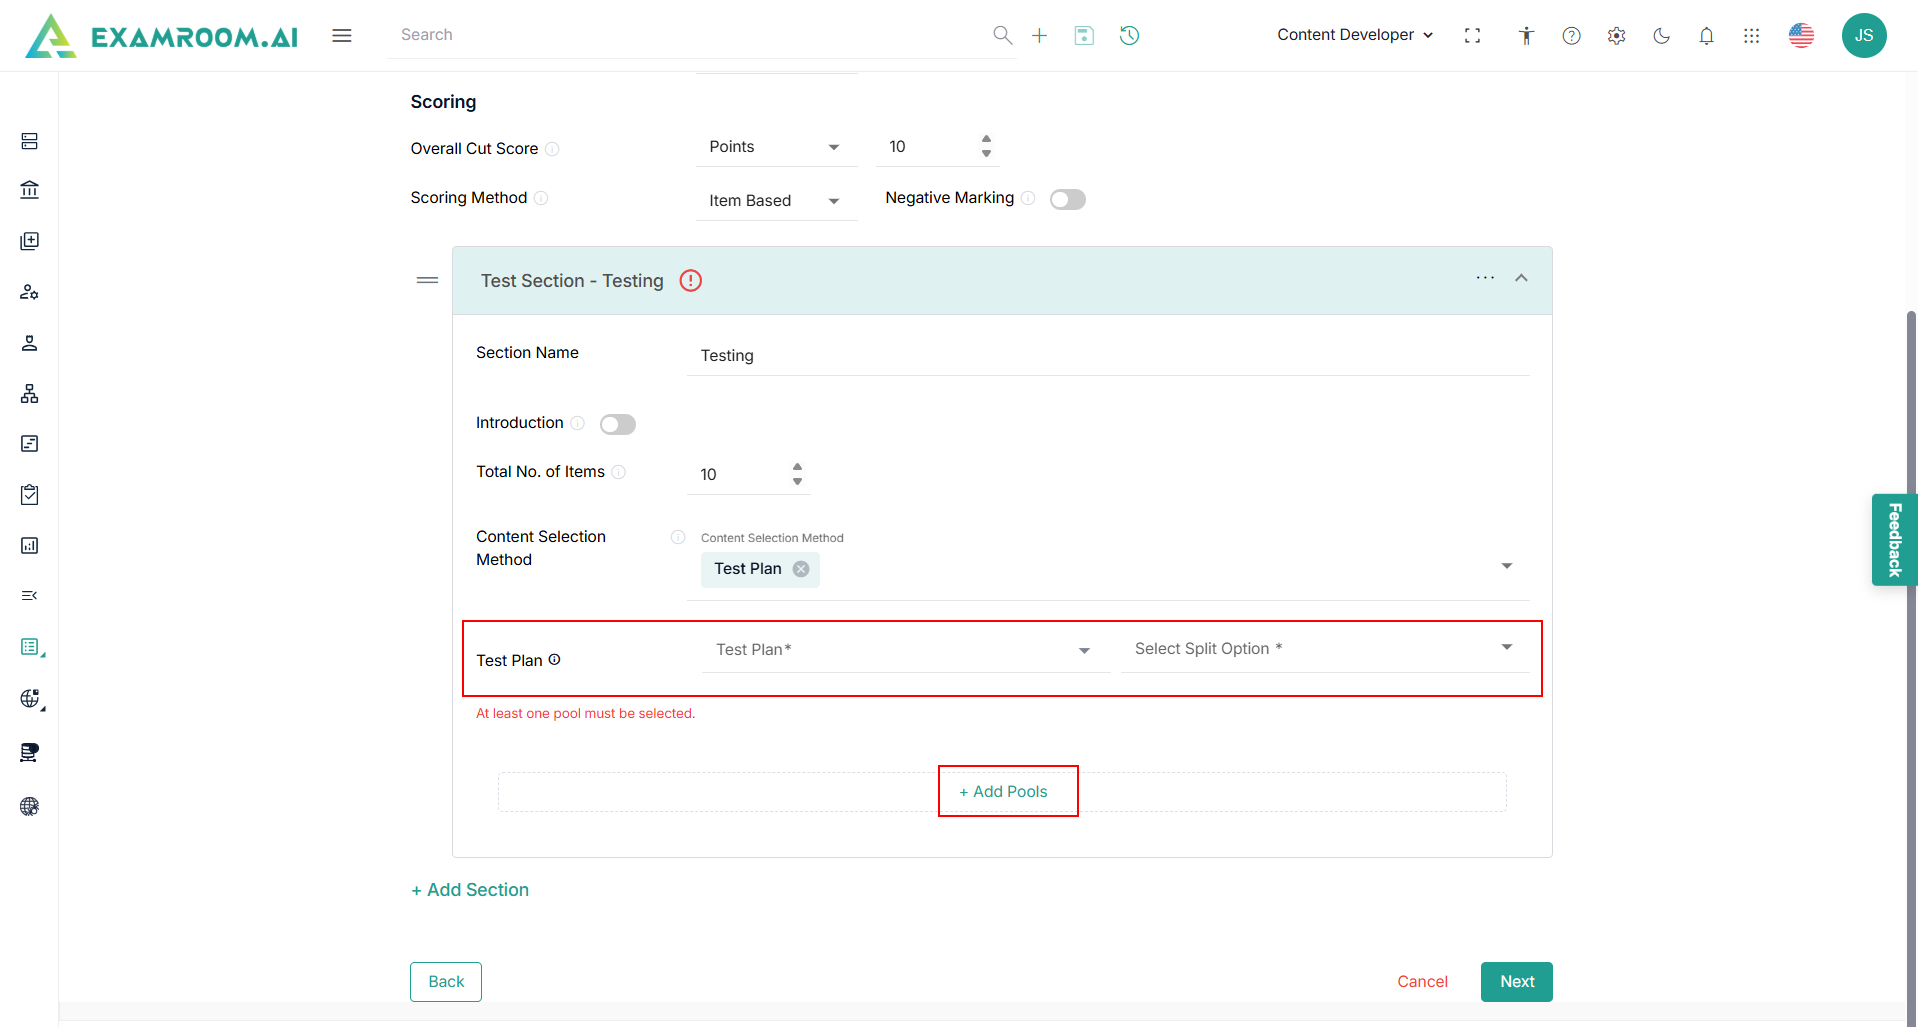
- Enter the Section Name and Total Number of Items.
- Click Introduction toggle button to have an introduction section.
- Select the Content Selection Method from the dropdown.
Note: When 'Test Plan' is selected from the Content Selection Method dropdown, the following additional details are displayed. - Select the Test Plan and Split Option from the dropdown menu.
Note: Based on the selected Test Plan, you can view the Split Option dropdown, which has already been configured during the Test Plan creation. For more information on Test Plan creation refer to the Test Plans.
- Click Add Pools to select required Pools for the Test Section.
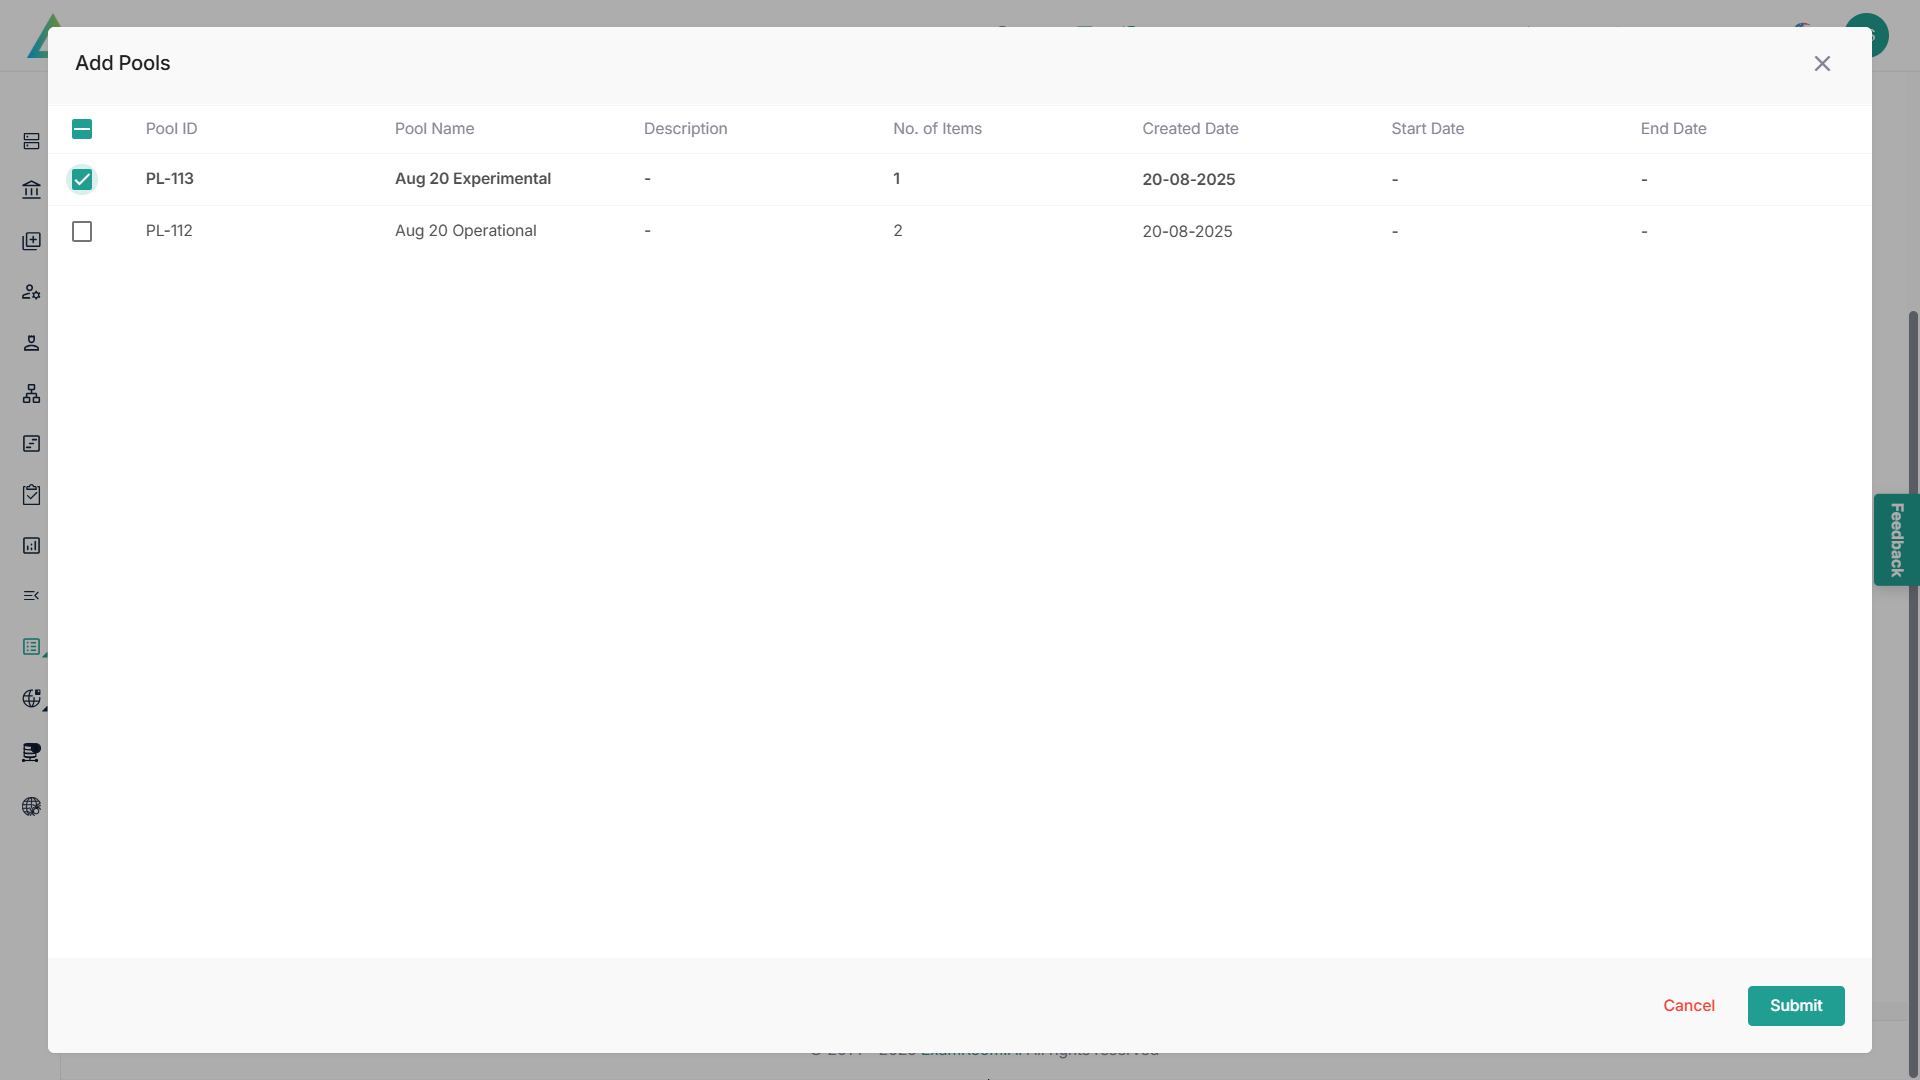
- Click the checkbox to select the pools and click the Submit button.
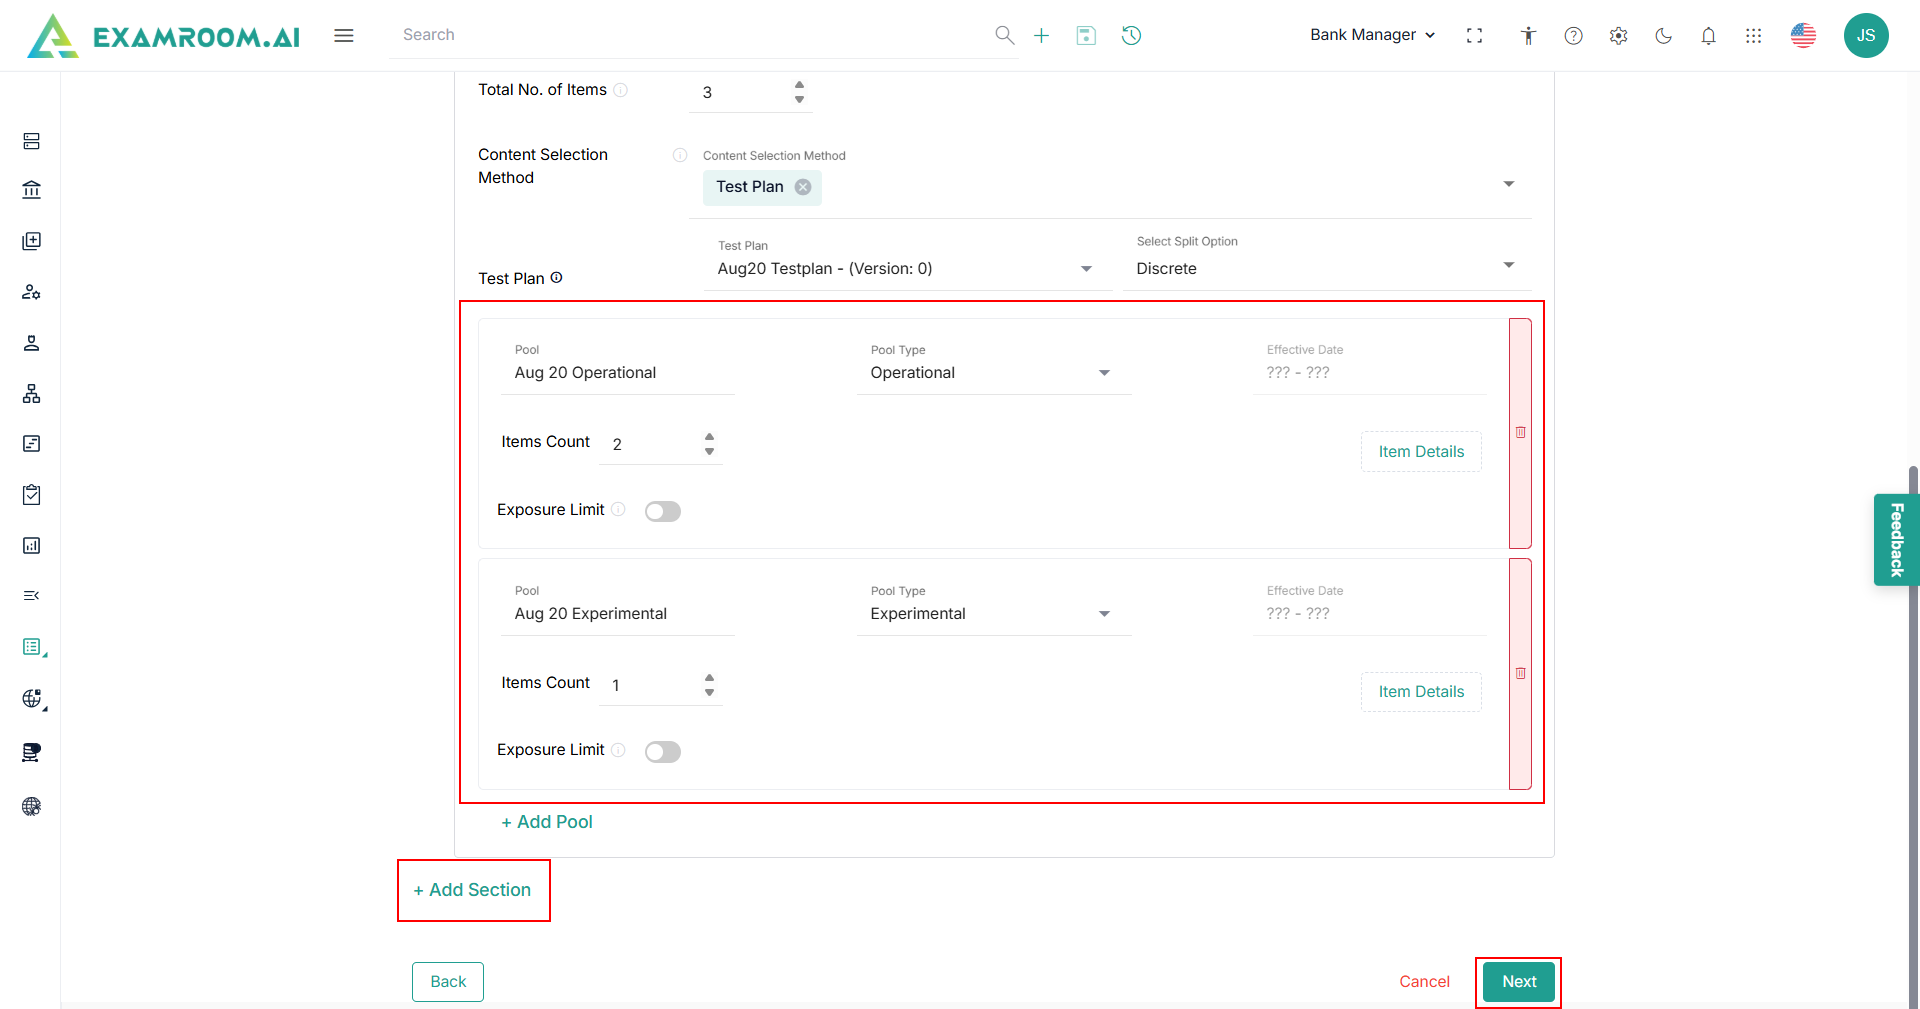
- View the following selected pool details.
- Enter the Pool Type and Item Count.
- Click the Exposure Limit toggle button to select the Item Level or Pool level.
- Click Item Details to view additional Item details.
- Click Add Pool to add more pools to the test set.
- Click Add Section to add more test sections.
- Click the Delete icon to delete the added pool.
- Click Next to proceed to the next step.

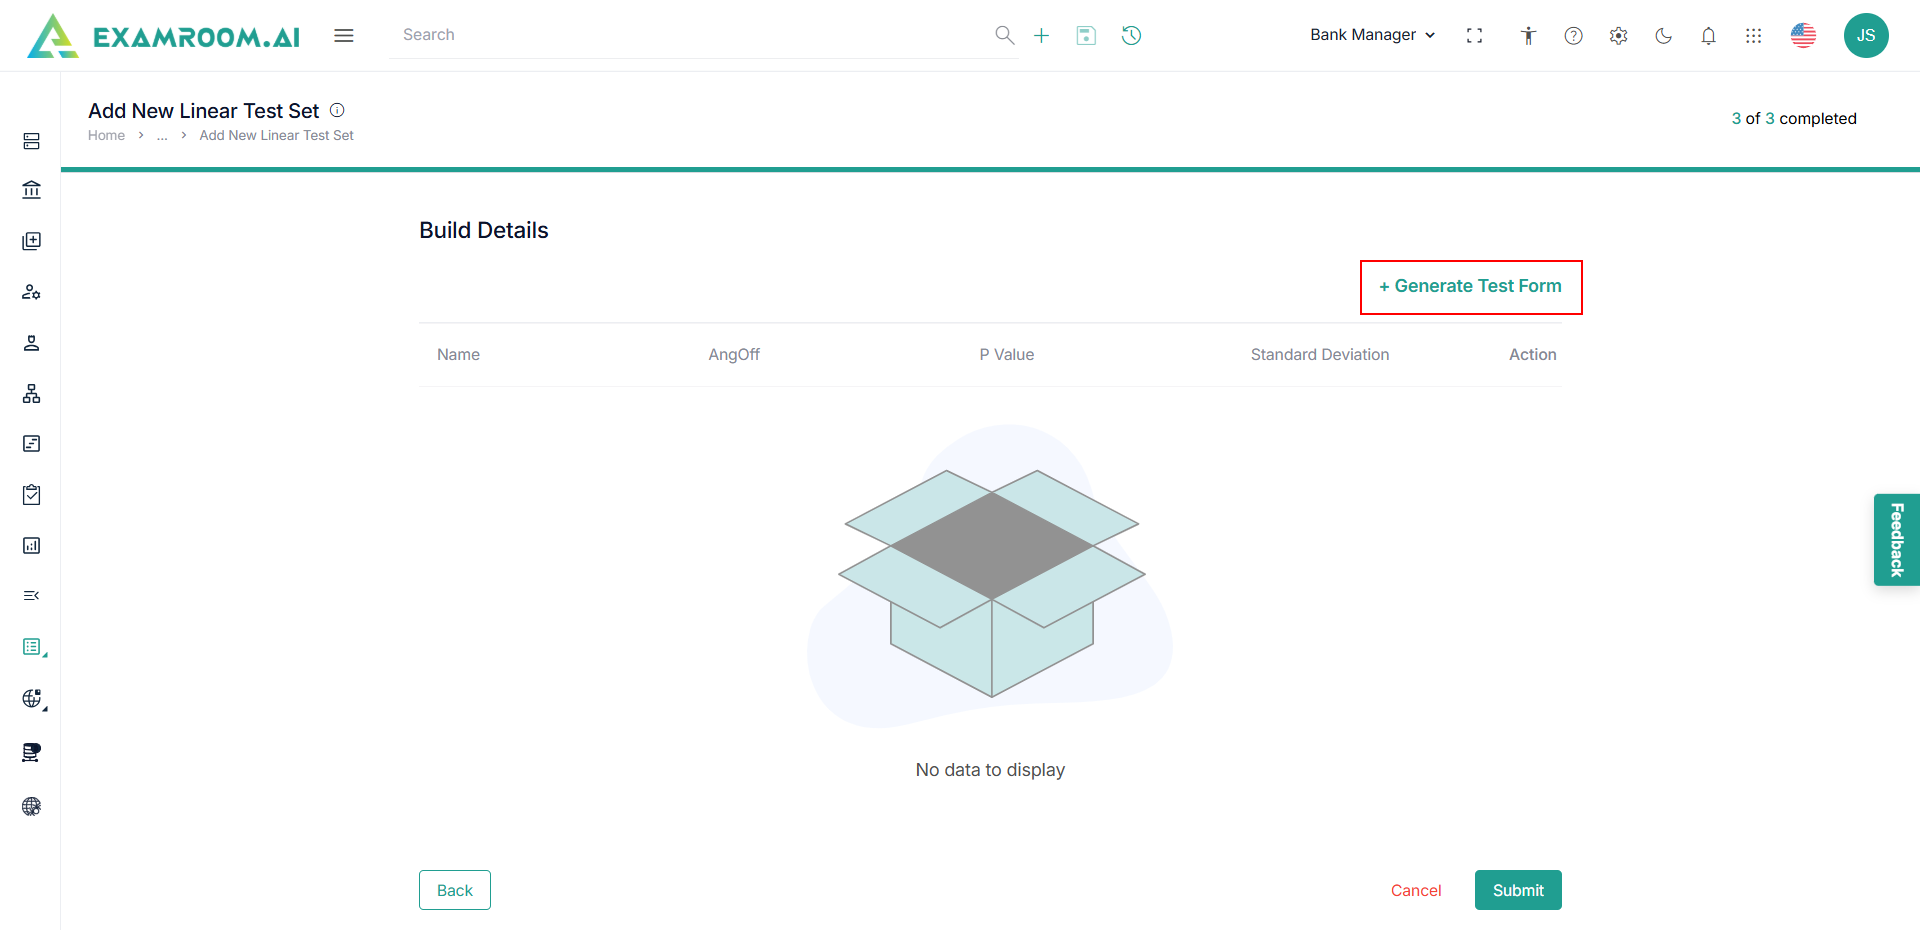
Generate Test Form
- Click Generate Test Form to add test forms.
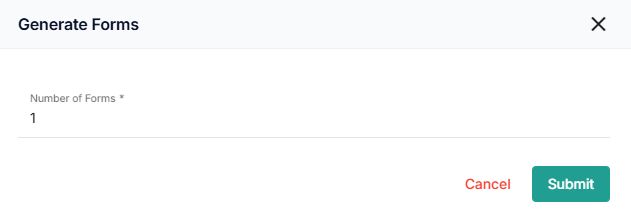
- View the Generate Forms popup and enter the Number of Forms.
- Click Submit to view the generated forms in the Build Details page.
- Click the Arrow icon to view the test section in the generated form.
- Click the Edit button in the action menu to edit the test section and add items.
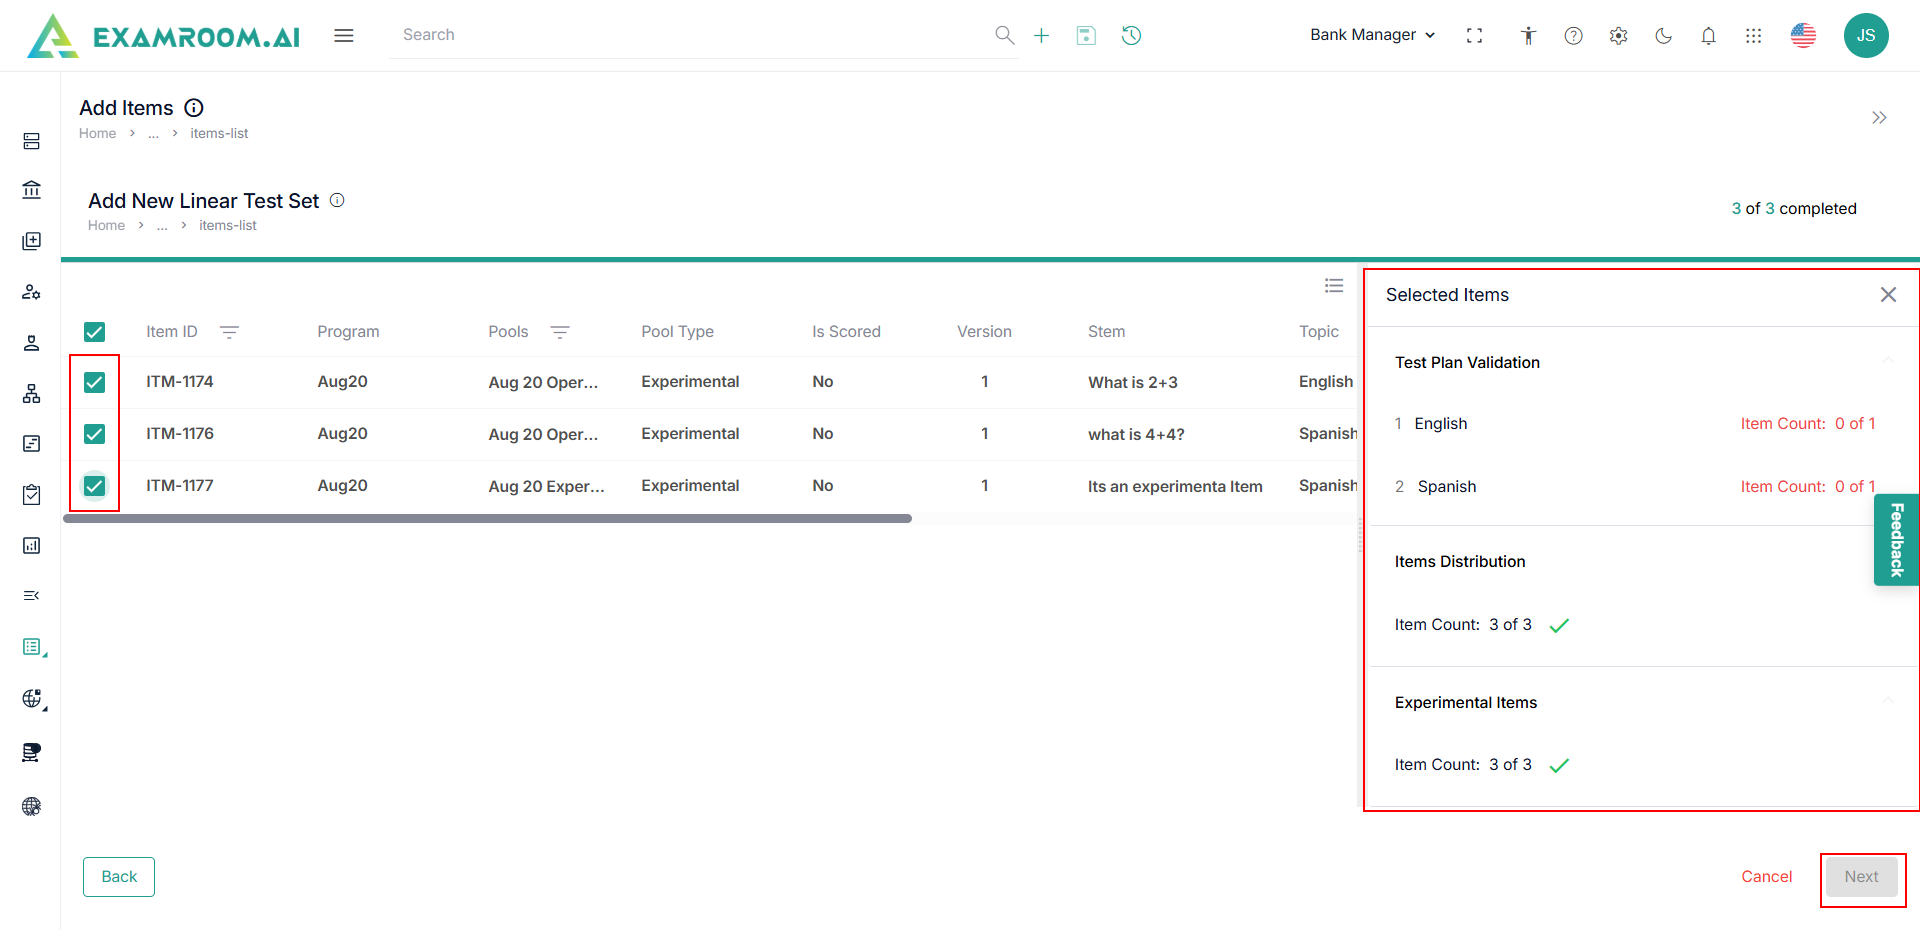
- View the Items selection page and click Add Items.
- View the Items List and Selected Items details on the right side of the screen.
Note: Under the Selected Items side panel, the Test Plan Validation section and the Item Distribution section are displayed. - Click the checkboxes to select the items.
Note: Based on the item selection, the validation of the item and item count are displayed in the selected item details section. - Click Next to proceed and preview the list of selected items.
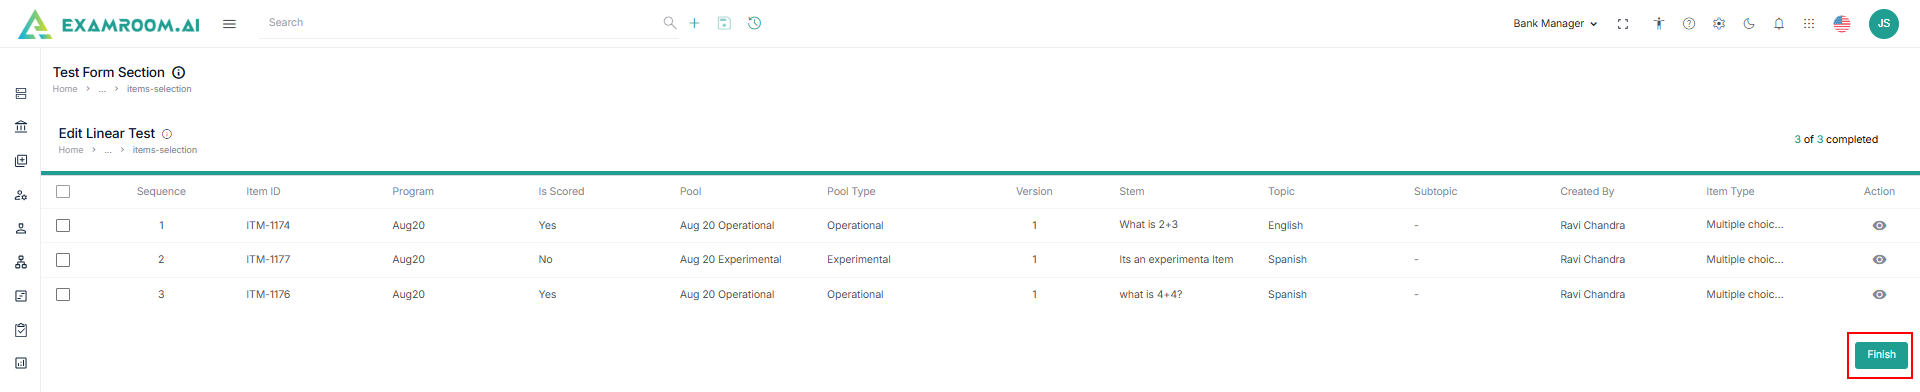
- Click View icon under the Action header to view the item details.
- Drag and drop the items to change the sequence order.
- Click Submit to submit the item selection and sequence.
- View the Sequence Order for the test section and click Cancel if no changes are required.
- View the Build Details page and click Submit to add new linear test set.


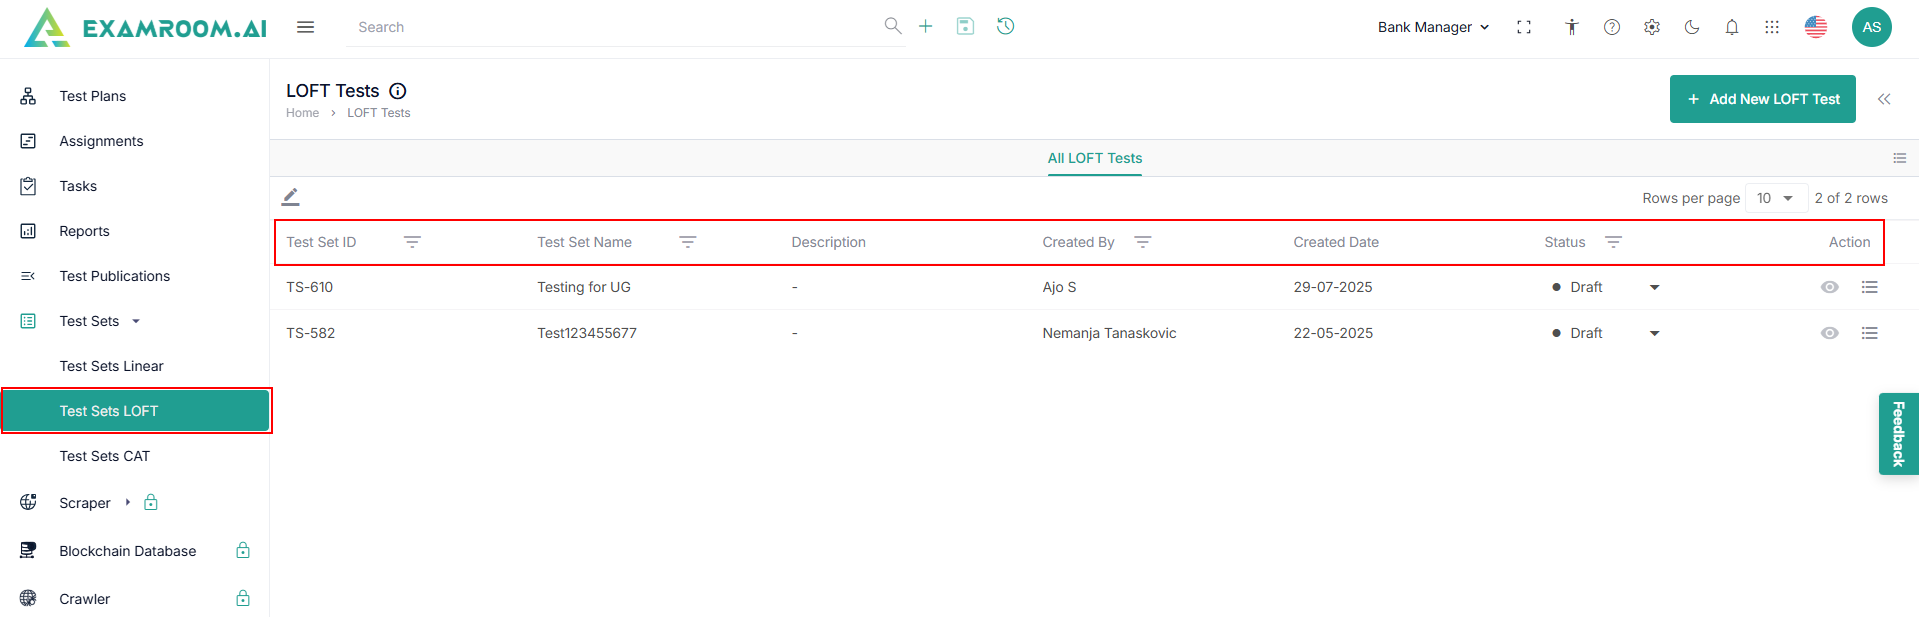
LOFT Test Sets
- Navigate to the left navigation menu and select LOFT Test Sets.
- The application displays the Loft Tests page in a table view comprising of the loft test list.
- The following are the table headers:
- Test Set ID: Unique ID generated when a test set is created.
- Test Set Name: Test set name of the Test Set ID created.
- Description: A short description of the test set.
- Created By: Name of the person who created the test set.
- Created Date: Date when the test set was created.
- Status:
- Draft
- Active
- Inactive
- Expired
- Action: A choice to Edit and view the test set.
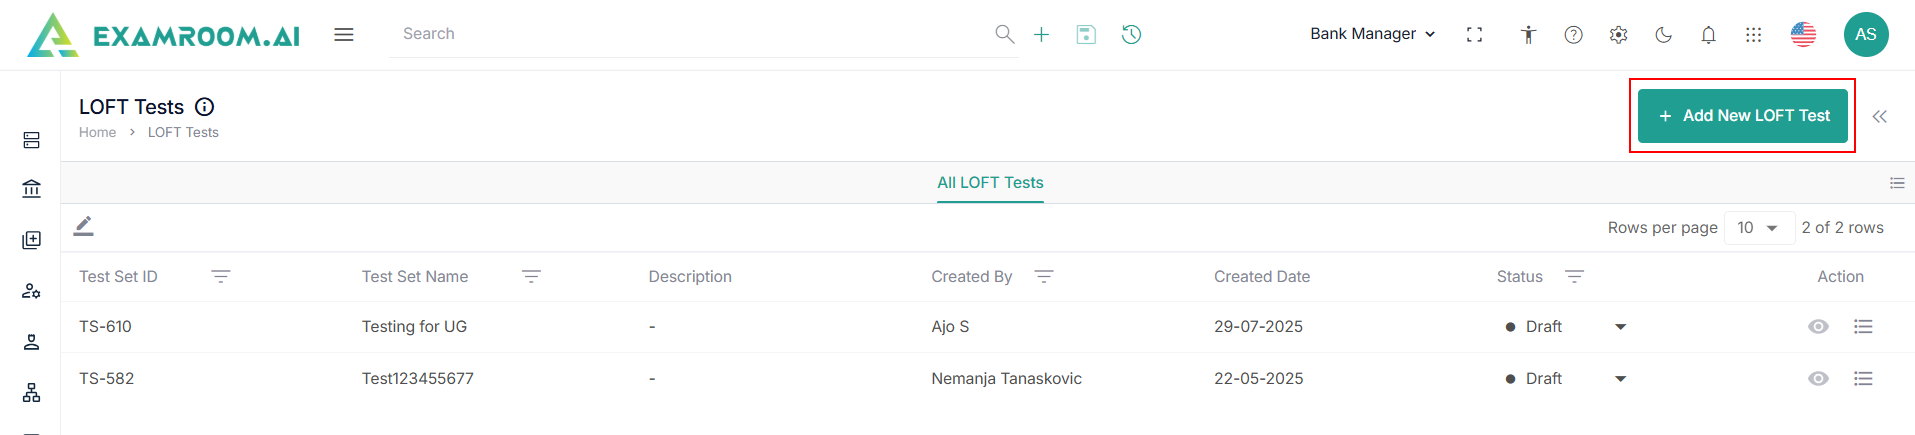
Add New LOFT Test Set
To add a new linear test set, perform these steps.
- Click Add New LOFT Test Set.
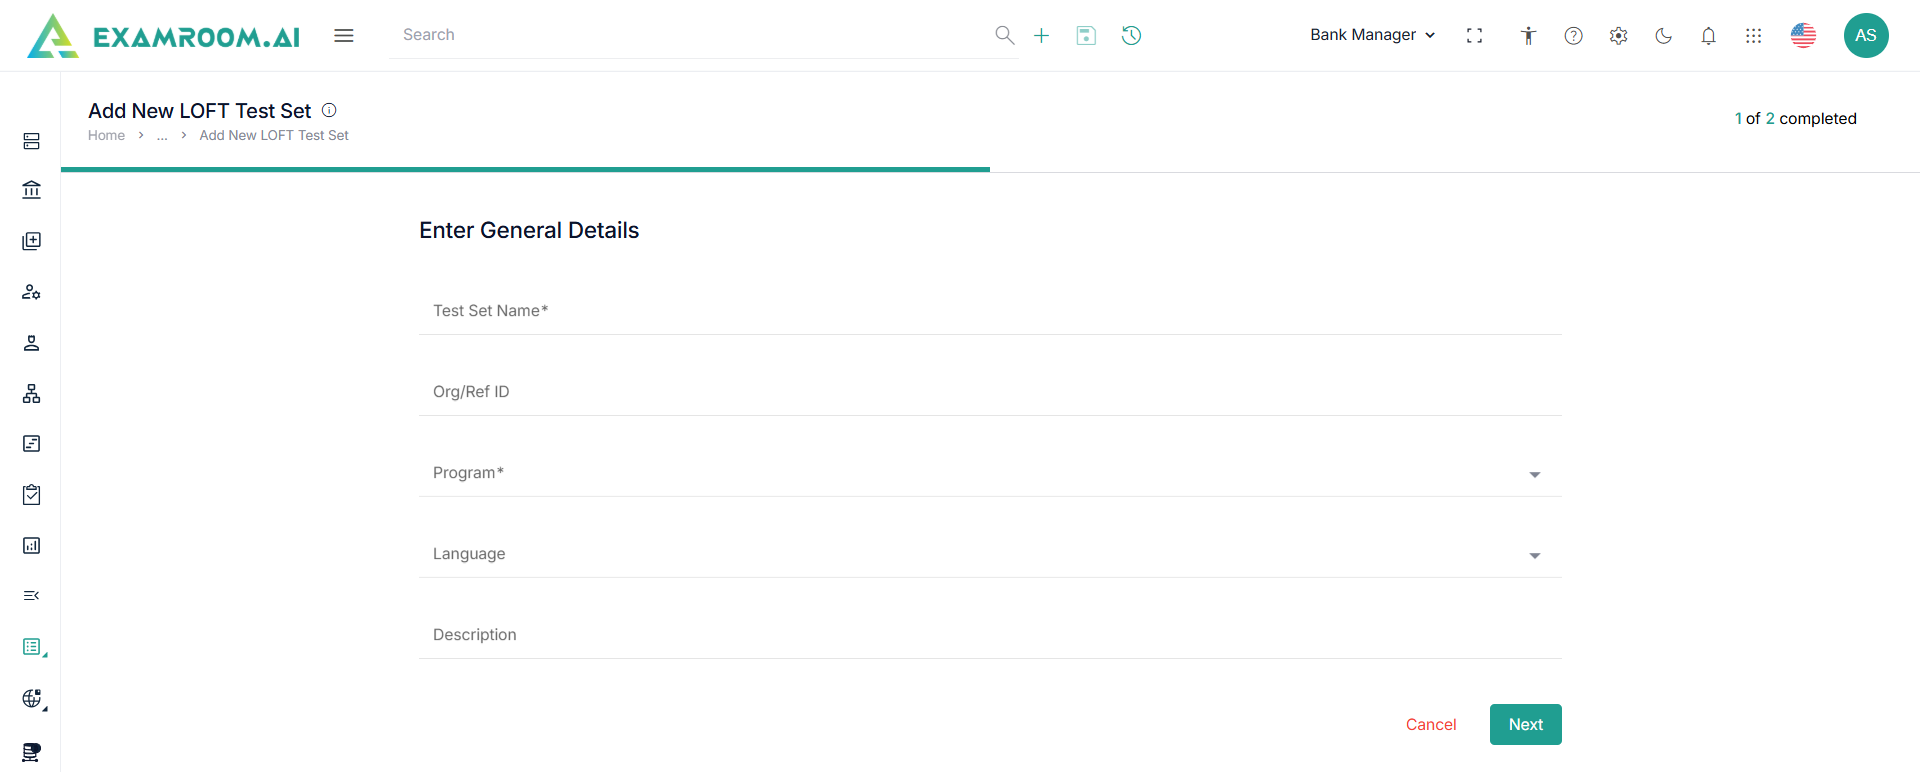
- Enter the following general details in the Add New LOFT Test Set page.
- Enter the Test Set Name, Org/Ref ID, and Description.
- Choose the Program and Language from the dropdown.
- Click Next to proceed to the next step.
Configuration Details:
- Enter the following general details in the Configuration Details step.
- Enter the Test Form Name.
- Shuffle Responses: Toggle ON to randomize the order of answer options within items.
- Item Grouping: Toggle ON to enable grouping of items based on a chosen attribute.
- Group by Topic – Items are grouped by topic.
- Group by Media – Items are grouped by associated media (e.g., Audio, images).
- Group by Item Type – Items are grouped by question format (e.g., MCQ, hotspot, drag-and-drop).
- Choose Fixed Set or Unique Set from Experimental items.
- Select number of items to be displayed per page form the dropdown.
Note: If Custom is selected, you need to enter the number of items to be displayed per page.

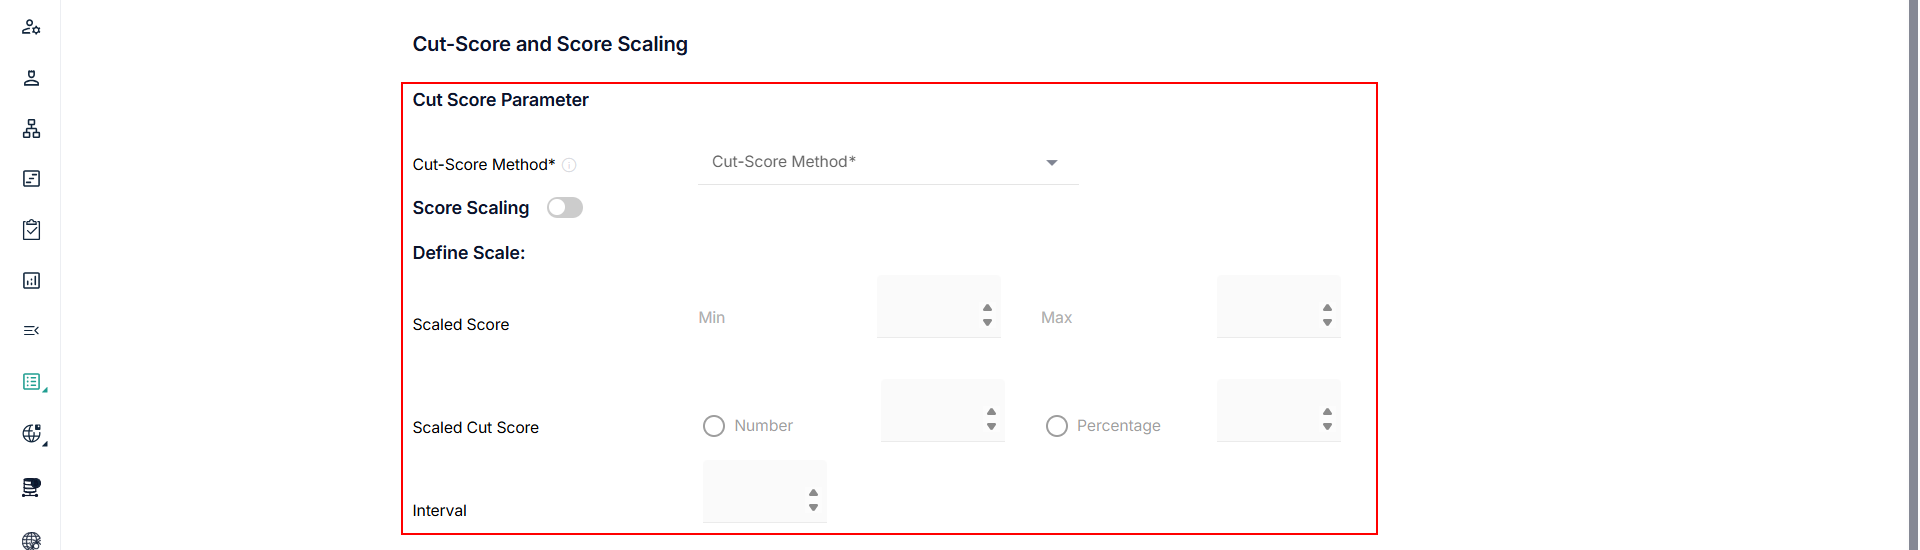
Cut Score and Score Scaling
- Enter the following details in the Cut score and score scaling details step.
- Select the Cut Score Method from the dropdown.
- Toggle ON Score Scaling if you want to scale raw scores into a defined range.
- If Score Scaling is toggle ON, you need to perform the following actions.
- Enter the minimum and maximum values in the scaled score range.
- Define how the passing score will be represented in the scaled Cut Score.
Note:
if number is selected – Enter a fixed numeric cut score.
If Percentage is selected– Set a percentage of the scale range. - Define score intervals within the scaled score range.
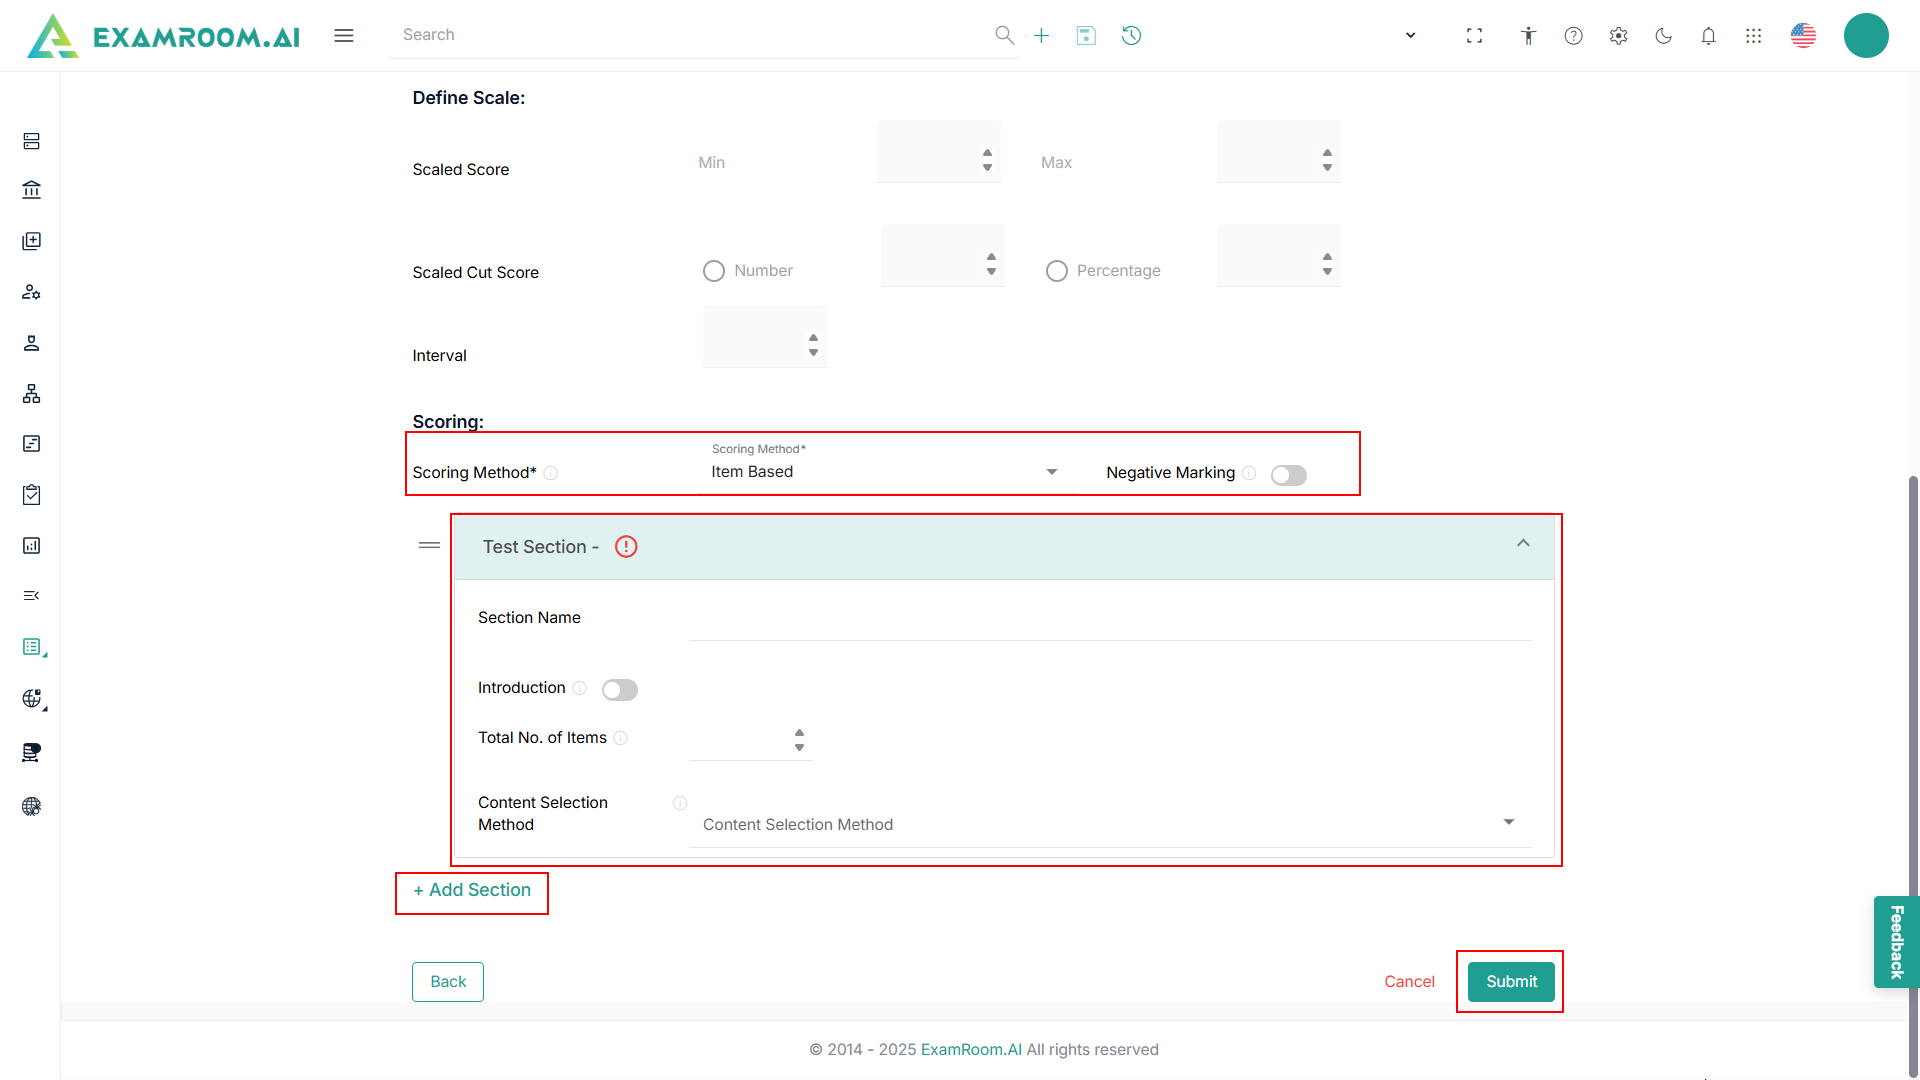
Scoring
- Select Scoring Method from the dropdown.
- Toggle ON Negative Marking if negative marking is required.
- Click Add Section to add test Sections.
- Enter the Section Name.
- Toggle ON to include an introductory note or instructions for the section.
- Enter Total number of items that should be included in this section.
- Select Content Selection Method from the dropdown.
- Click Add Section to create additional sections within the test.
- Click Submit to submit the LOFT Test Sets.