Items
The Item Bank section includes a system for developing items. Here, you can create new items, manage existing ones, and ensure their quality. The system is designed to simplify the process, making it easier to complete the item development cycle while maintaining high standards.
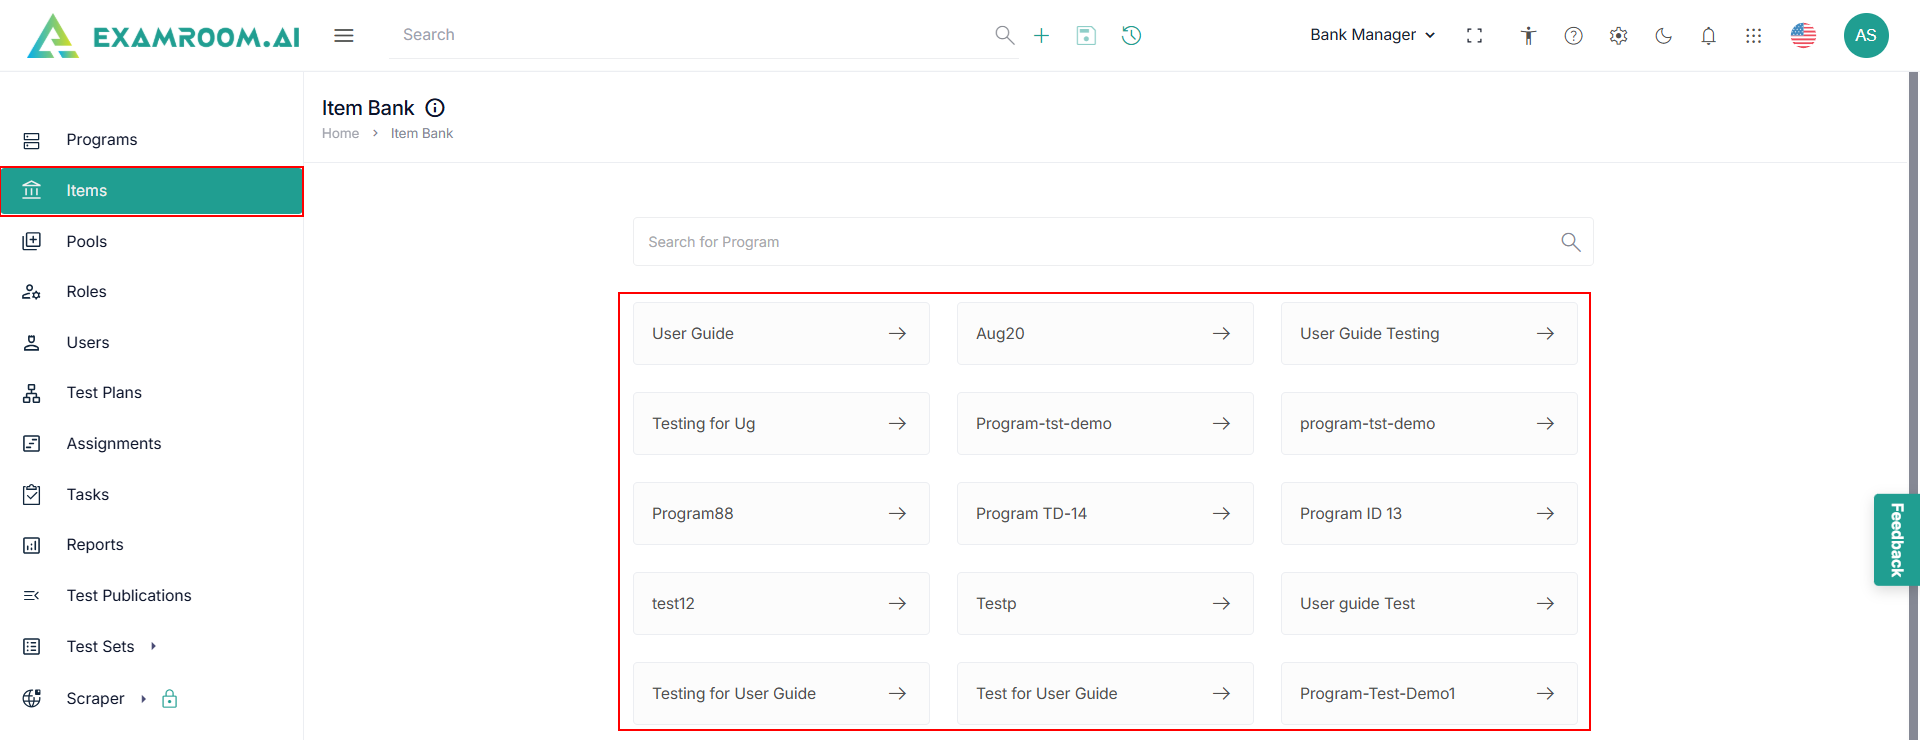
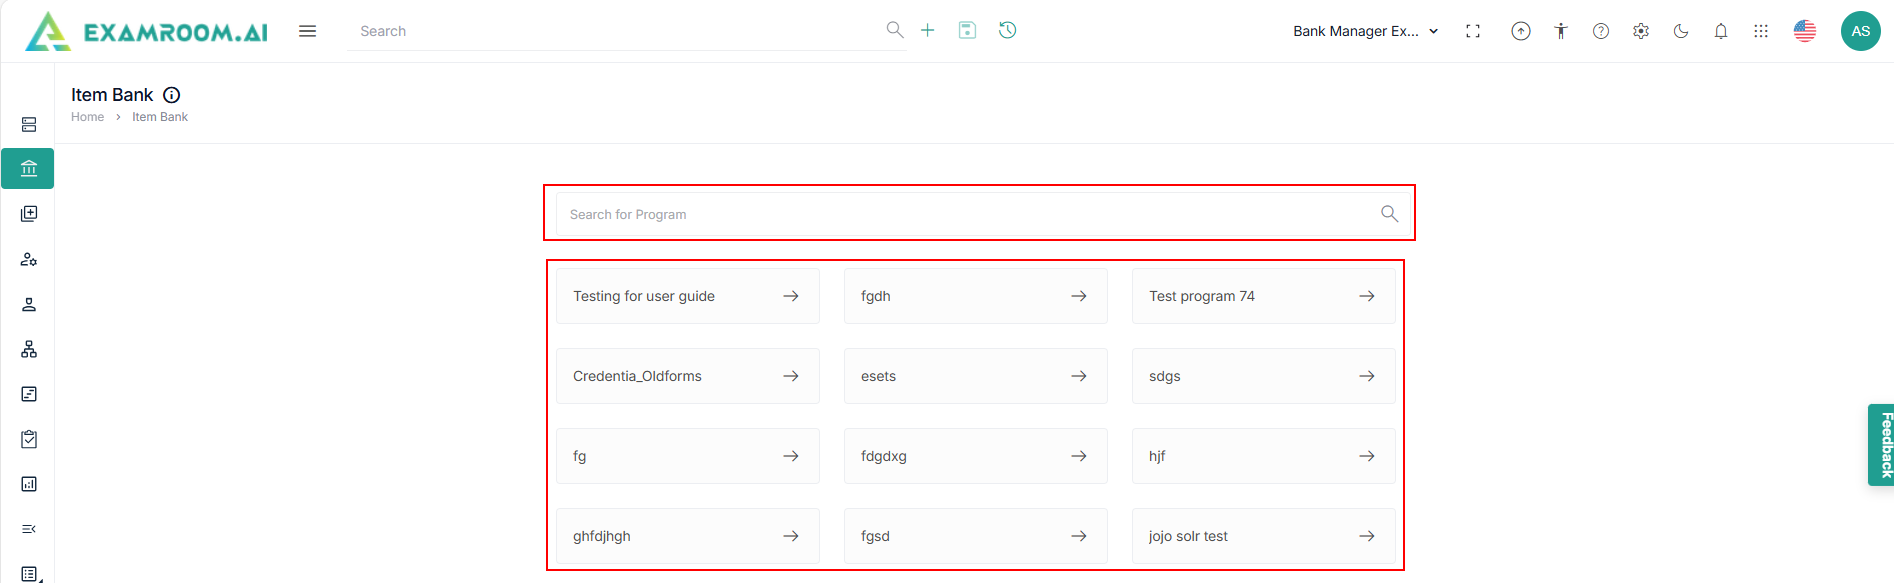
- Click Items menu from the left navigation bar.
- Select the Program or search for program.
- Select the Program from the list.
Note: Based on the selected program, the system displays the Items in the table view comprising All Items and Cases tab.

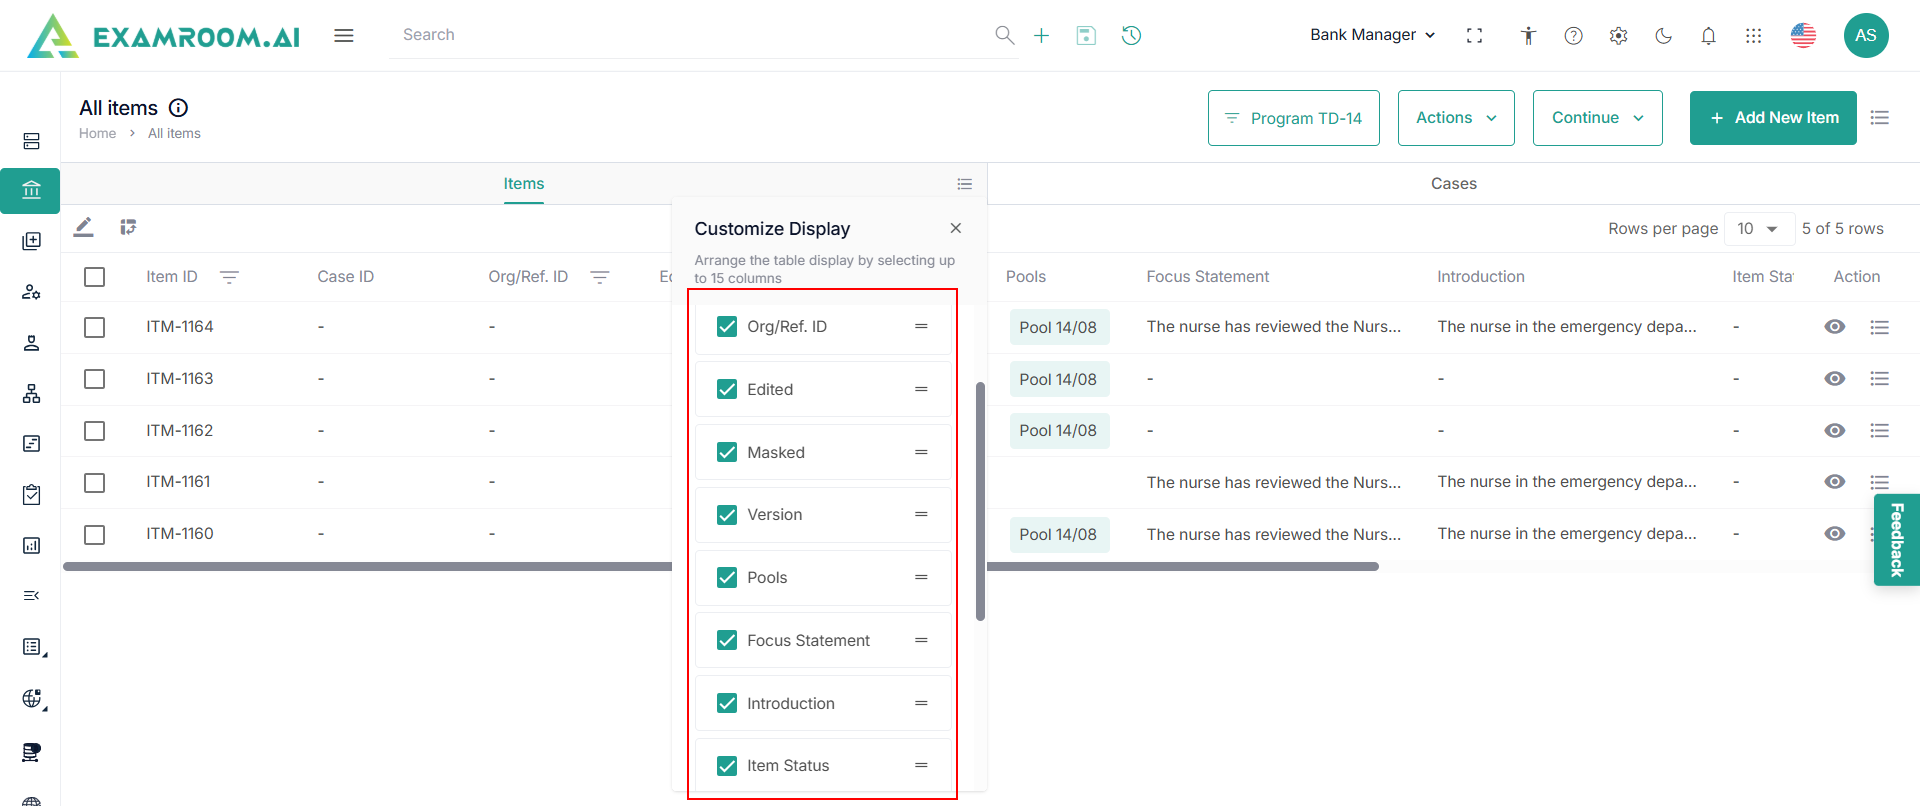
Customize Item Header
In this section you can Customize the item headers based on your need. Perform these steps to Customize the item headers.
- Click the Hamburger Menu on the right of All Items, to view the Customize Display of the table headers.
Note: Rearrange any of the table headers to display specific column information as required.
- The following are the table headers:
- Item ID: Unique ID of the Item.
- Case ID: Unique ID of the Cases.
- Edited: Item that is edited.
- Green Locker: Represents my items, or items that are finished with editing by other users.
- Red Locker: Represents my items, that are under edit by other users until they finish.
- Version: Version of the item.
- Pools: Information on Pool Item.
- Focus Statement: Statement briefed to an item.
- Introduction: Information about the item.
- Status: Status of the item.
- Created By: Name of the person who created the item.
- Item Type: Type of the item.
- Language: Language of the item.
- Created Date: The date on which the item is created.
- Assignment: Assignment type of the item.
- Action: Choice action to be taken on Item ID.
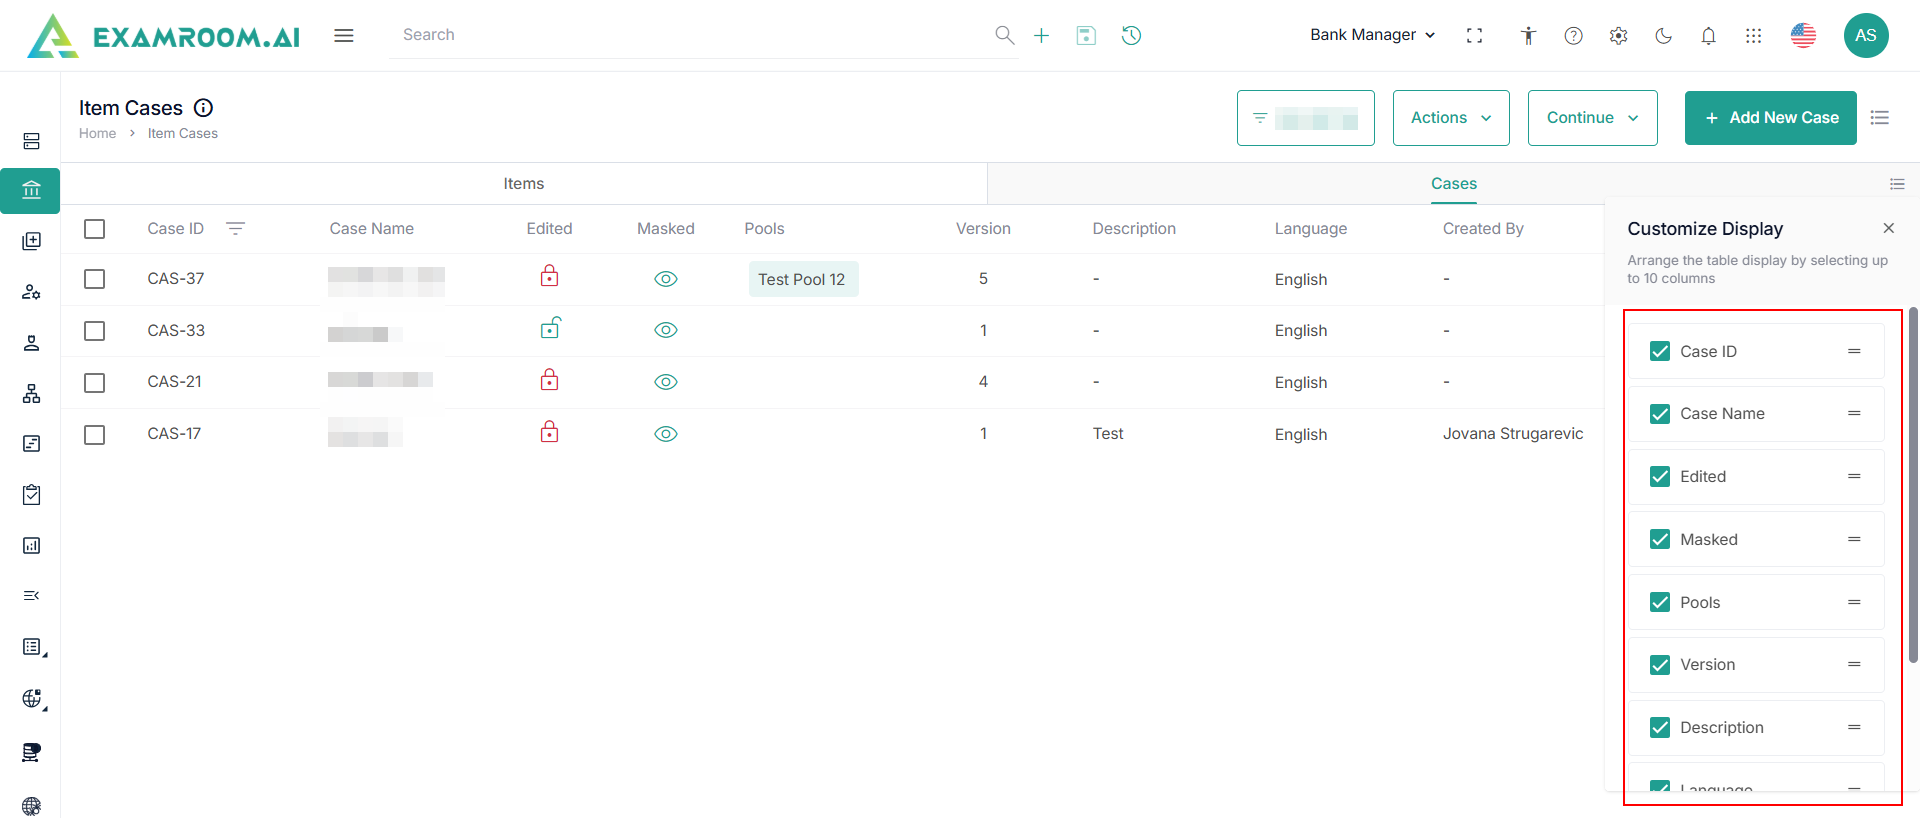
Customize Item Cases Header
In this section, you can Customize the item cases headers based on your needs. Perform the following steps to Customize the item cases headers:
- Select Cases to view items that are sitting in the Cases.
Note: Rearrange any of the table headers to display specific column information as required.
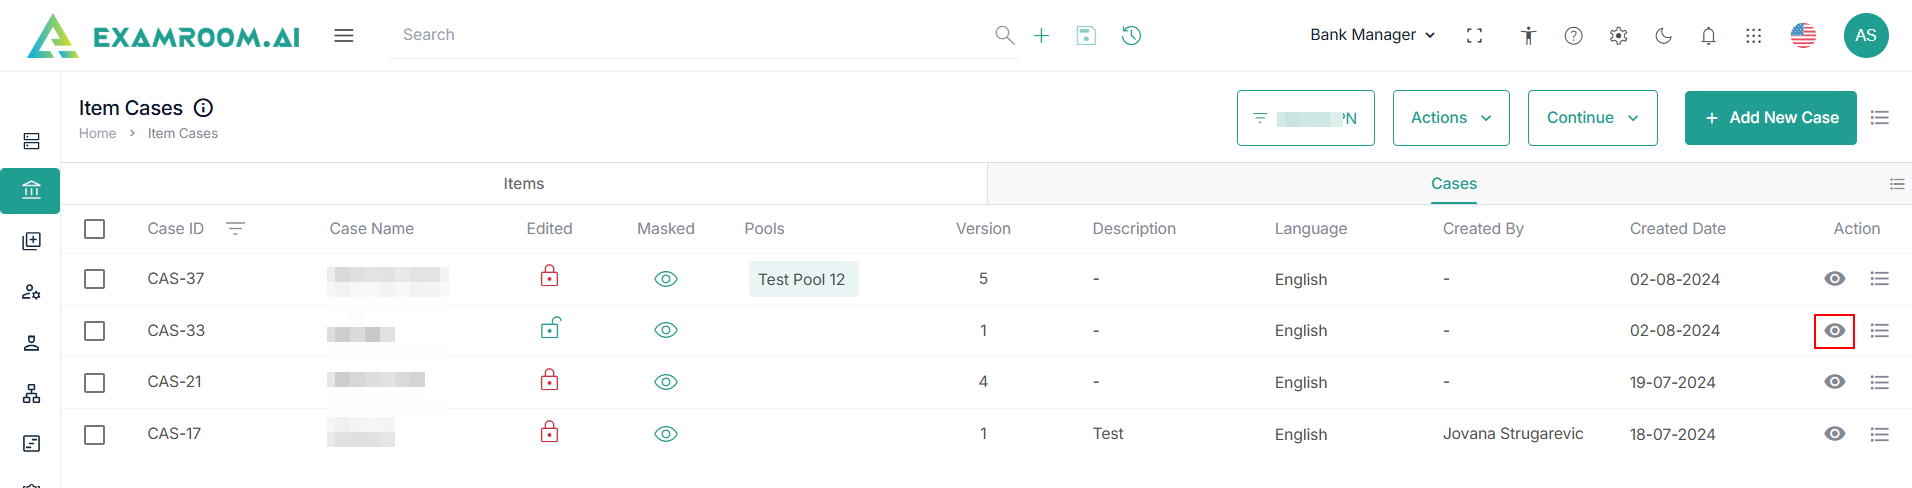
View and Manage Items in Cases
To view and manage the items that have already been created, perform these steps.
- Click the View icon under the Action header to see the item in the cases list.
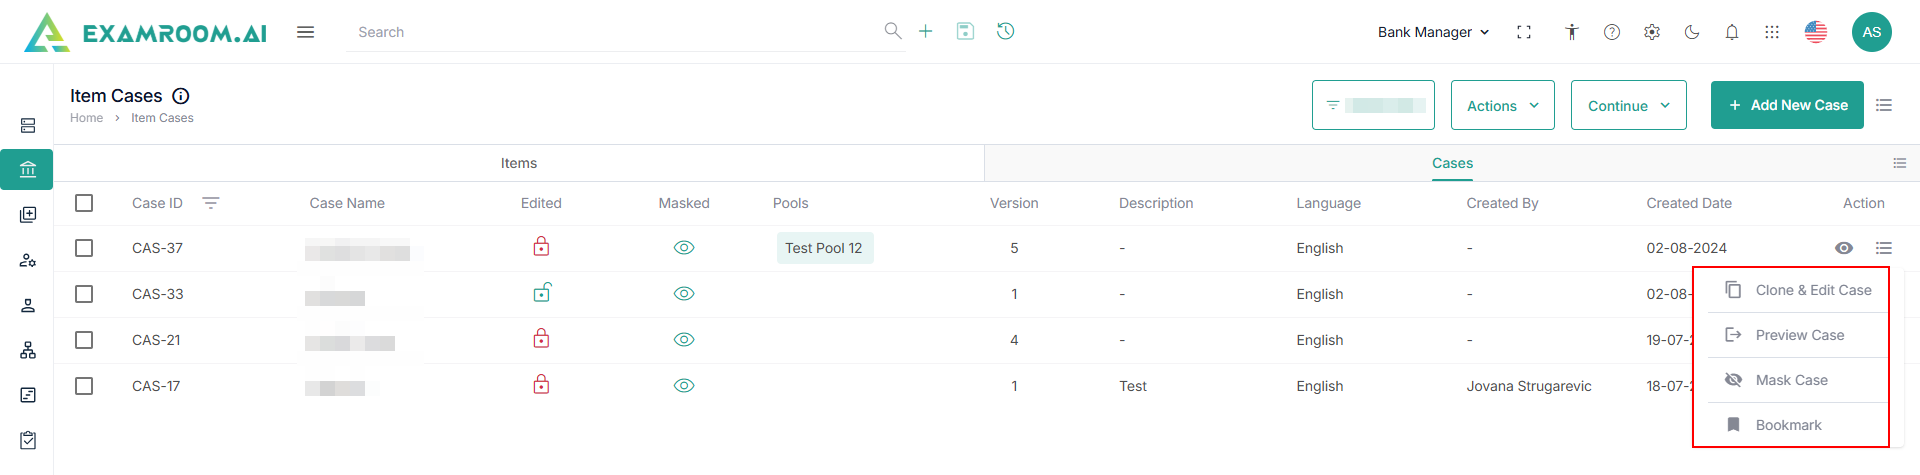
- Click the Hamburger Menu of the Action table column.
- Click Clone & Edit to clone the current item case and edit it.
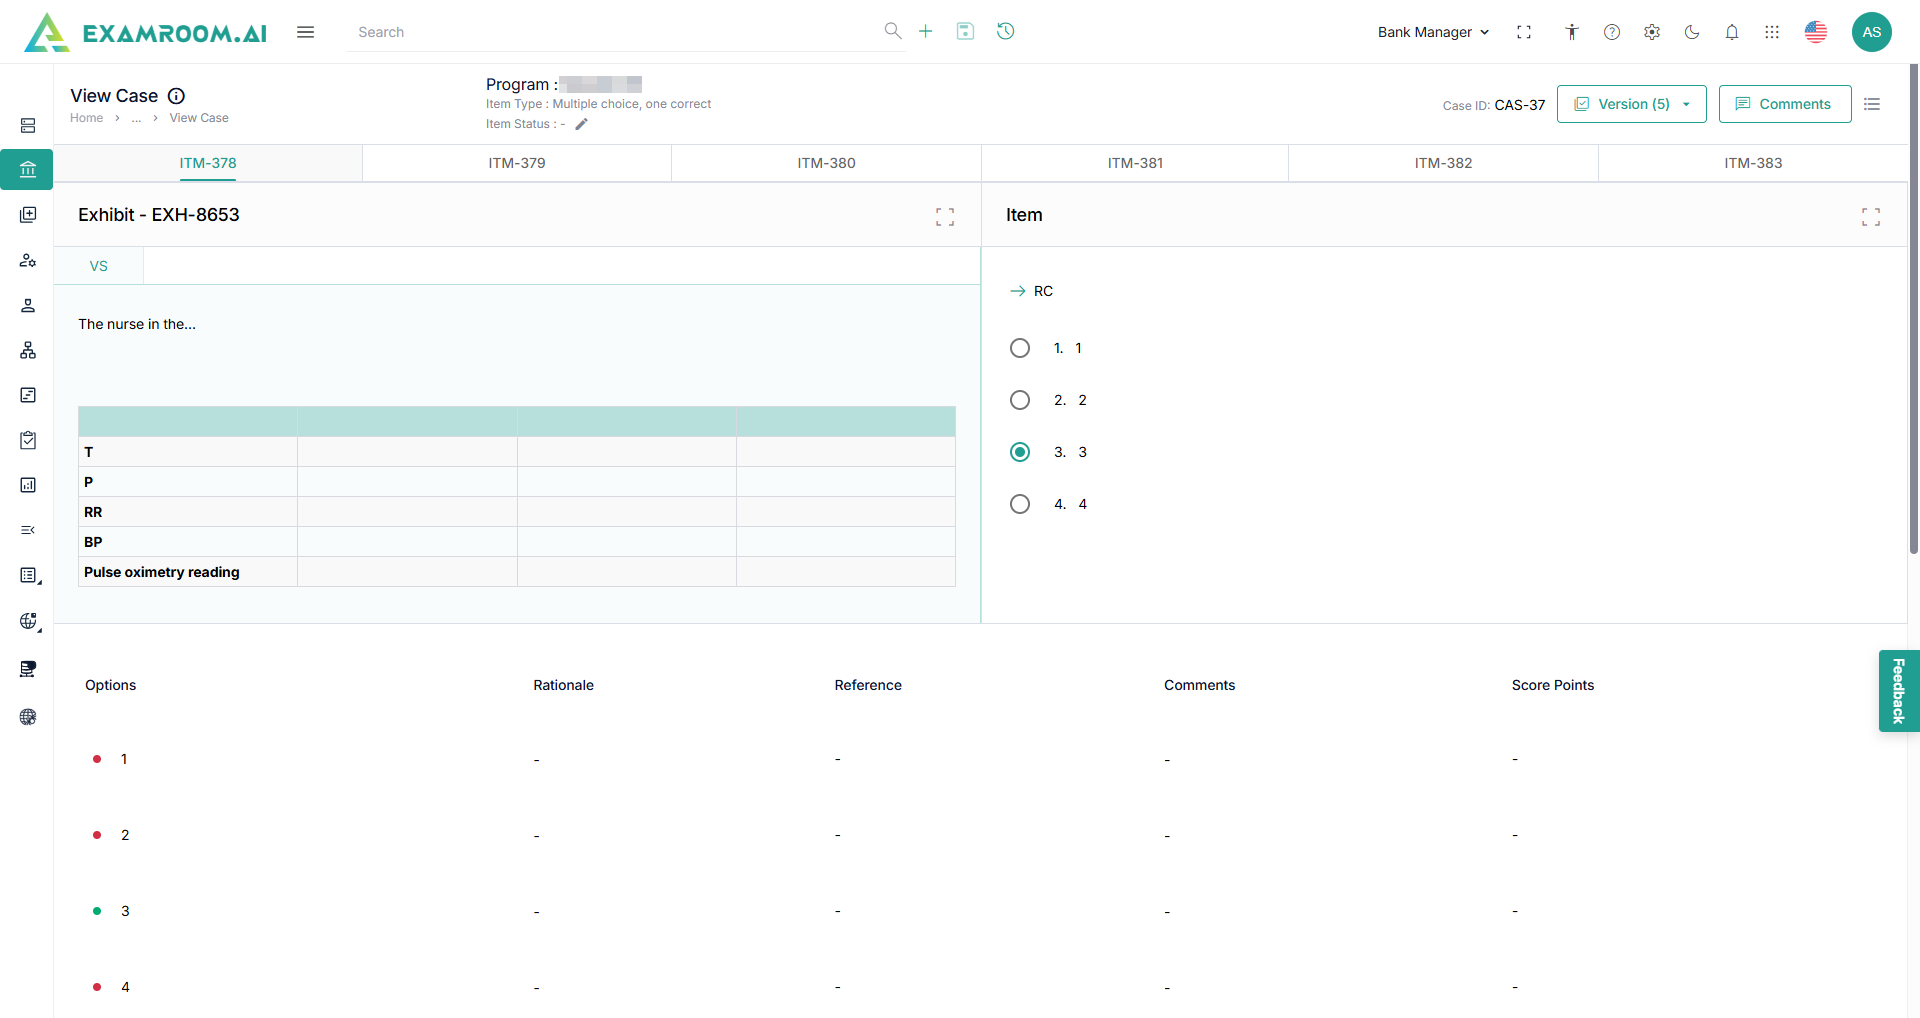
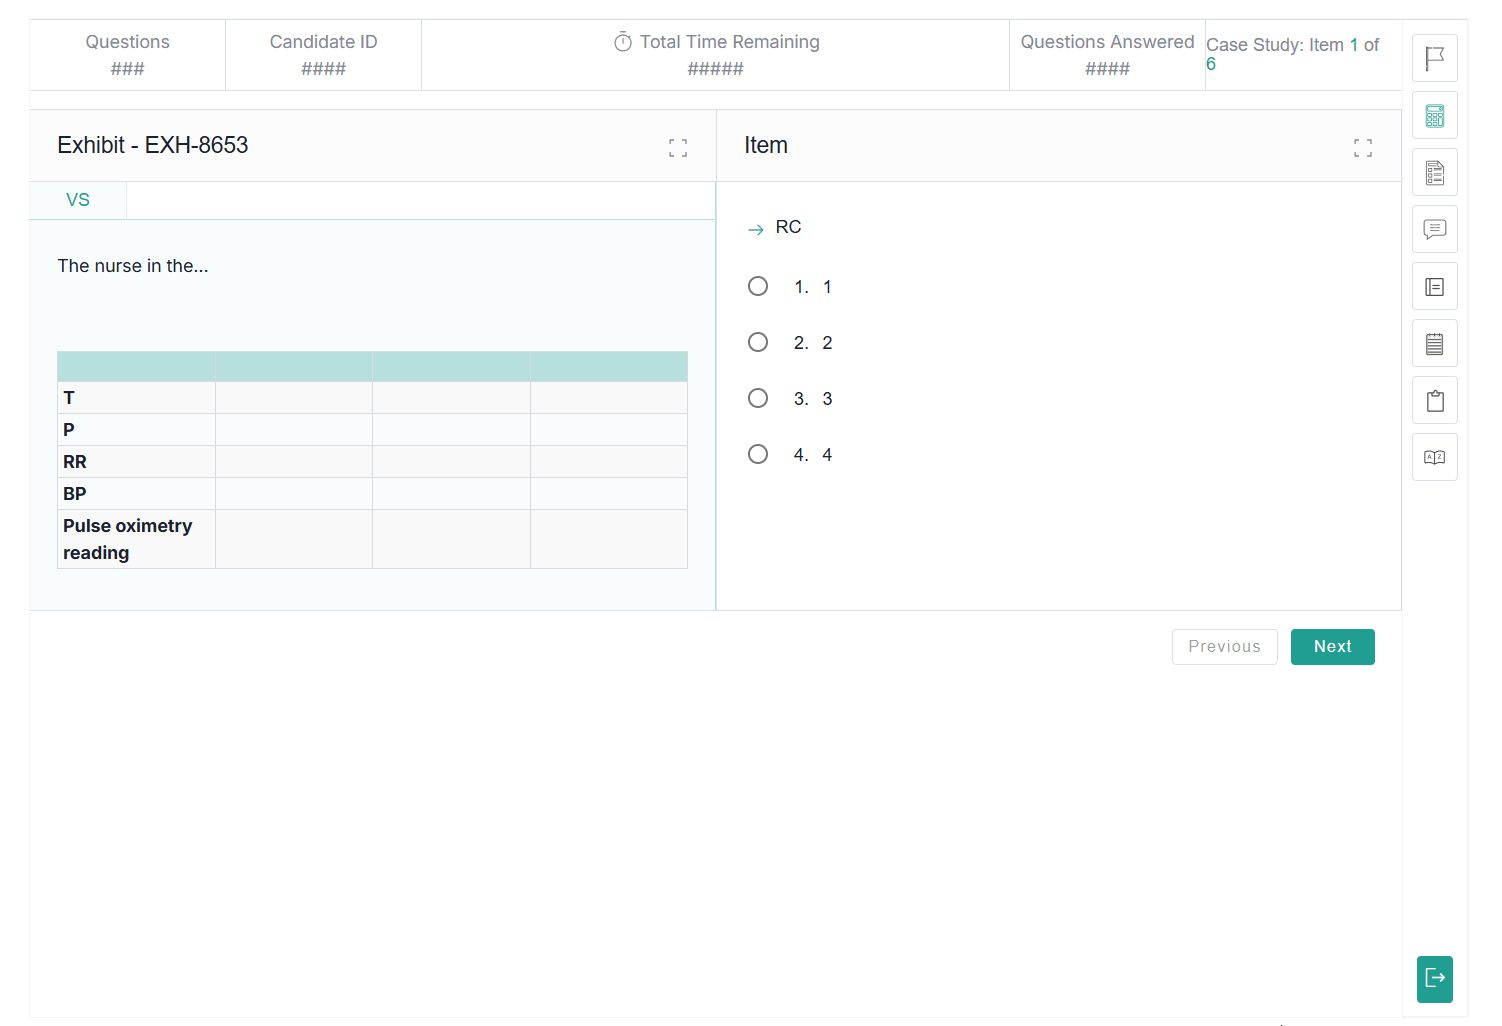
- Click Preview Case to view the preview of the case and click next to view the next item in the case.
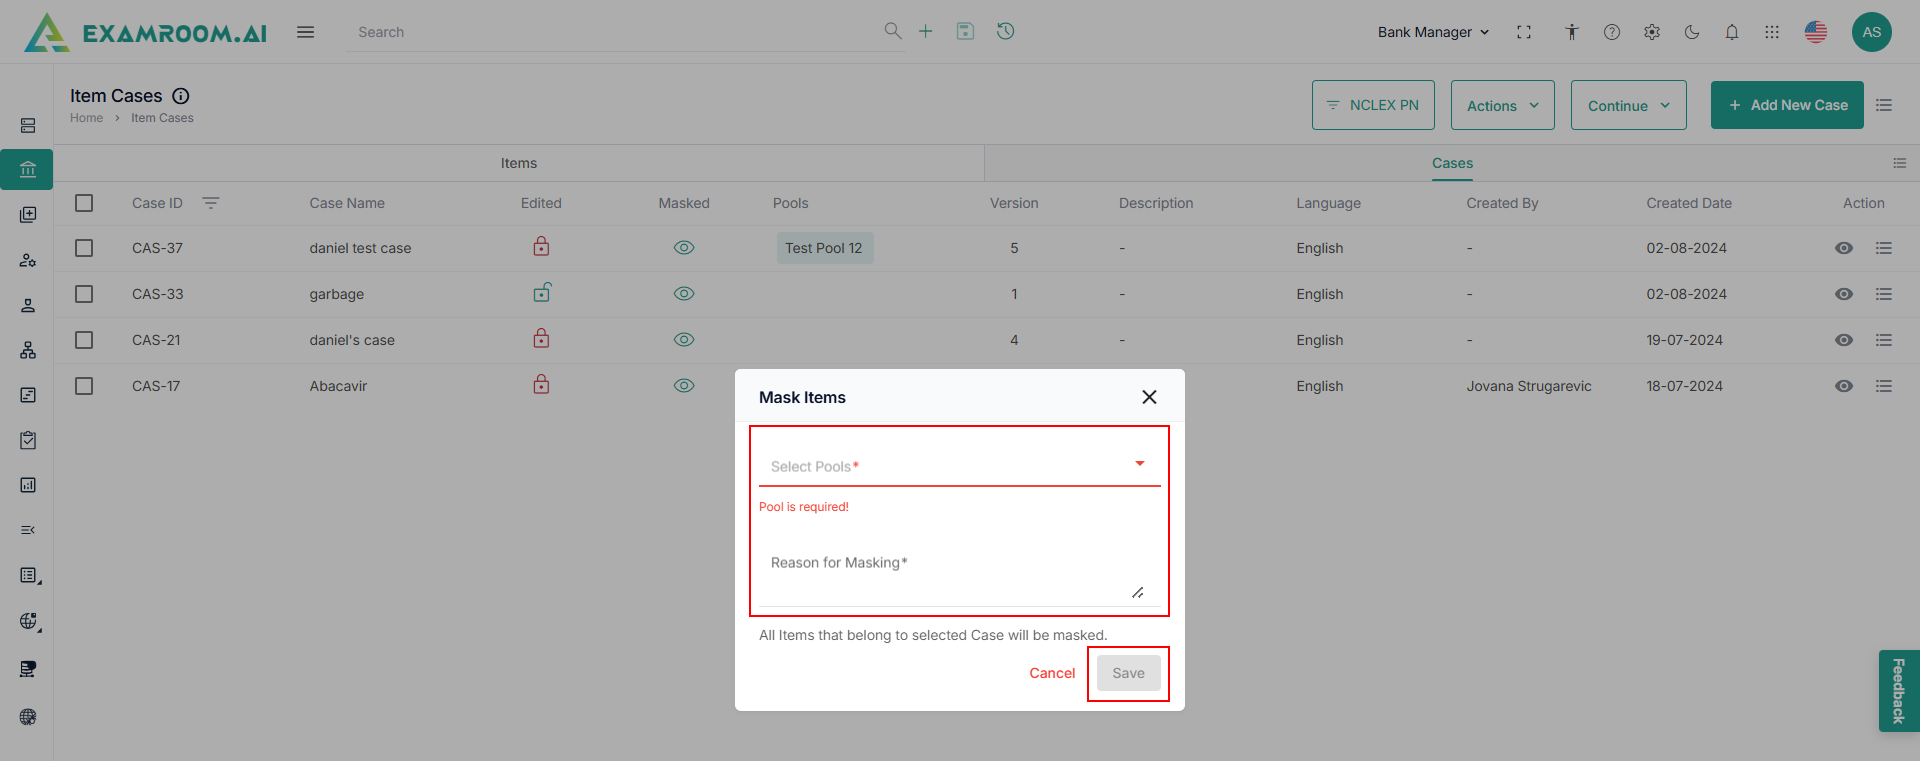
- Click Mask Case from the action header, select Pools, enter the Reason for Masking, and then click Save to apply the case mask.
- Click Bookmark to bookmark a case.
Add New Item
In this section, you can add/create items to the item bank and perform these steps to add new item.
- Click Items menu from the left menu.
- Search for Program in the search bar or select the program from the list.
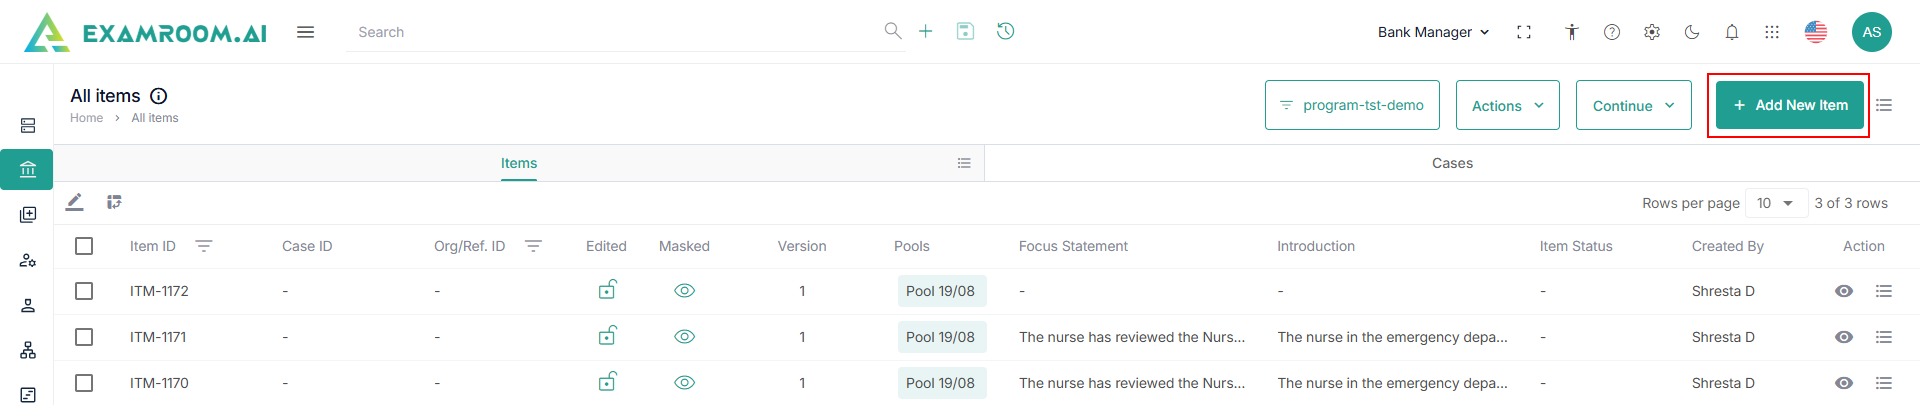
- On the All Items page, navigate to the top right corner and click Add New Item.
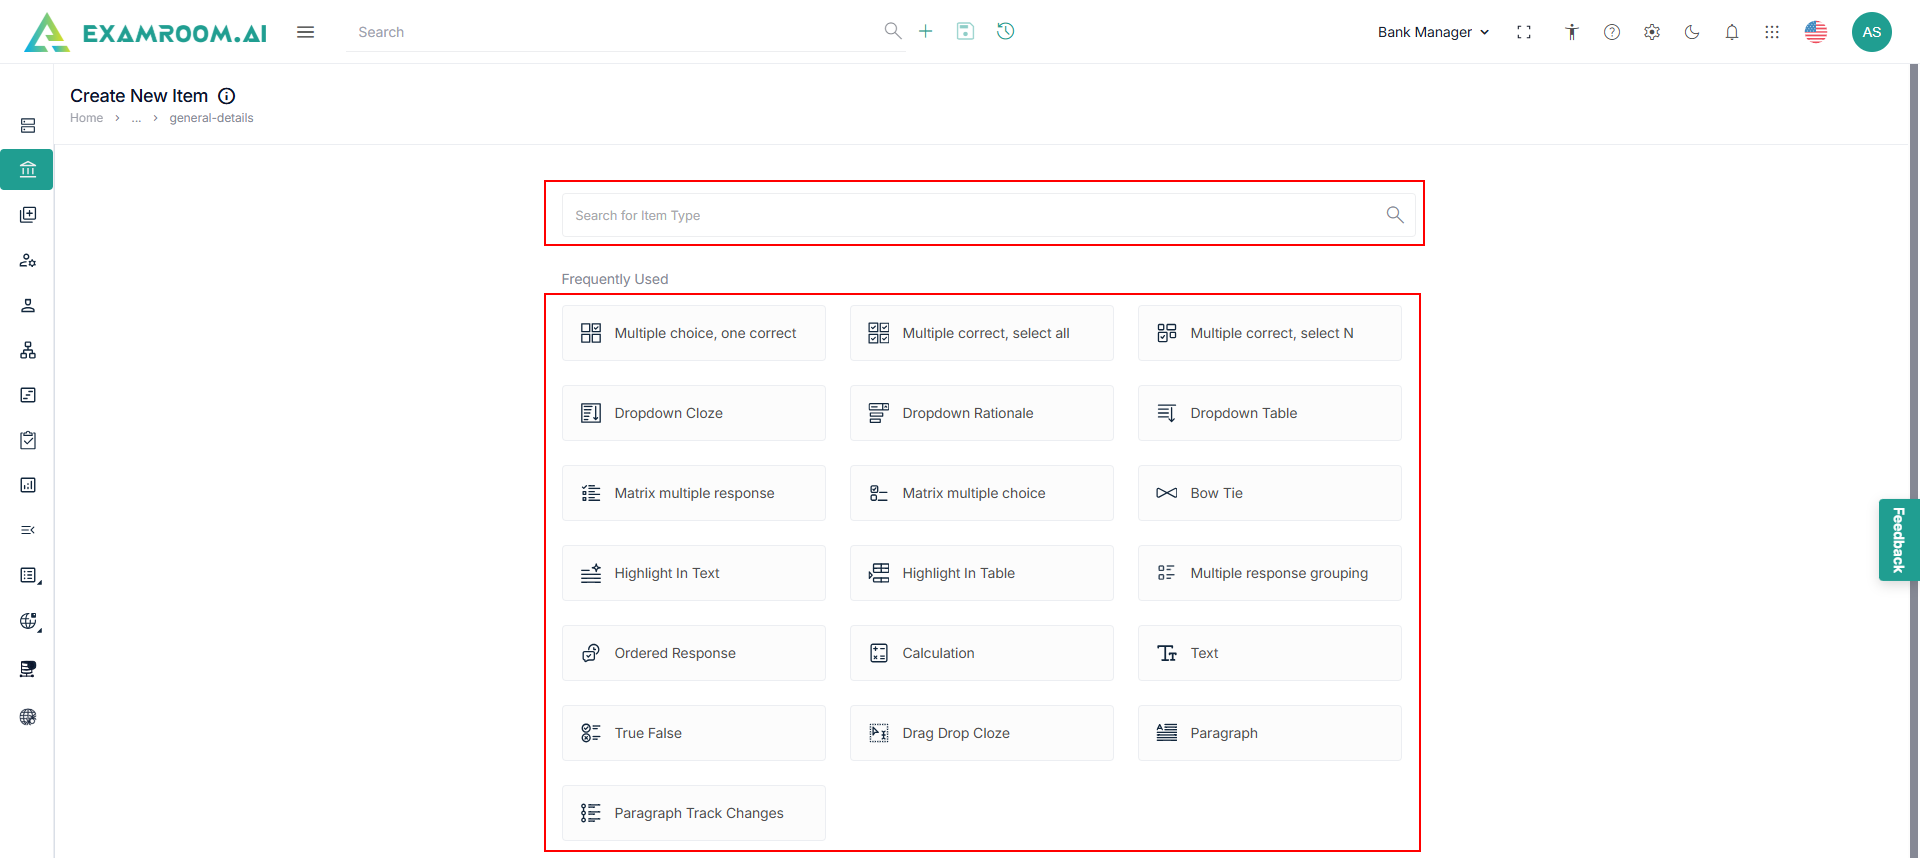
Note: The application displays the Create New Item page. - Search for Item Type or click any of the Frequently Used item types.
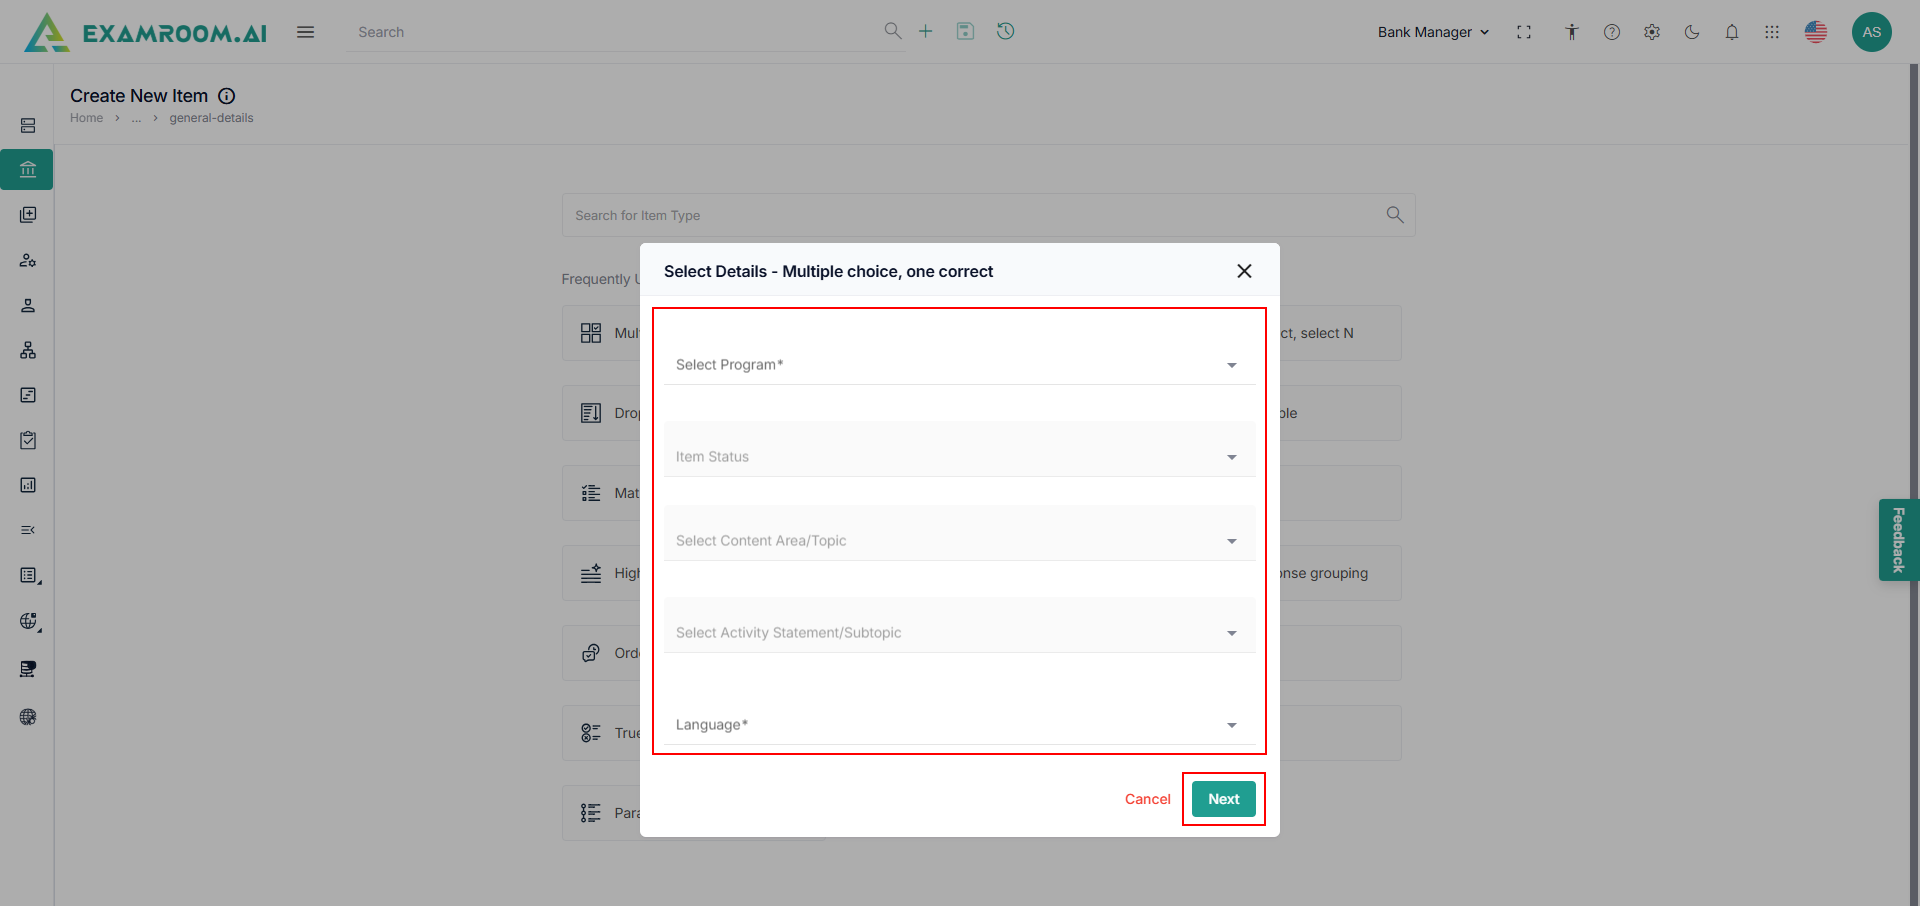
- Provide the following information as required from the respective dropdowns:
- Select Program from the dropdown.
- Select Item Status.
- Select Content Area/Topic.
- Select Activity Statement/Subtopic.
- Select Item Category.
- Select Language.
- Click Next.
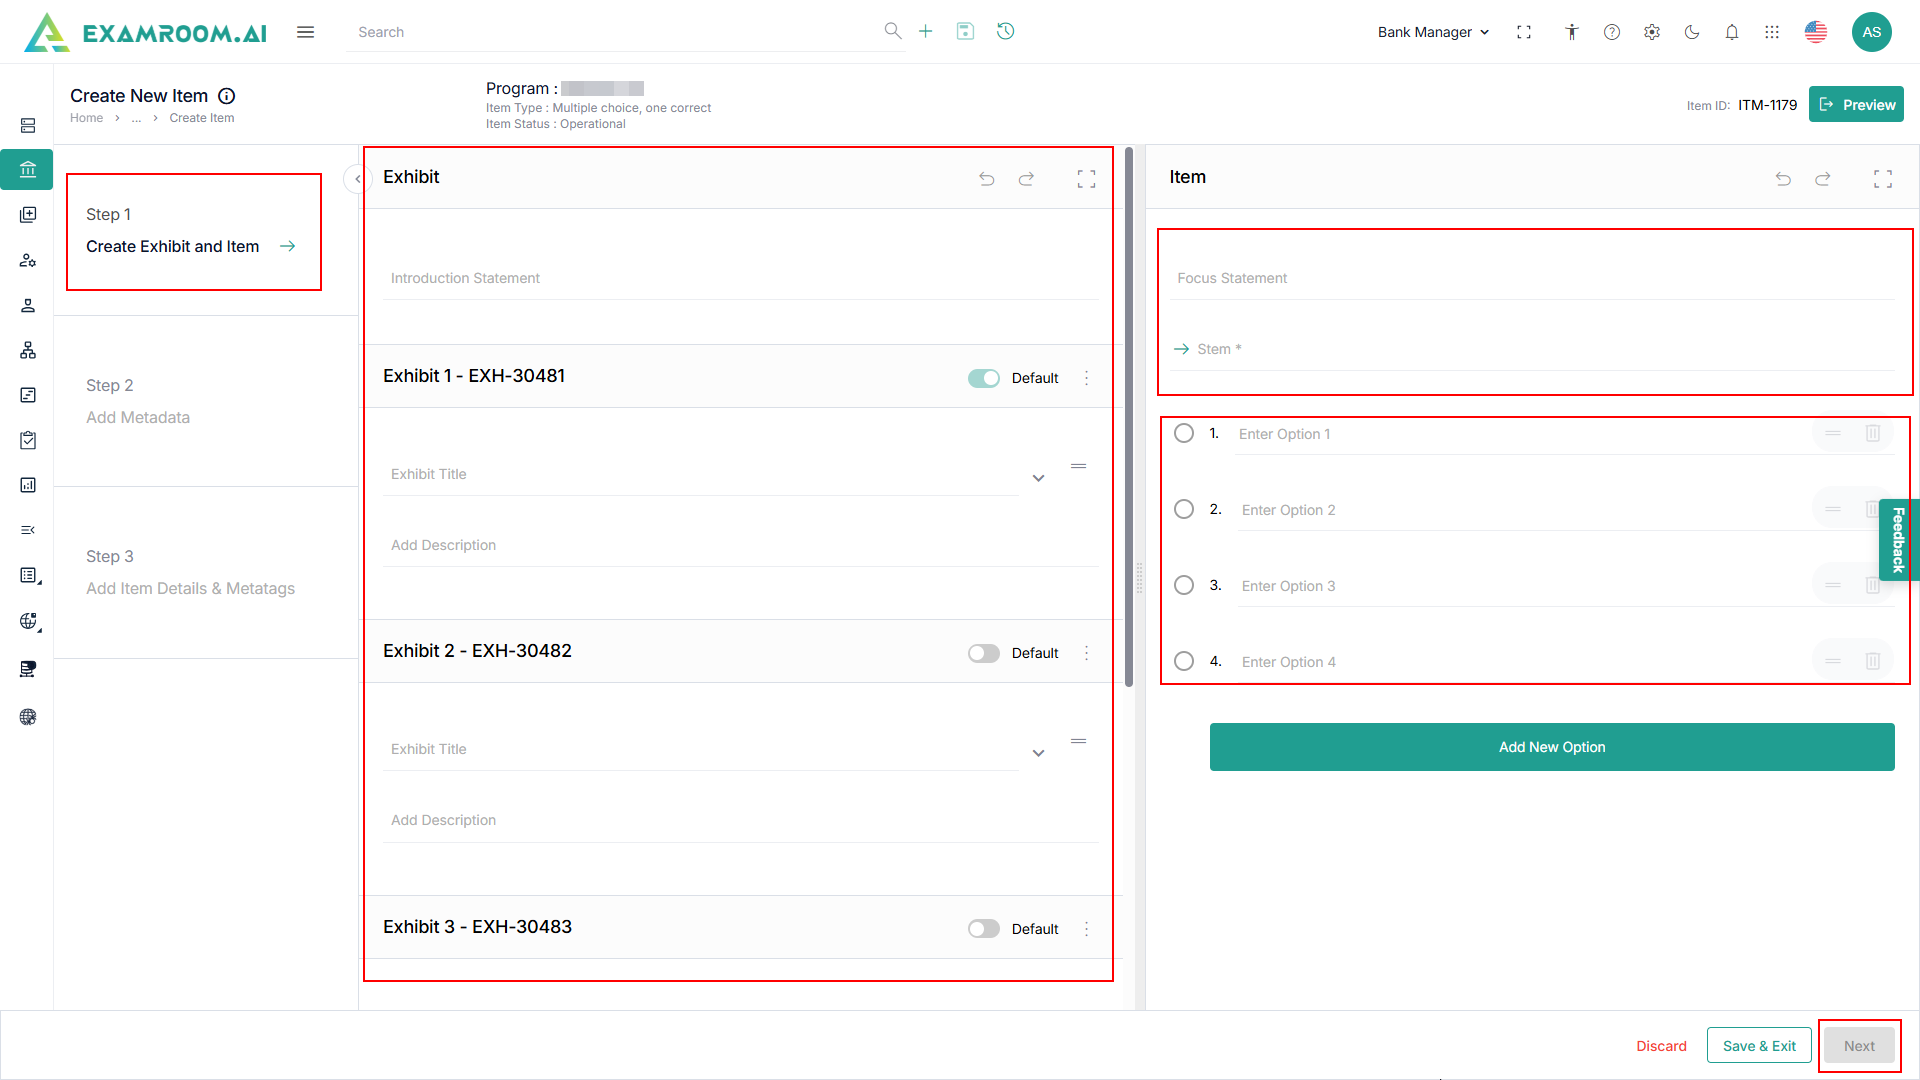
- Click Step 1 - Create Exhibit and Items and provide information for:
- Exhibit – Introduction Statement.
- You can add more statements in Exhibit 1, Exhibit 2, and Exhibit 3 by entering the Exhibit Title, Choosing Exhibit Table, and Add Description.
- Click the toggle button to set the Exhibit as default.
- Note: You have the option to Customize the items. For item customization and item framework, refer to the Item Customization and Item Framework sections.
- Click Add Another to add more exhibits.
- Note: Add Another option is provided only if the number of exhibits is pre-set in the Item Framework module and the user still does not meet the predefined number of exhibits.
- Under the Item section, enter the Focus Statement with Stem (actual question) information.
- Enter the options of the stem based on the item types.
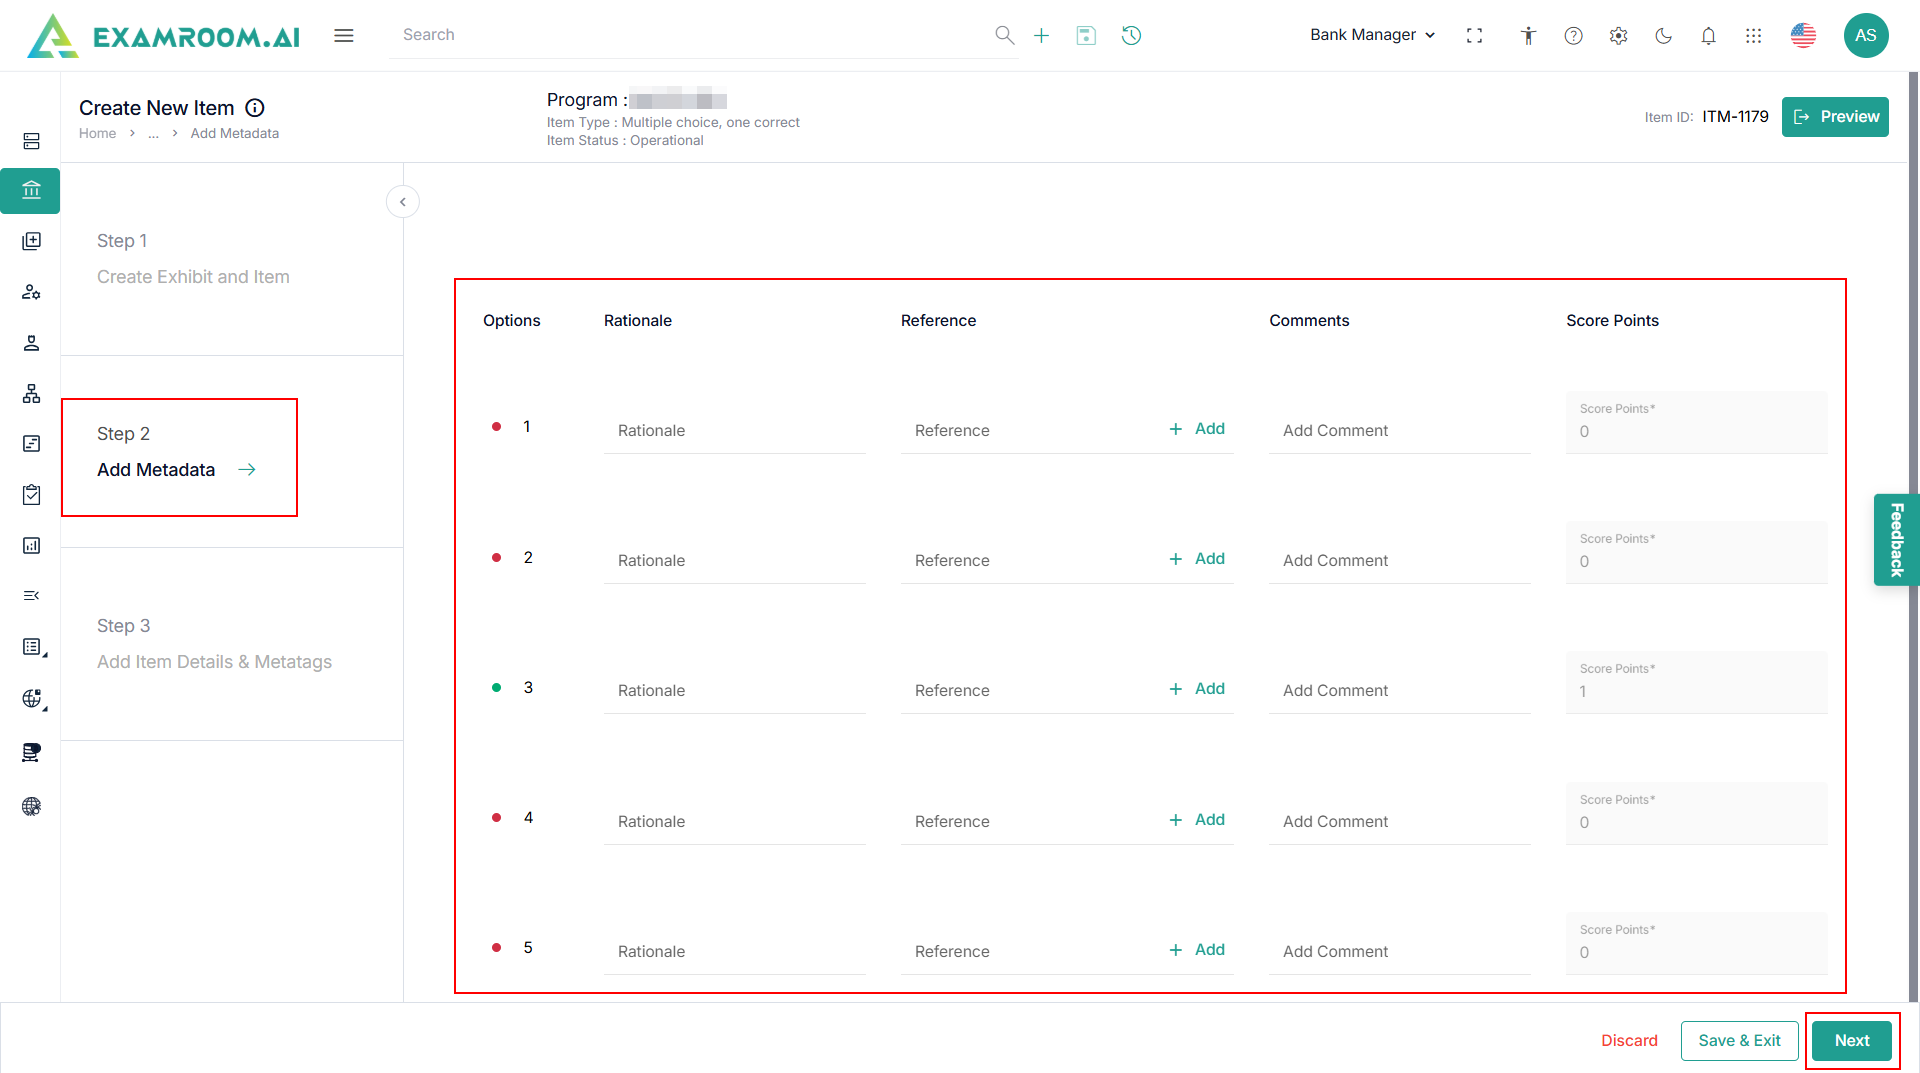
- Click Next or Step 2 – Add Metadata.
- Enter the following information for Metadata:
- Options: View the provided answer.
- Rationale: More detailed information for each answer option.
- Reference: Where the answer is referred from (book, journal, or URL’s)
- Comments: optional comments left by internal SMEs for better communication on each item.
- Score Points: Entering score points for each answer option given.
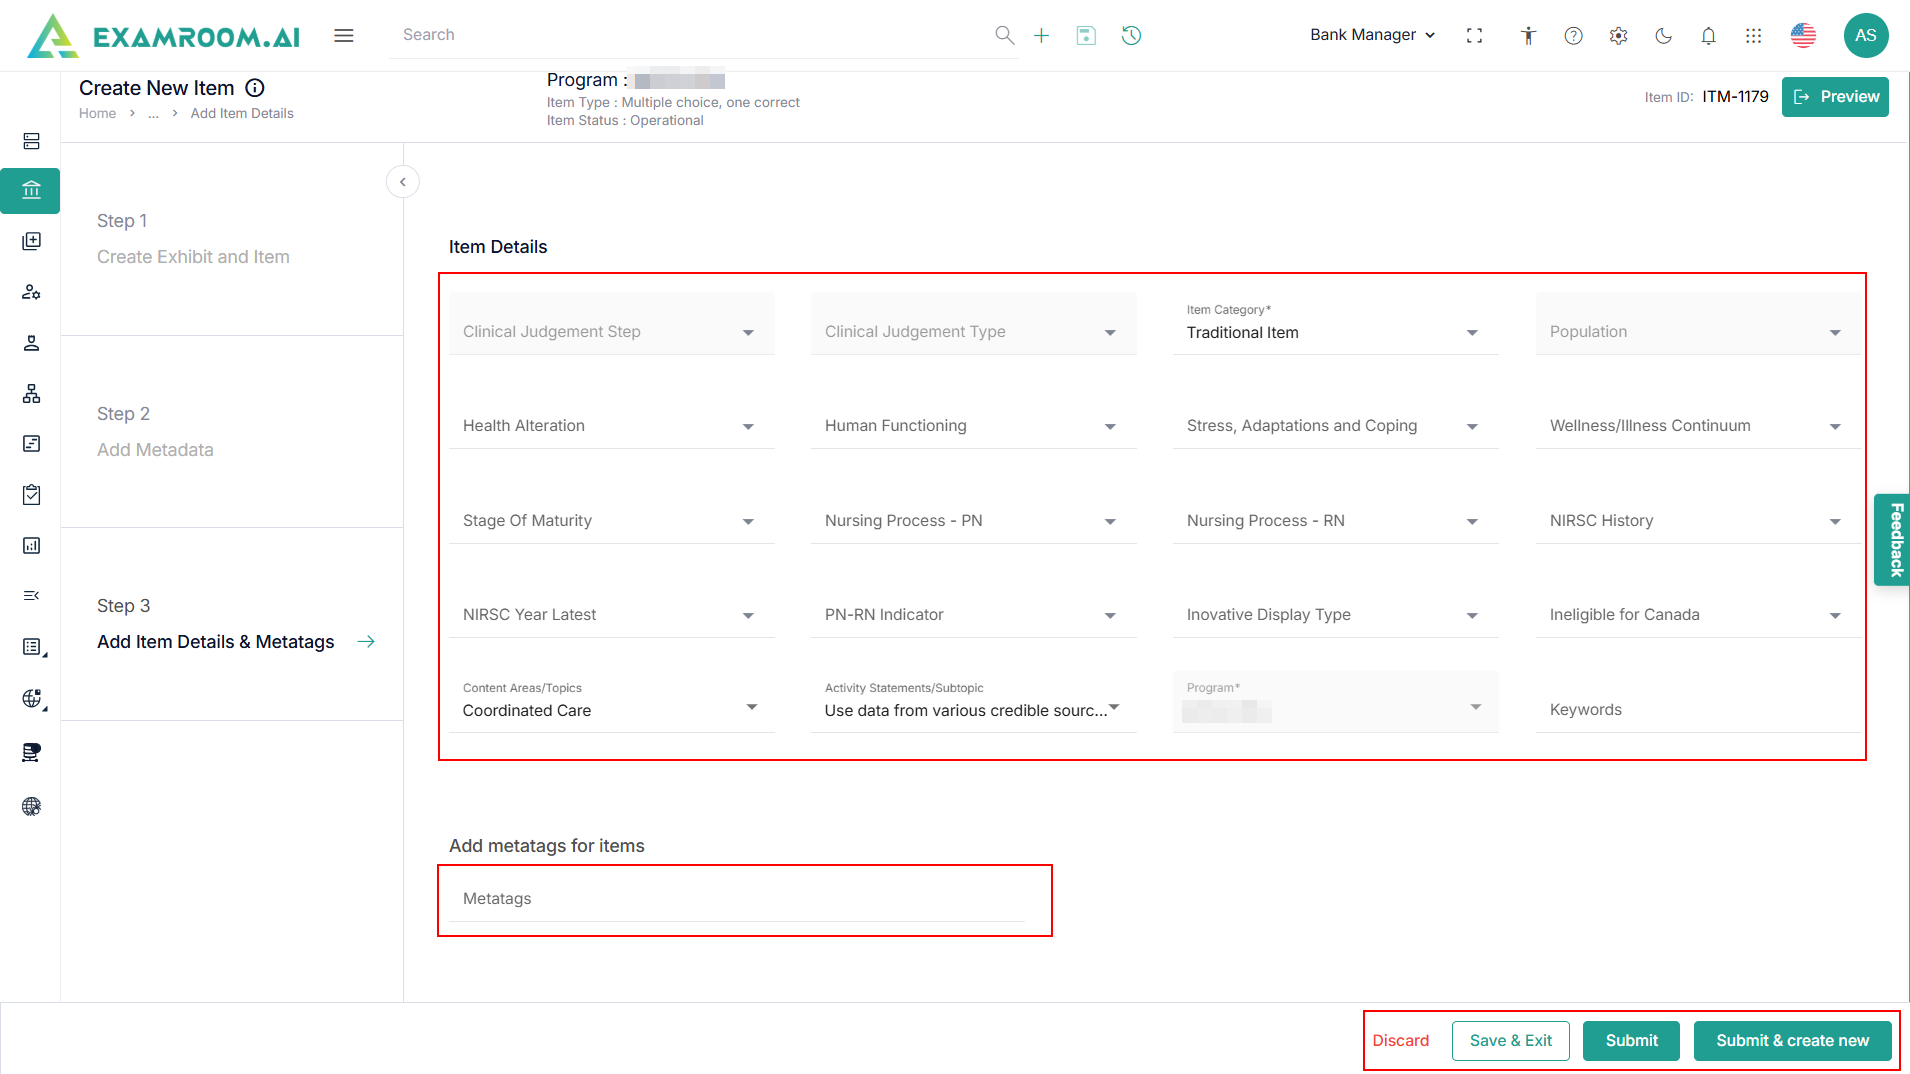
- Click Next or Step 3 – Add Item Details & Metatags.
- The following is the information for Item Details and Add Metatags for Items:
- Clinical Judgement Step - The step in clinical procedure practice.
- Clinical Judgement Type - The type of clinical analysis.
- Item Category - The category of an item.
- Population - The medical branch item is referring to.
- Item Details - The details that can define items further.
- Health Alteration
- Human Functioning
- Stress, Adaptations, and Coping
- Wellness/Illness Continuum
- Stage of Maturity
- Nursing Process – RN
- Nursing Process – PN
- Status Code
- NIRSC History
- NIRSC Year Latest
- PN-RN Indicator
- Innovative Display Type
- Ineligible for Canada
- Content Areas/Topics
- Activity Statements/Subtopics
- Program
- Keywords
- Add Metatags for items - Enter the tags that can define items further.
- Click Submit to view the added item in the Items list.
- Click Discard to cancel the item and click Save & Exit to save the item and continue edit it for later use.
- Click Submit & Create New to submit the item and start creating a new item.
- On the Create New Item page, navigate to the top right corner and click the Preview to view the item information.
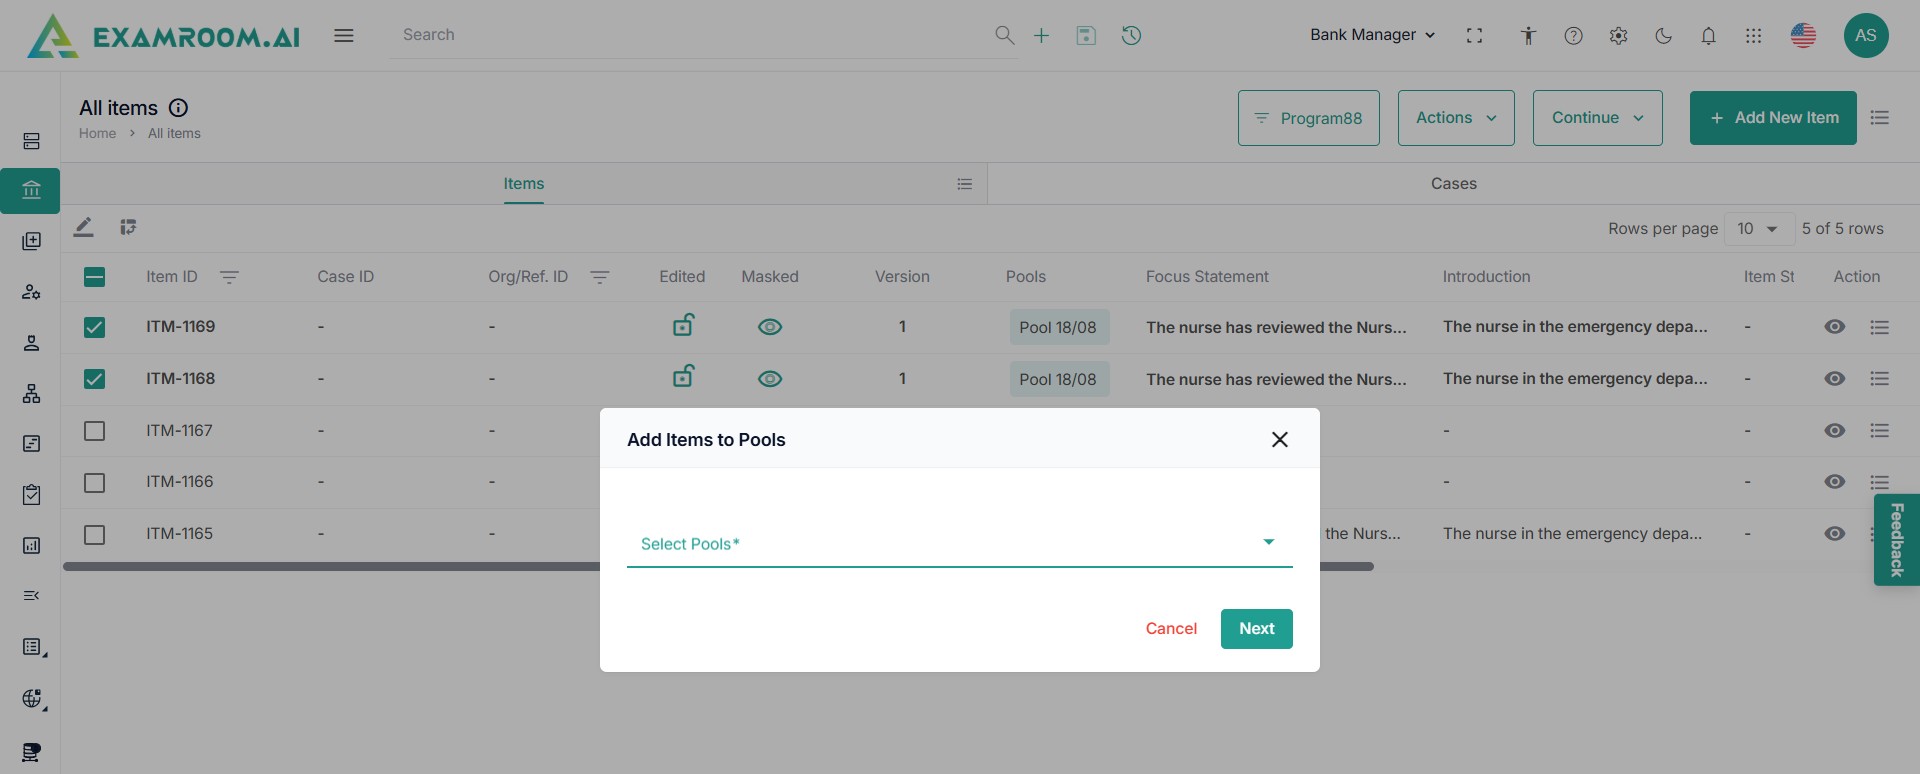
Add Item to Pools
To add items to the pool list, follow these steps.
- Select Item from the list.
- Click Add Items to Pools to add the selected items to pool.
- Select the Pools from the dropdown.
- Click Next to add the items to the pool.

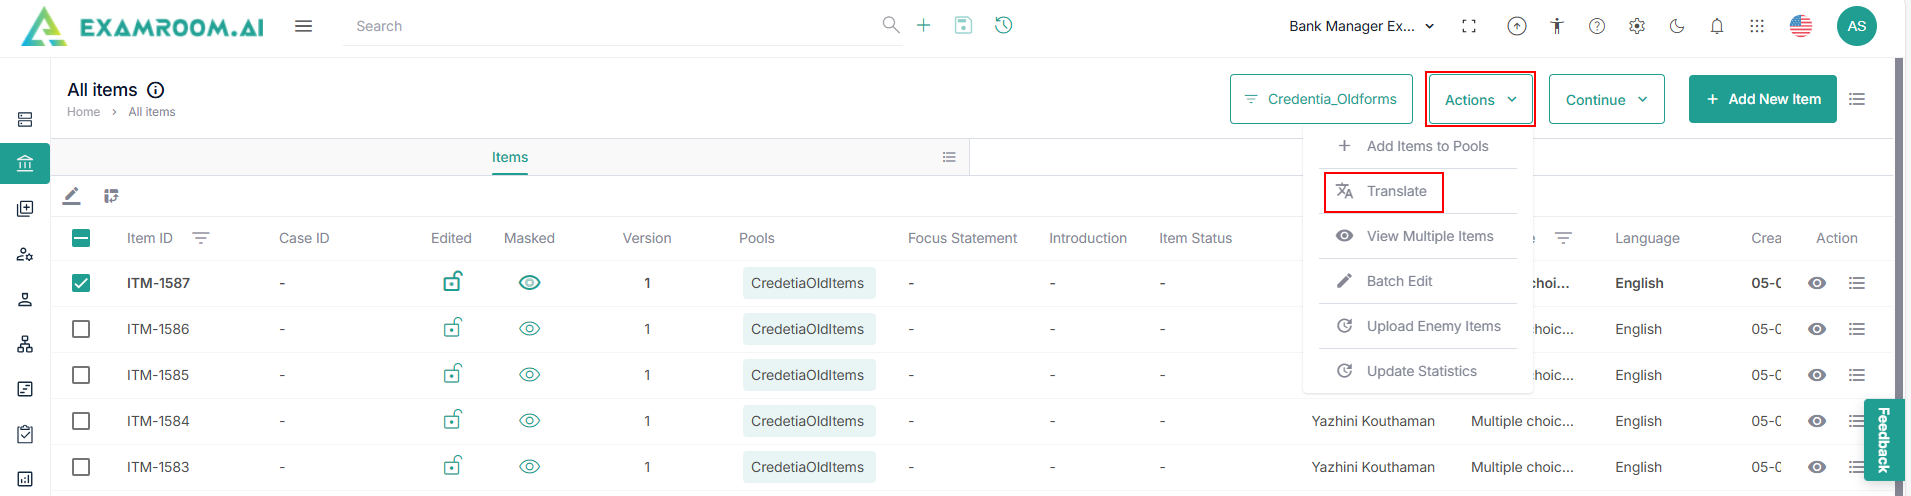
Translate Item
To translate the selected item, follow these steps.
- Select Items from the list.
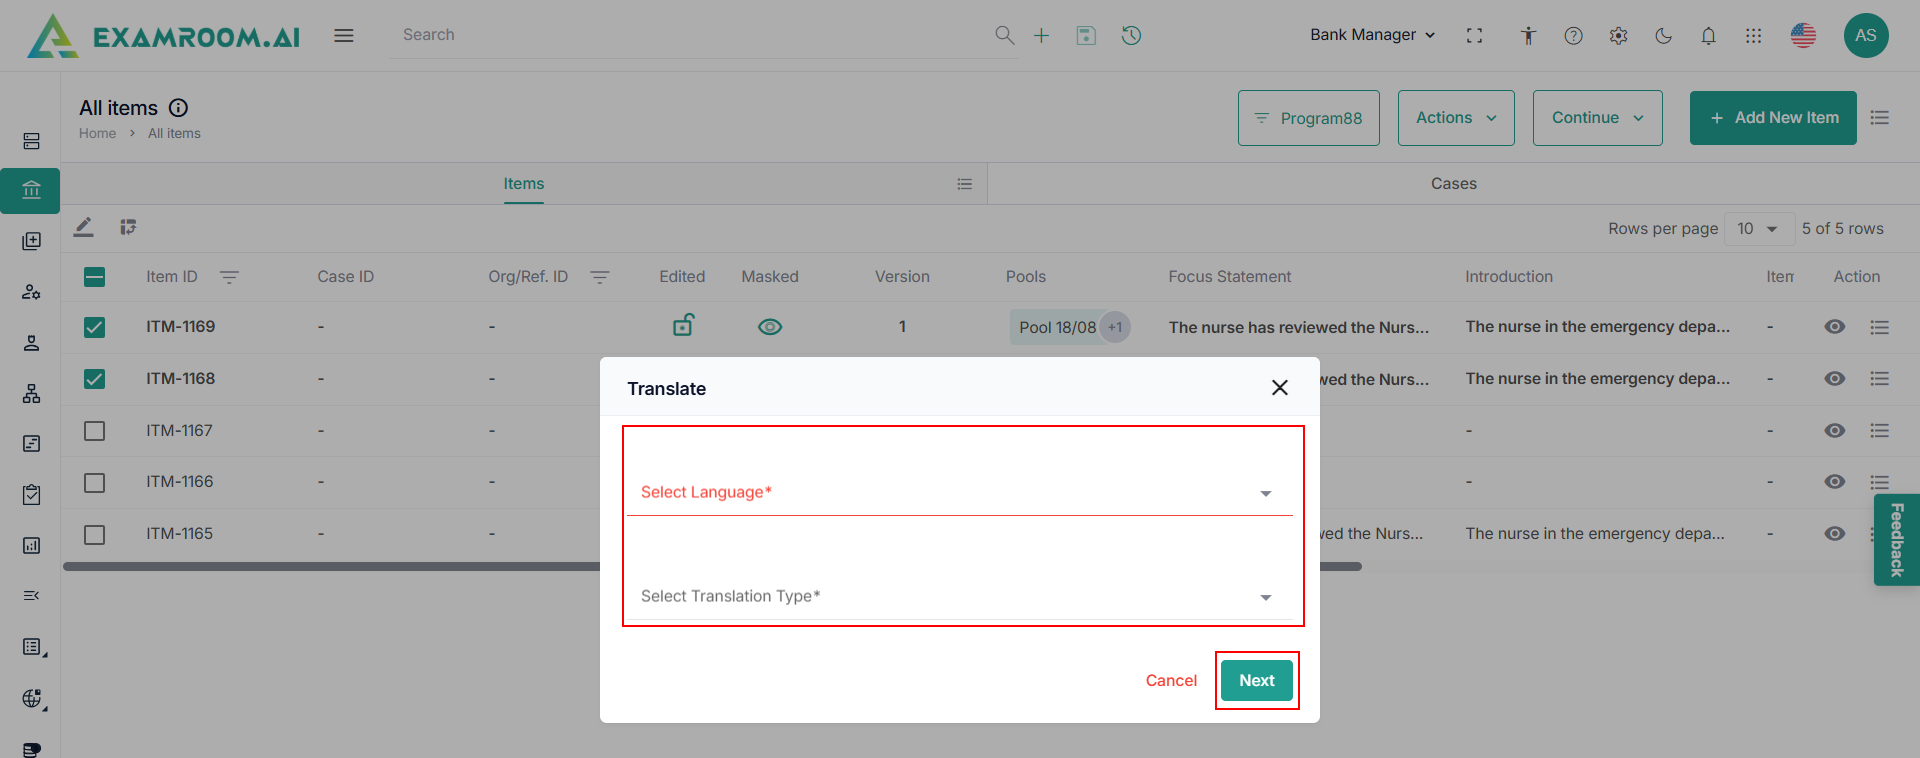
- Click Translate under the Action dropdown menu.
- Select Language and Select Translation Type from the dropdown.
- Click Next to proceed to the next step.
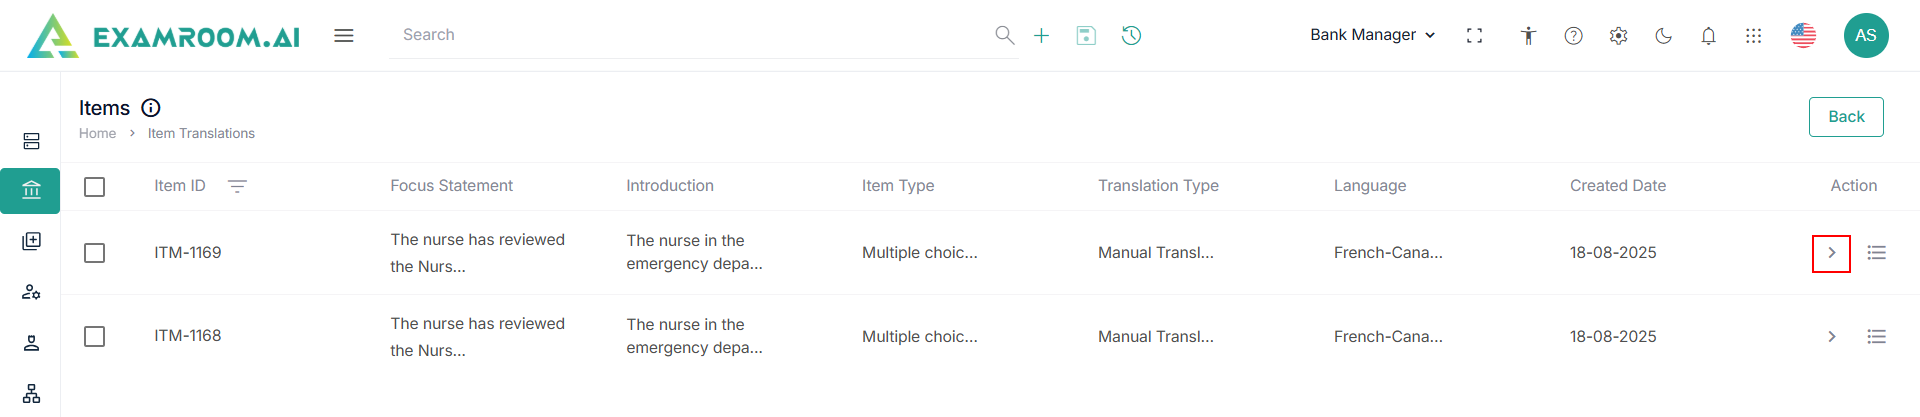
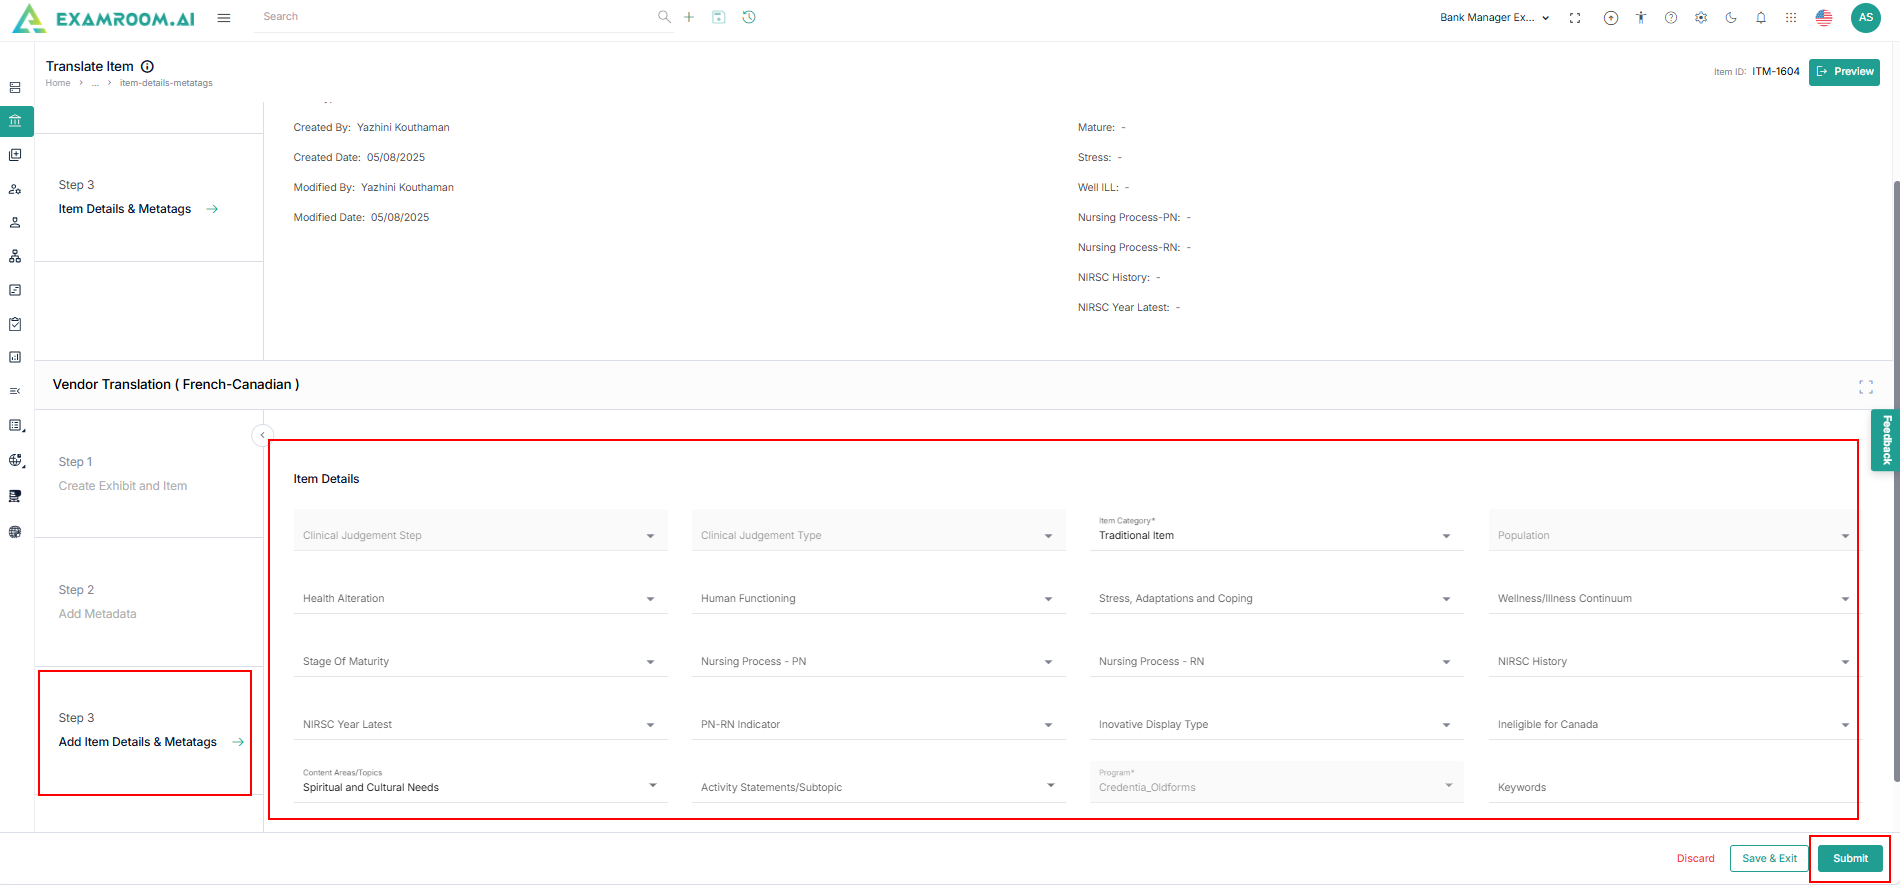
- Click the arrow under the Action header to translate the item.
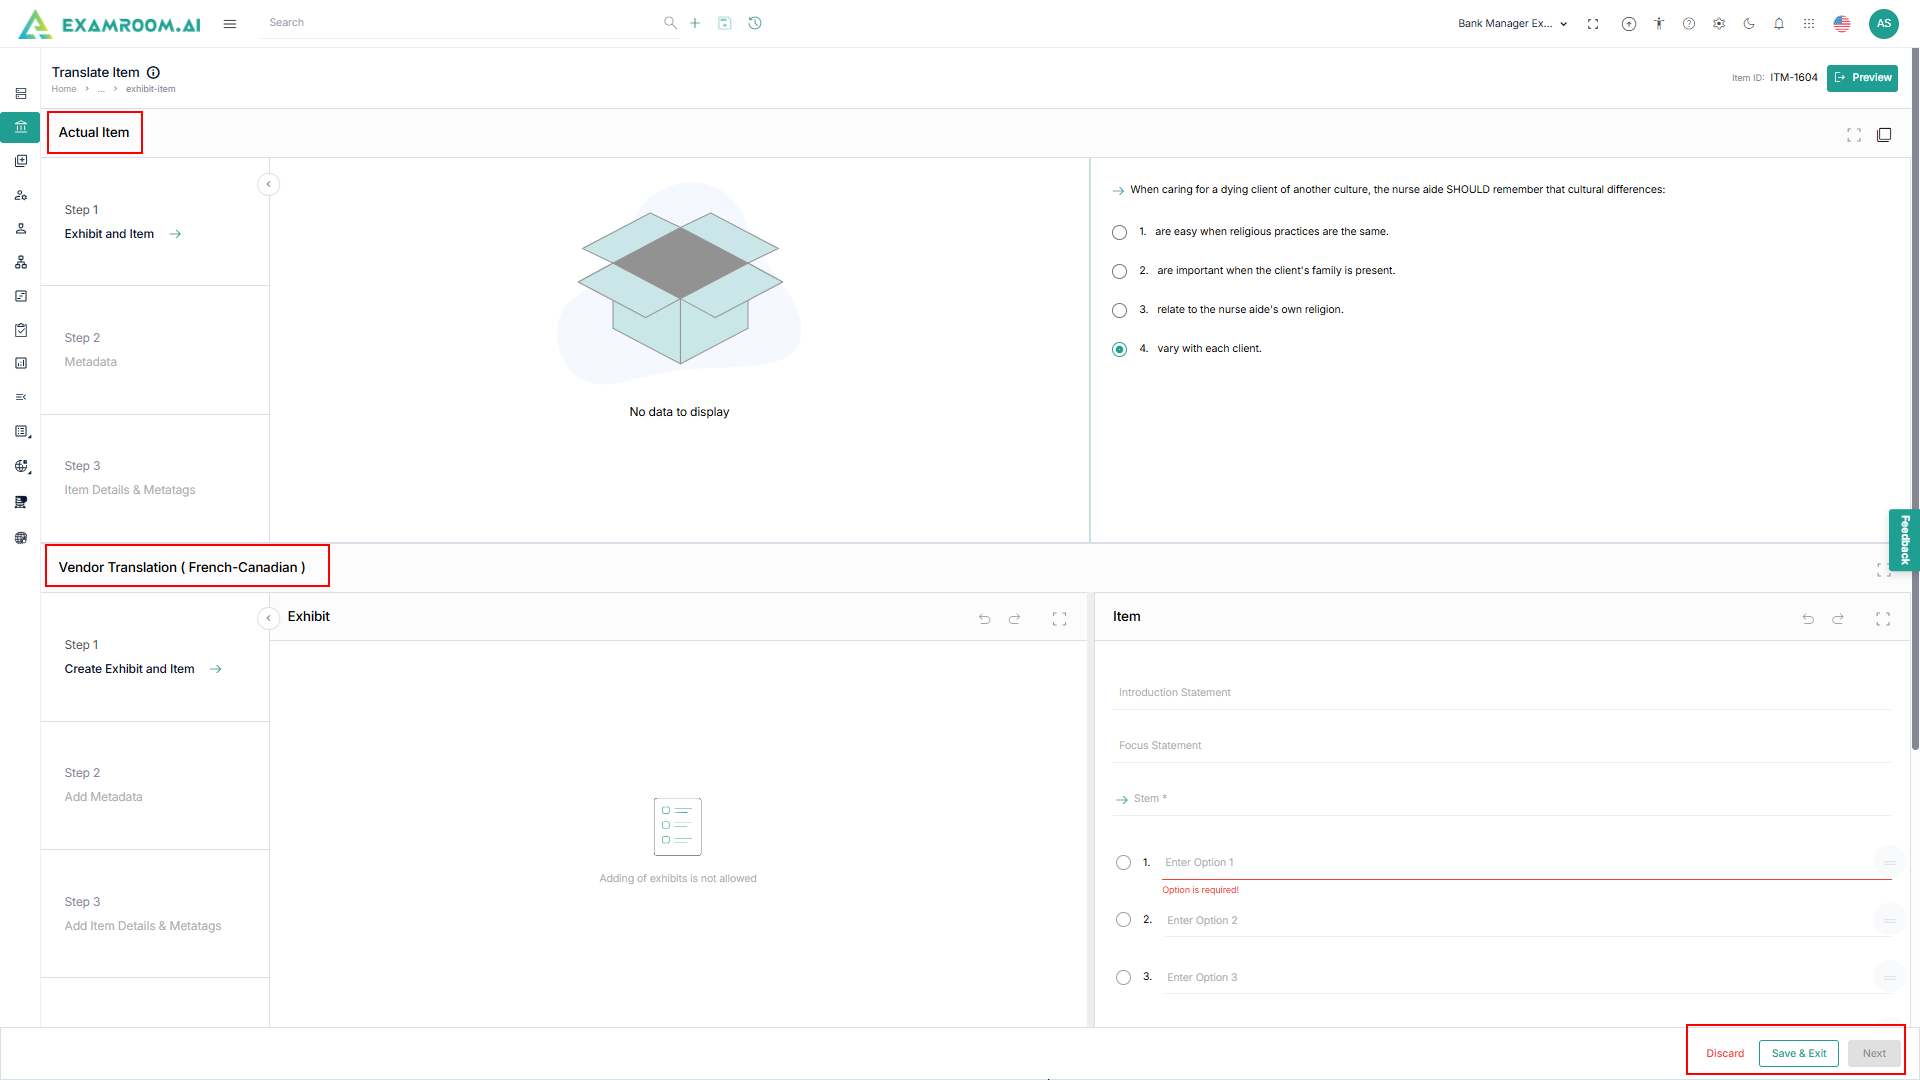
- The Actual Item section displays the original item content that is to be translated. The Vendor Translation section is provided for vendors to input the translated version of the item.
- Click Save and Exit to save for now and use it later.
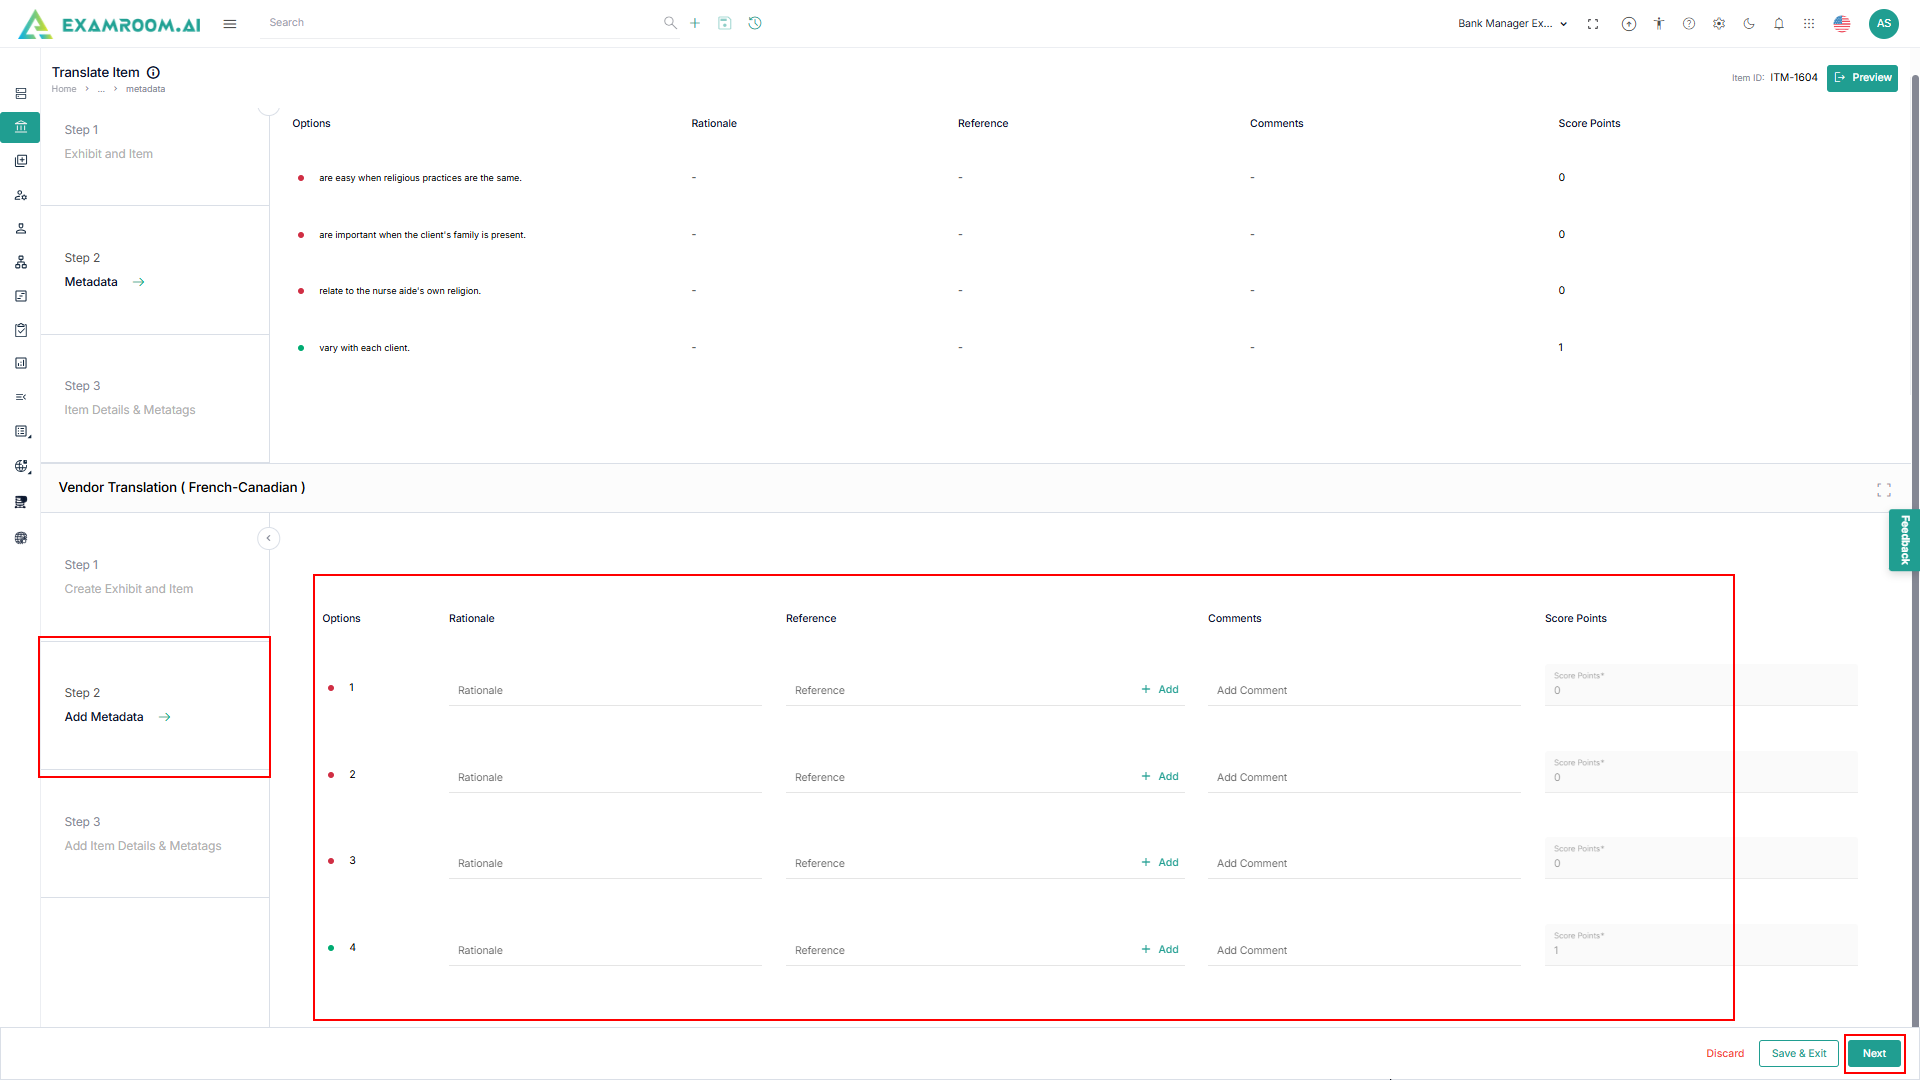
- Click Next to translate Step2 Add Metadata.
- Translate the Metadata information and click Next to translate Step 3 Add Item details and Metatags.
- Translate the Add Item details and Metatags and click Submit to translate the item.
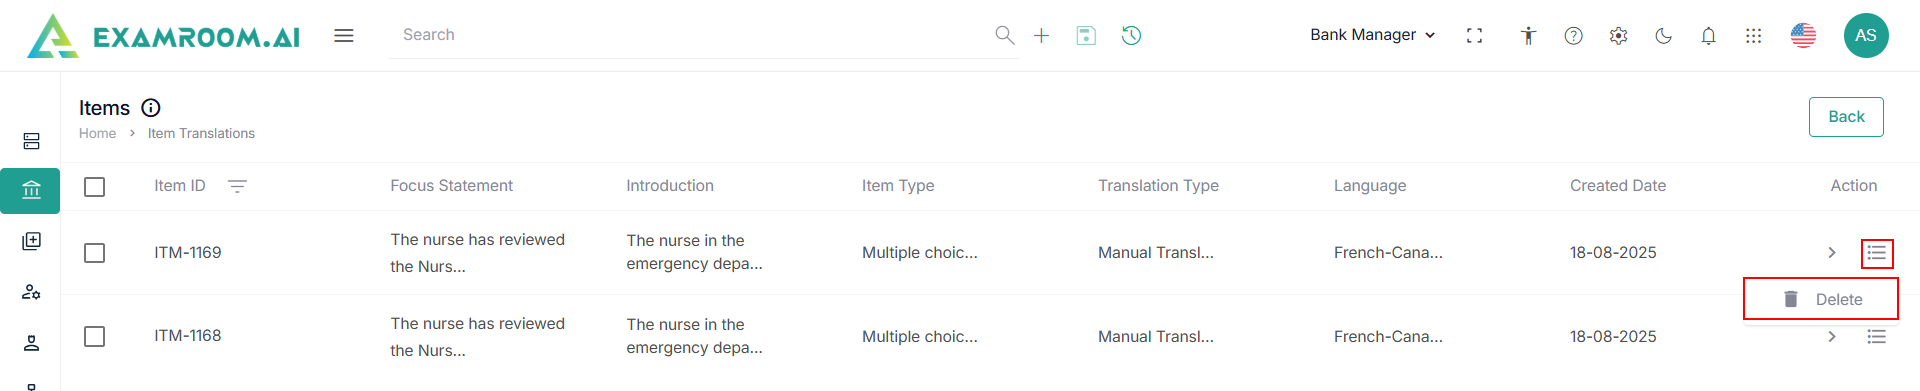
- Click the Hamburger Menu under the Action header then select Delete to remove the selected item from the list.
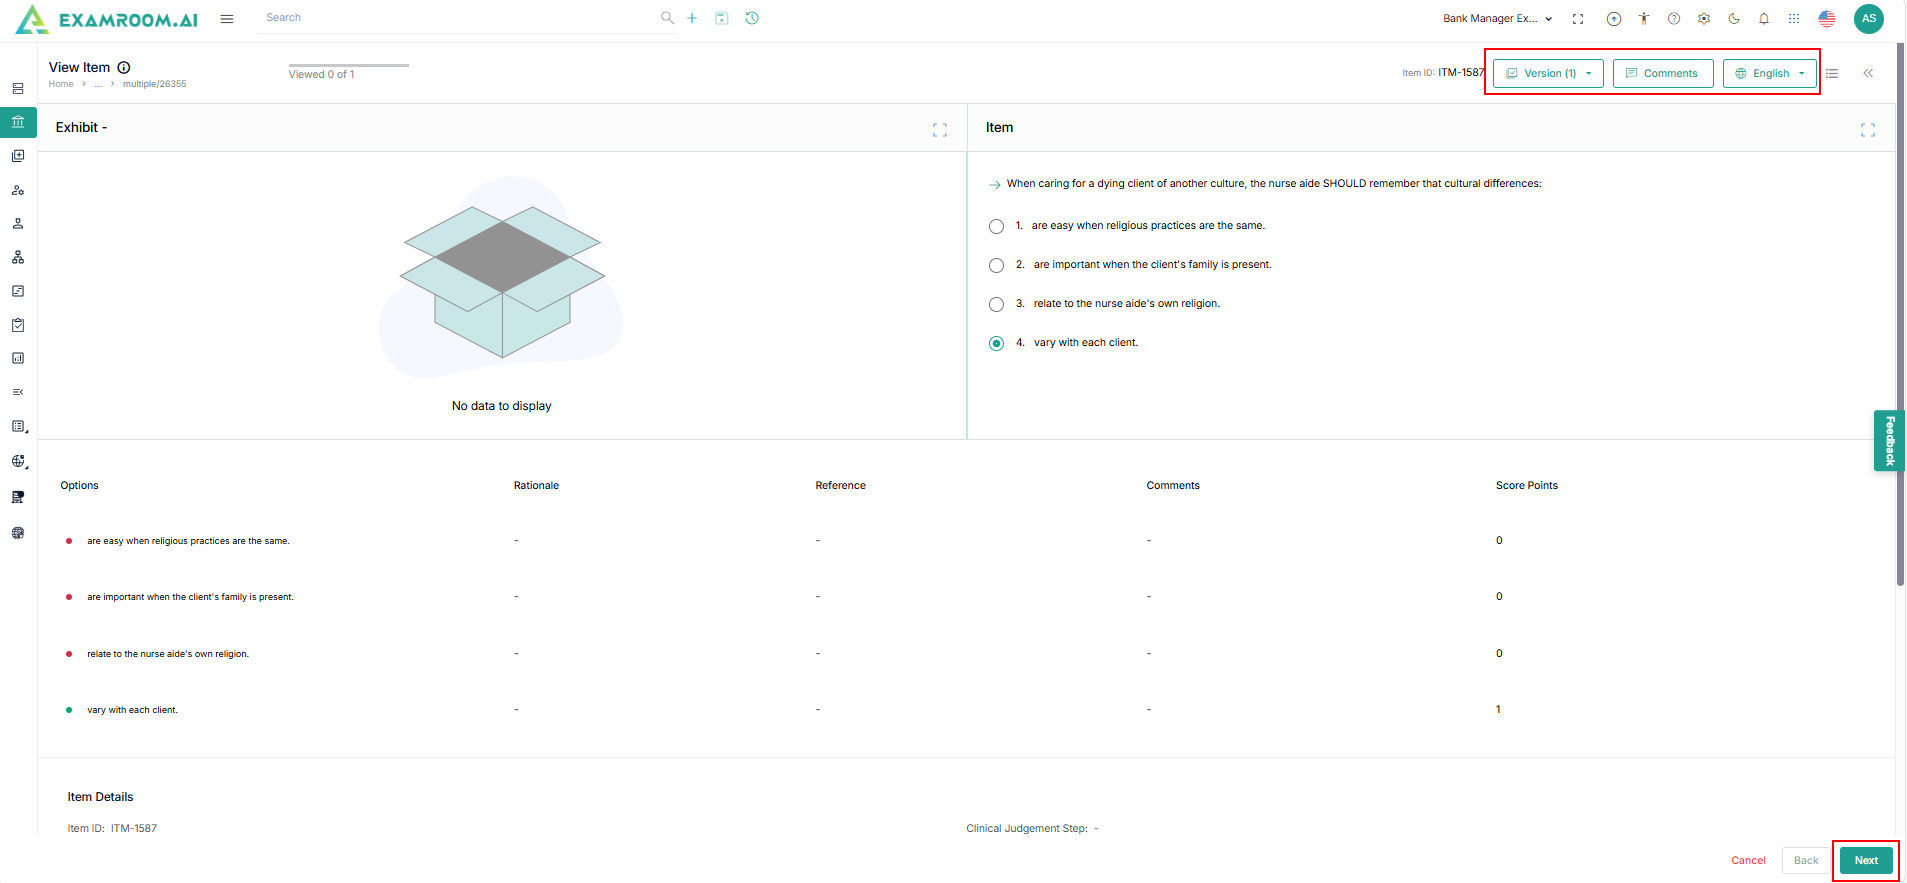
View Multiple Items
To view multiple items, follow these steps.
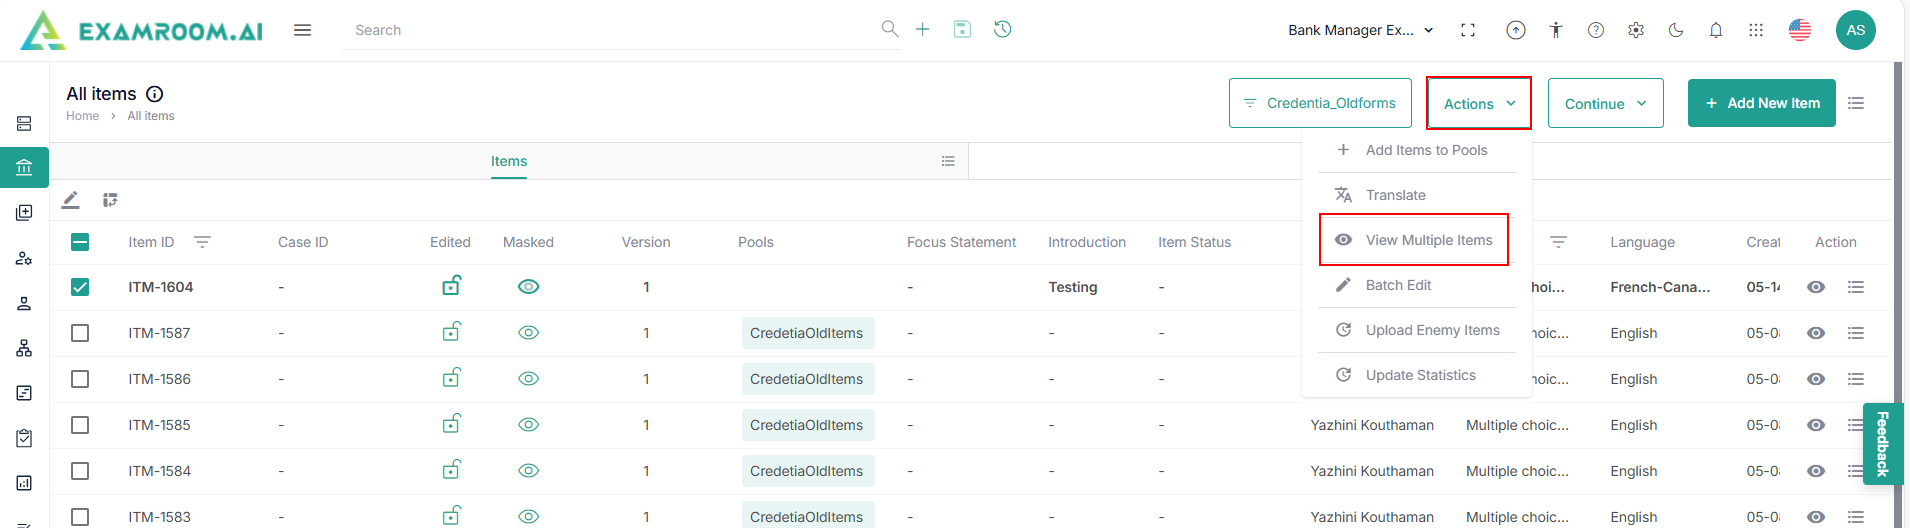
- Select Items from the list.
- Click View Multiple Items under Action dropdown menu.
- View the Version and Language on the top right of the page.
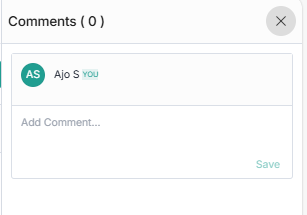
- Click Comment to Add comment and click Save.
- Click Next to view the translate item.
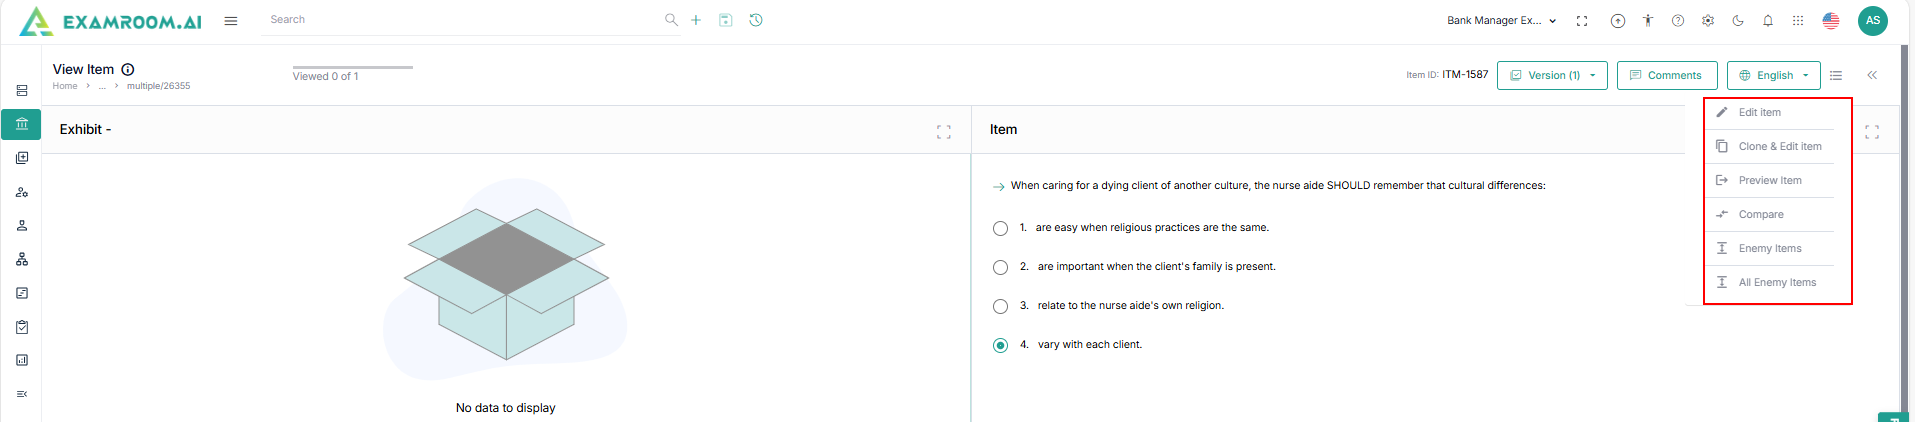
- Click the Hamburger icon near the Language dropdown.
- View the following options, once you click the Hamburger icon.
- Click Edit Item to edit the selected item.
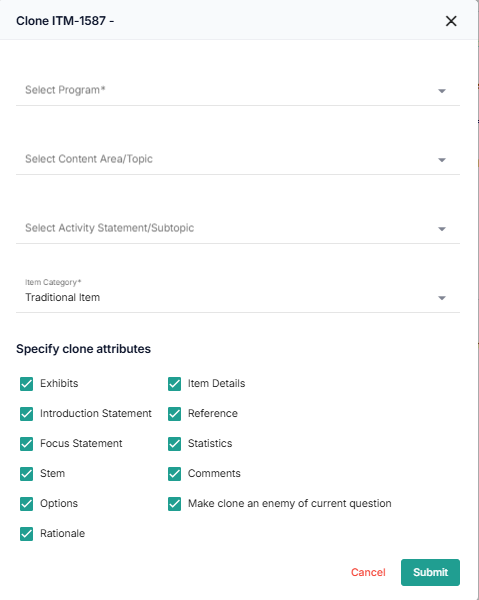
- Click Clone & Edit Item to clone the current item and edit the new item.
- Select the Program, Content Area/Topic, Activity Statement and Subtopic, and Item Category.
- Specify Clone attributes and click Submit.
- Click Preview Item to have a preview of the selected item.
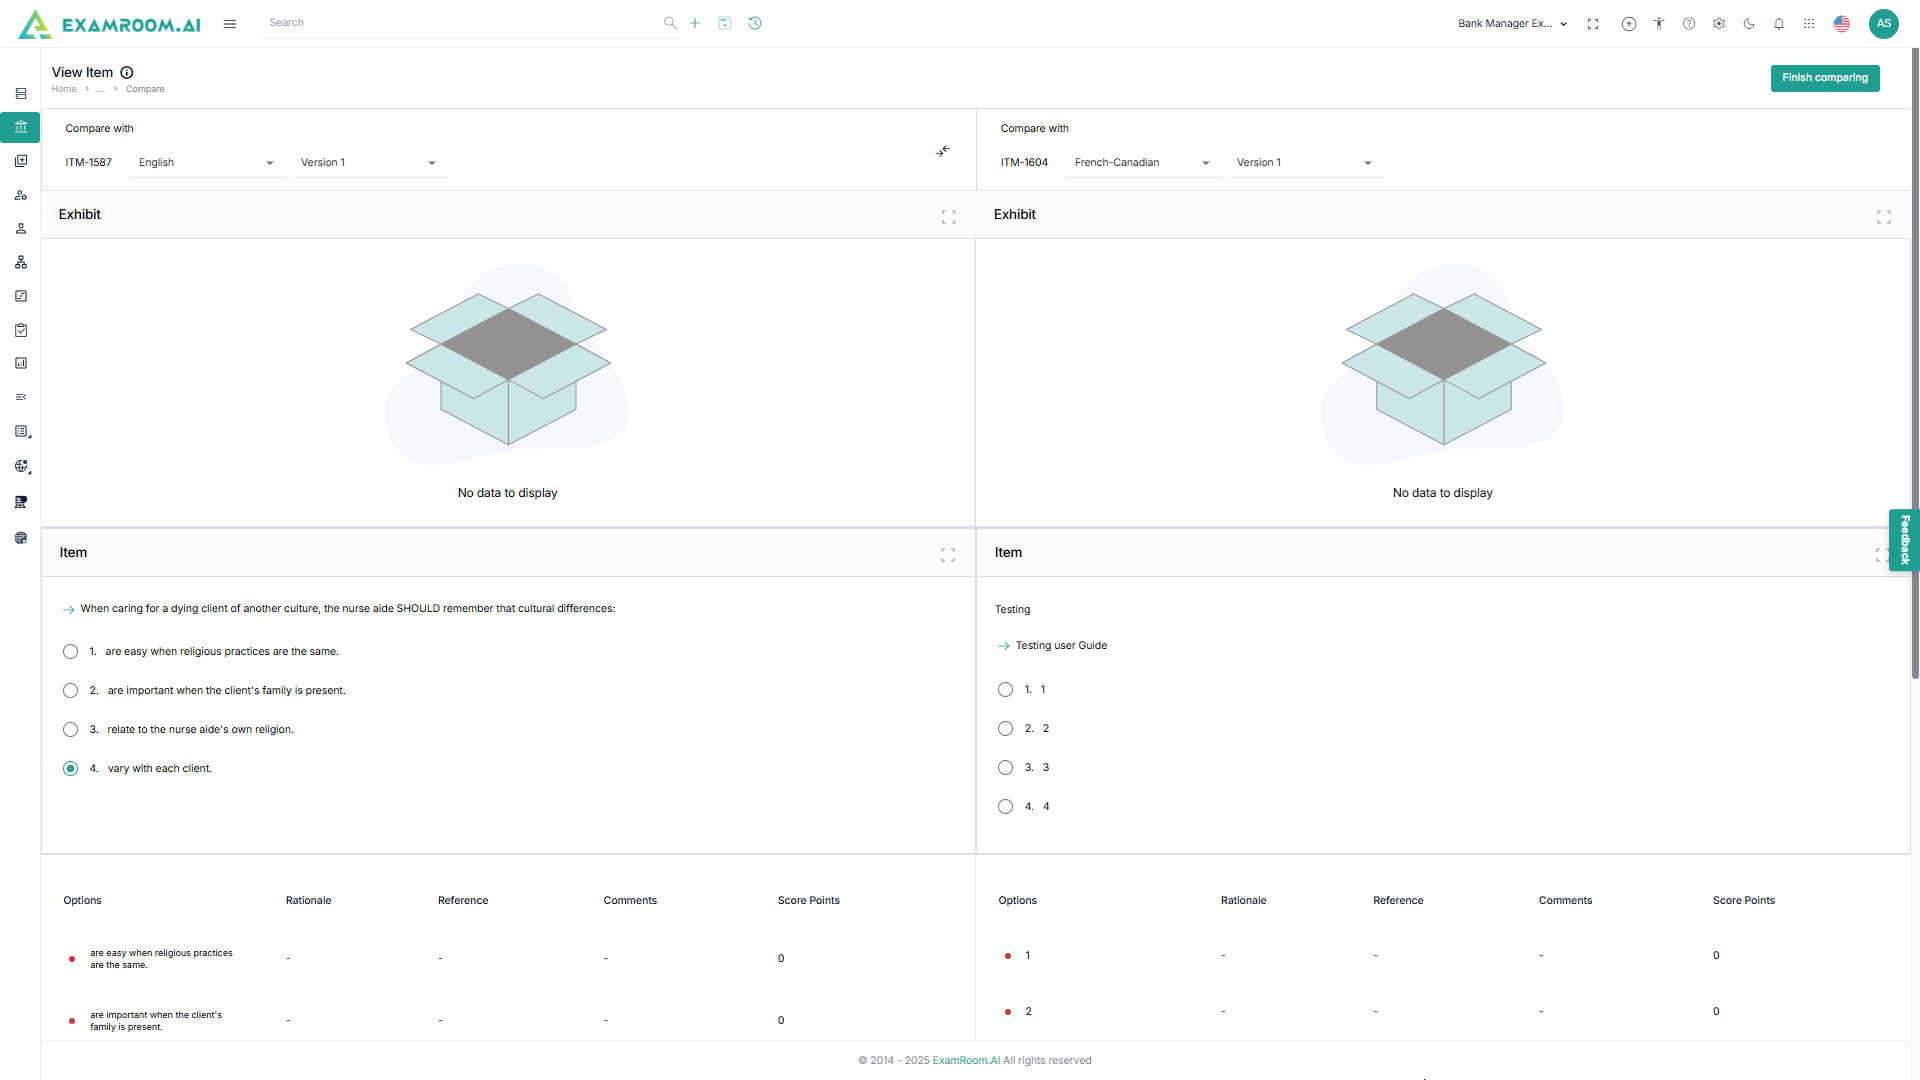
- Click Compare to compare the items based on the language.
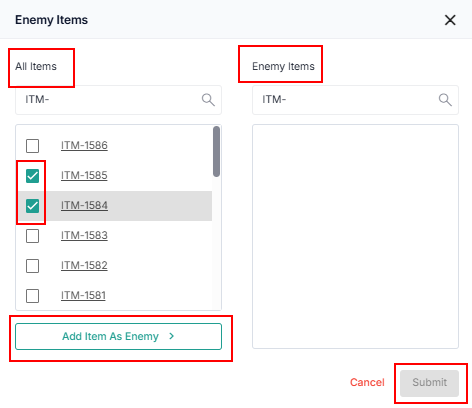
- Click Enemy Item to add the selected items to the enemy list.
- Select the Items under All Items list and click Add Item as Enemy.
- Selected items will move in the Enemy Items list and Click Save to save the enemy items.
- Click All Enemy Items to view all the enemy items list.

Batch Edit
To batch edit the selected item, follow these steps.
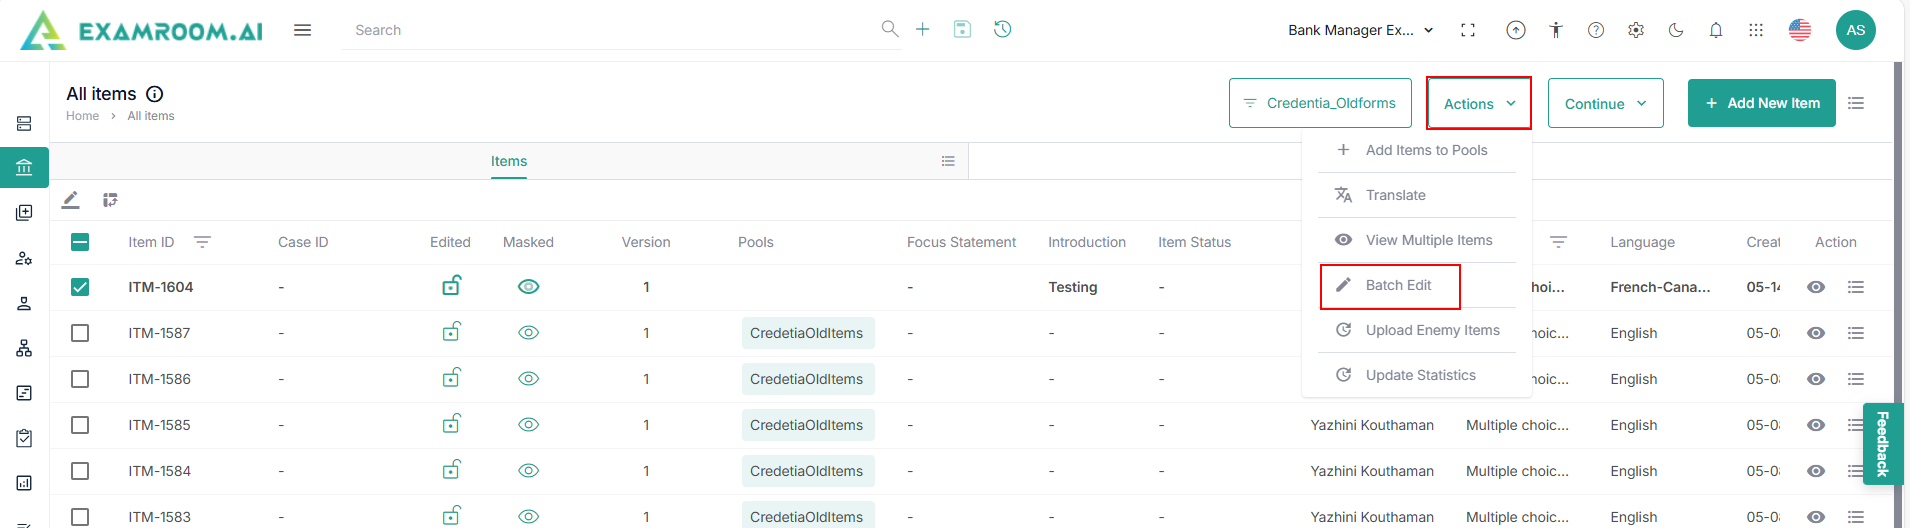
- Select Items from the list.
- Click Batch Edit under the Action dropdown menu.
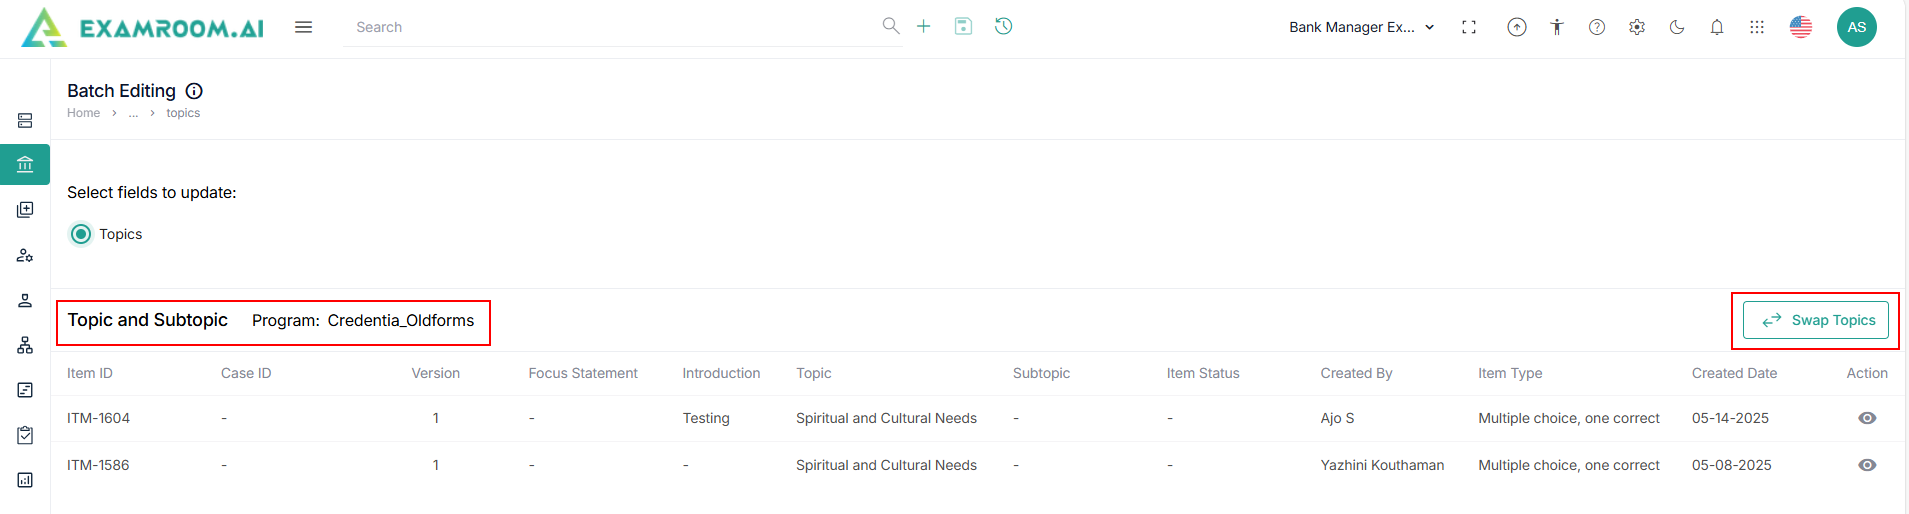
- View the Batch Editing page with Topic and Subtopic of the selected program.
- Click Swap Topics to swap the topic.
- Click Swap all Topics or Swap Specific Topics radio buttons.
- Select From Topics and Subtopics from the dropdown.
- Select To Topics and Subtopics from the dropdown.
- Click Submit to swap the topic
Upload Enemy Item
To upload enemy items, follow these steps.
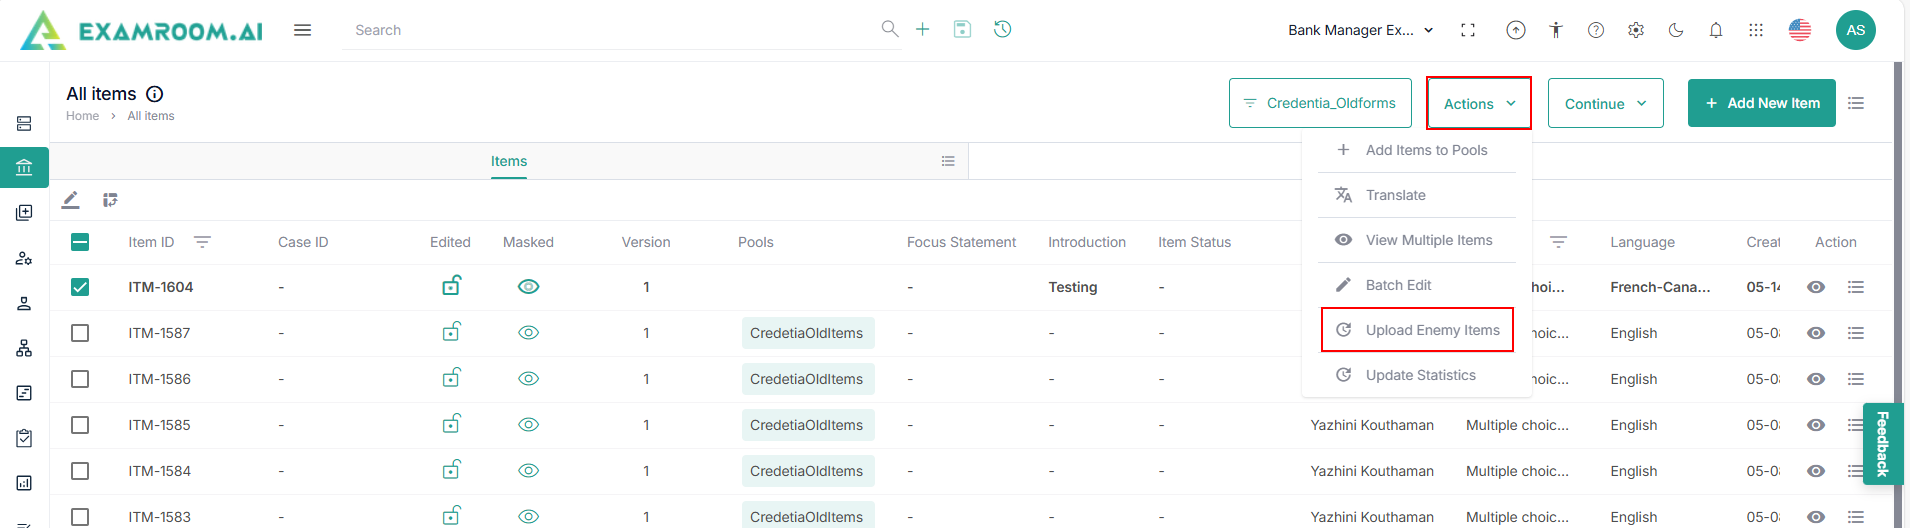
- Select Items from the list.
- Click Upload Enemy Items under the Action dropdown menu.
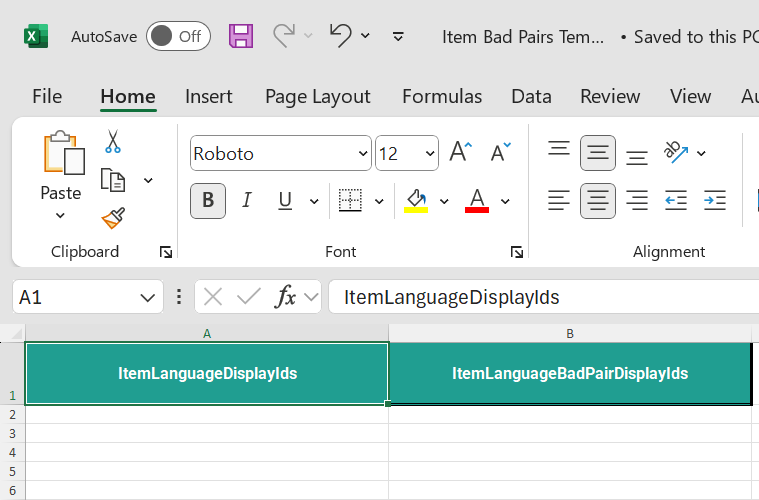
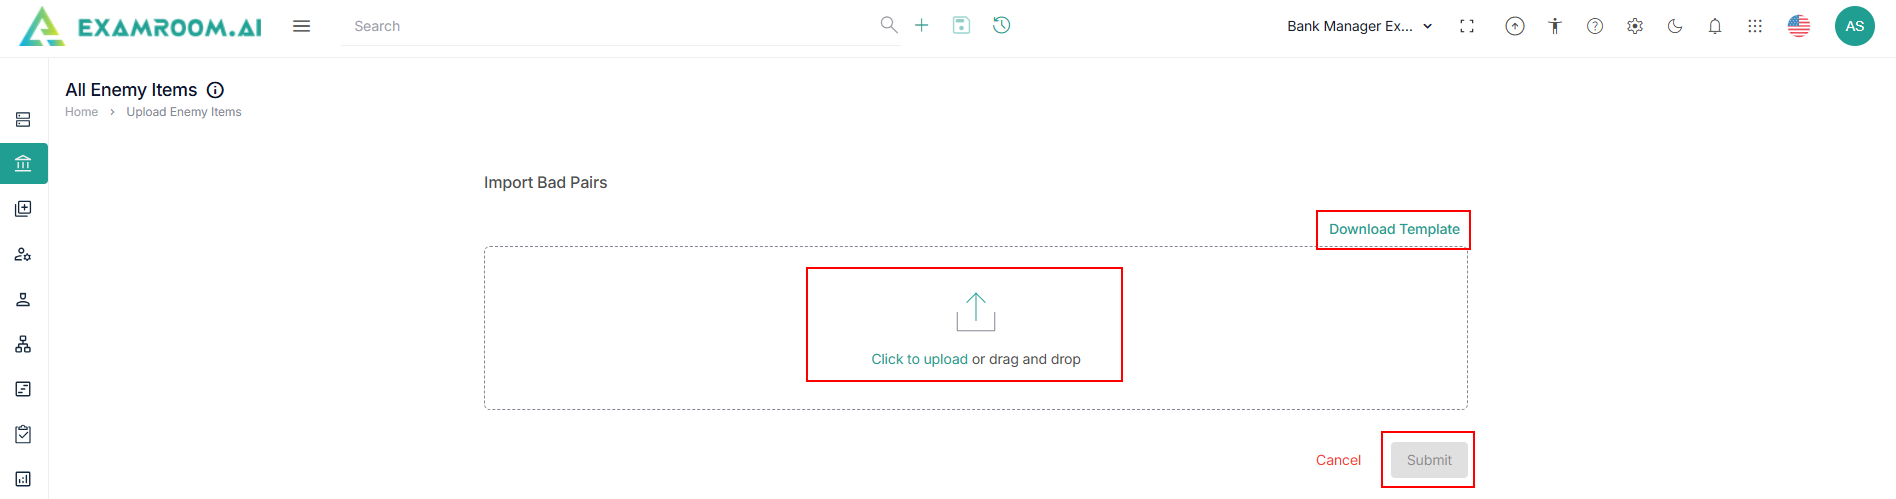
- Download the template to provide the required information in the respective columns.
- Click to Upload or Drag and Drop the Excel template file and click Submit to add enemy item in bulk.
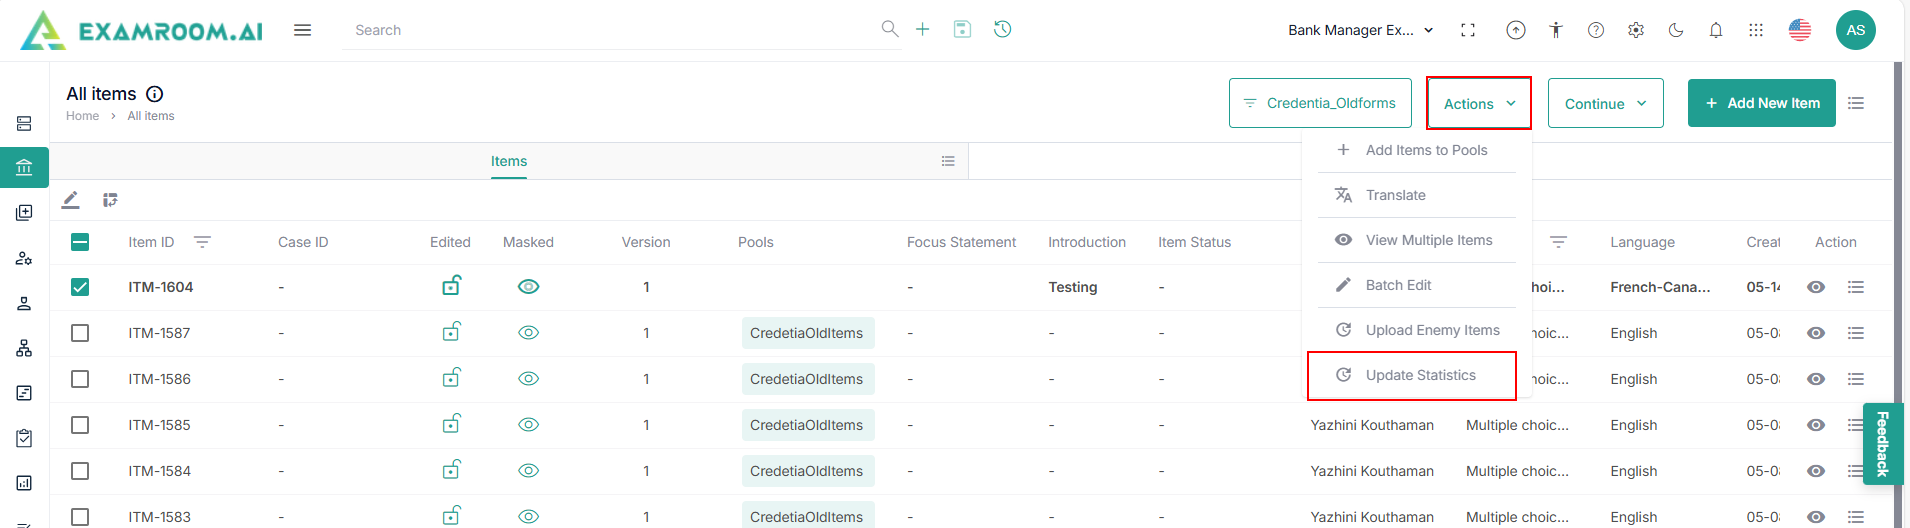
Update Statistics
To update statistics of the items, follow these steps.
- Select Items from the list.
- Click Update Statistics under the Action dropdown menu.
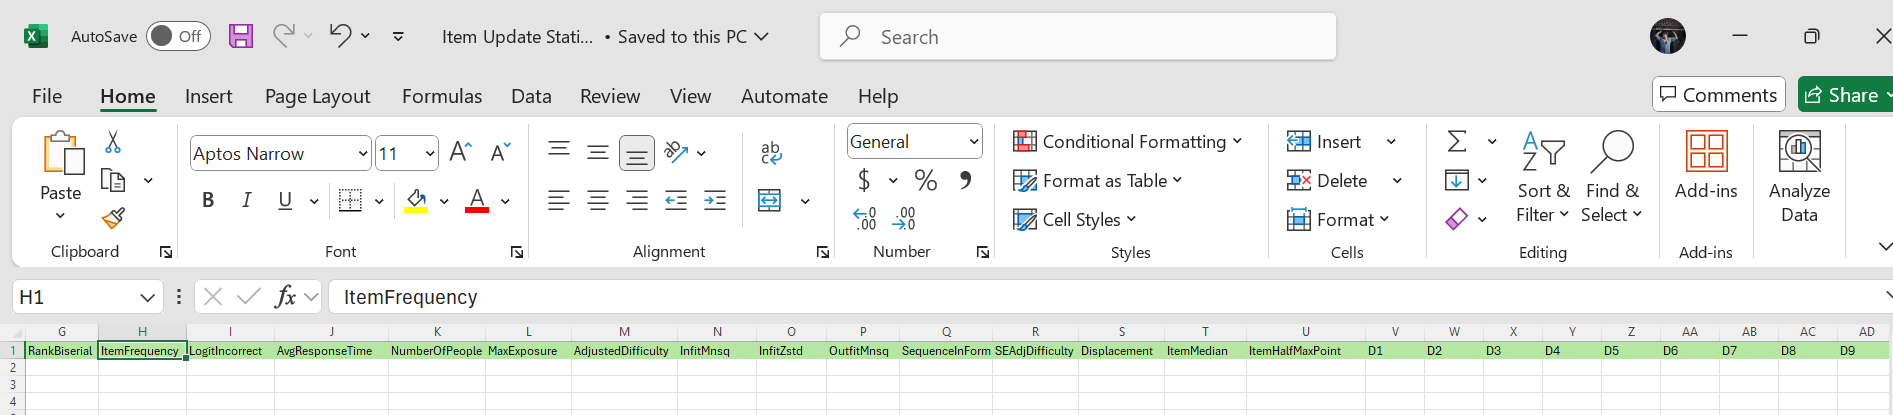
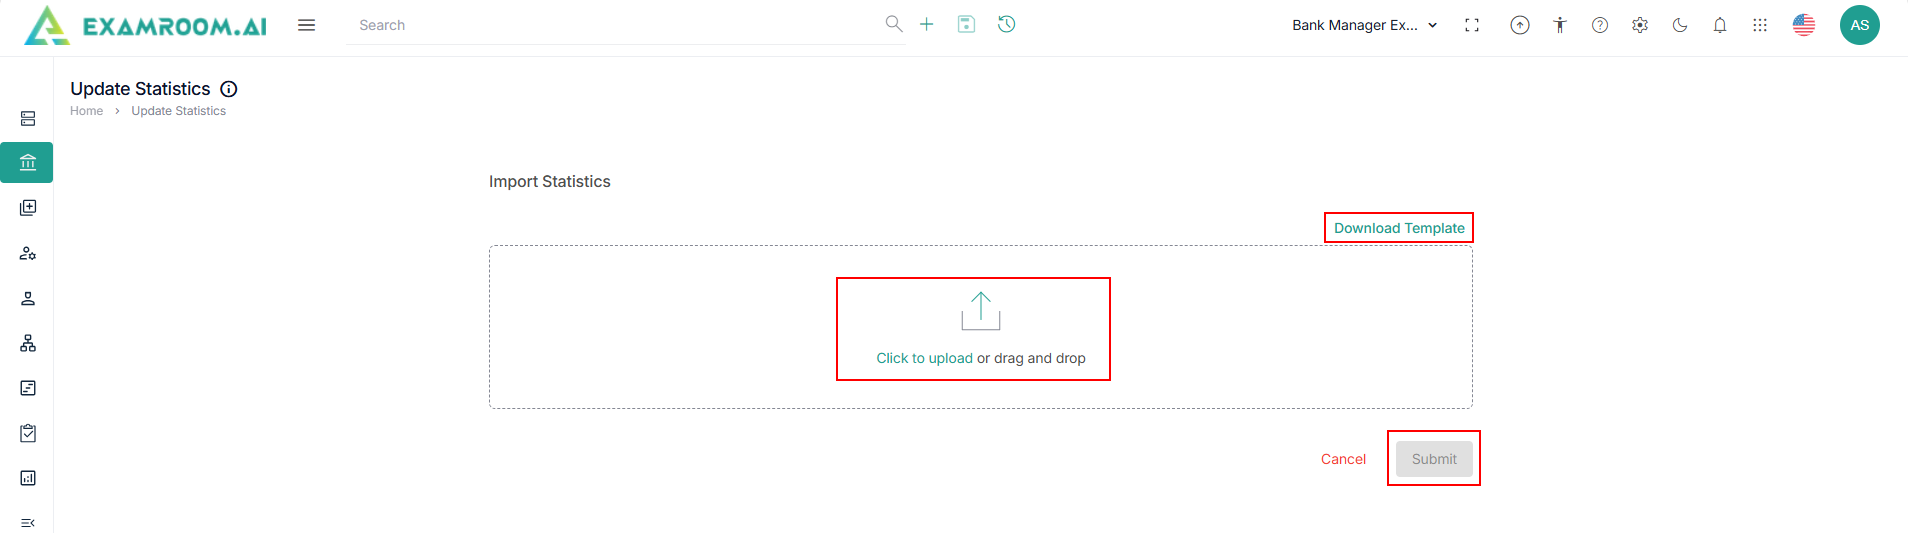
- Download the template to provide the required information in the respective columns.
- Click to Upload or Drag and Drop the Excel template file and click Submit to add enemy item in bulk.