Pools
Pools are different levels to verify an item.
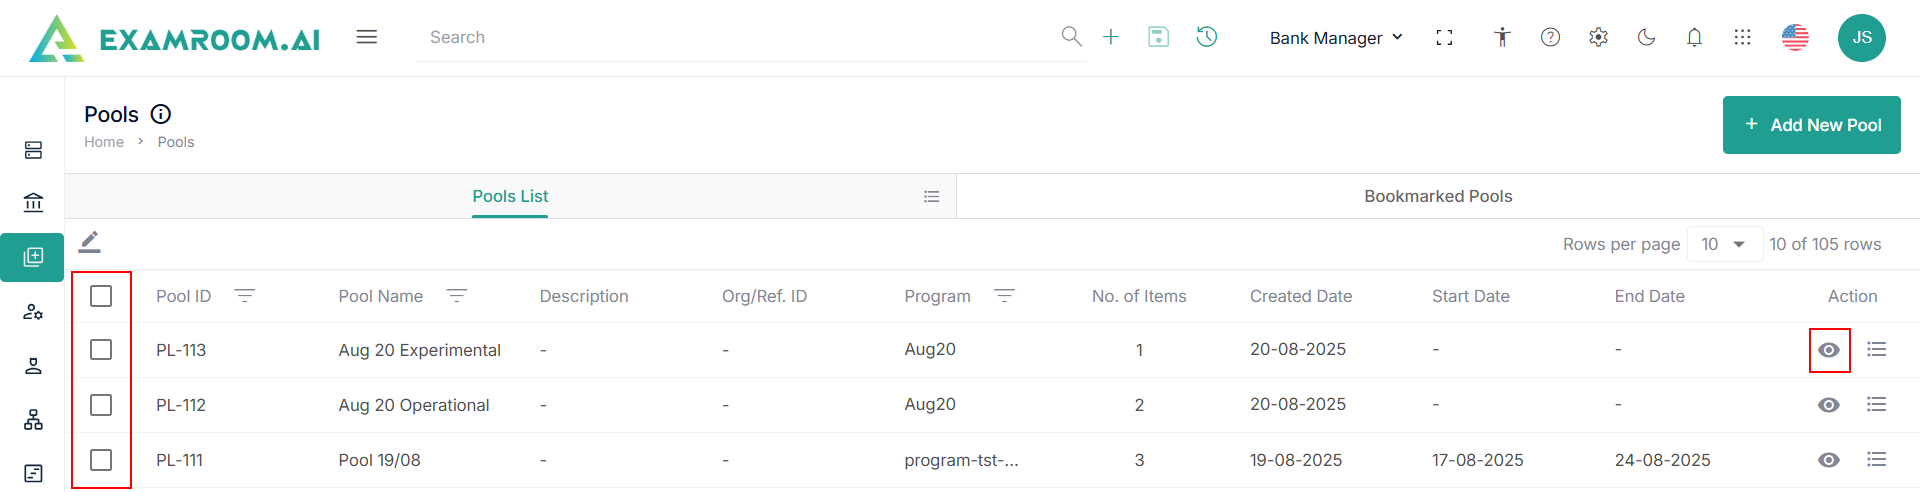
- Navigate to the left navigation menu and select Pools.
- The application displays the Pools in the table view comprising of the Pools List and Bookmarked Pools.

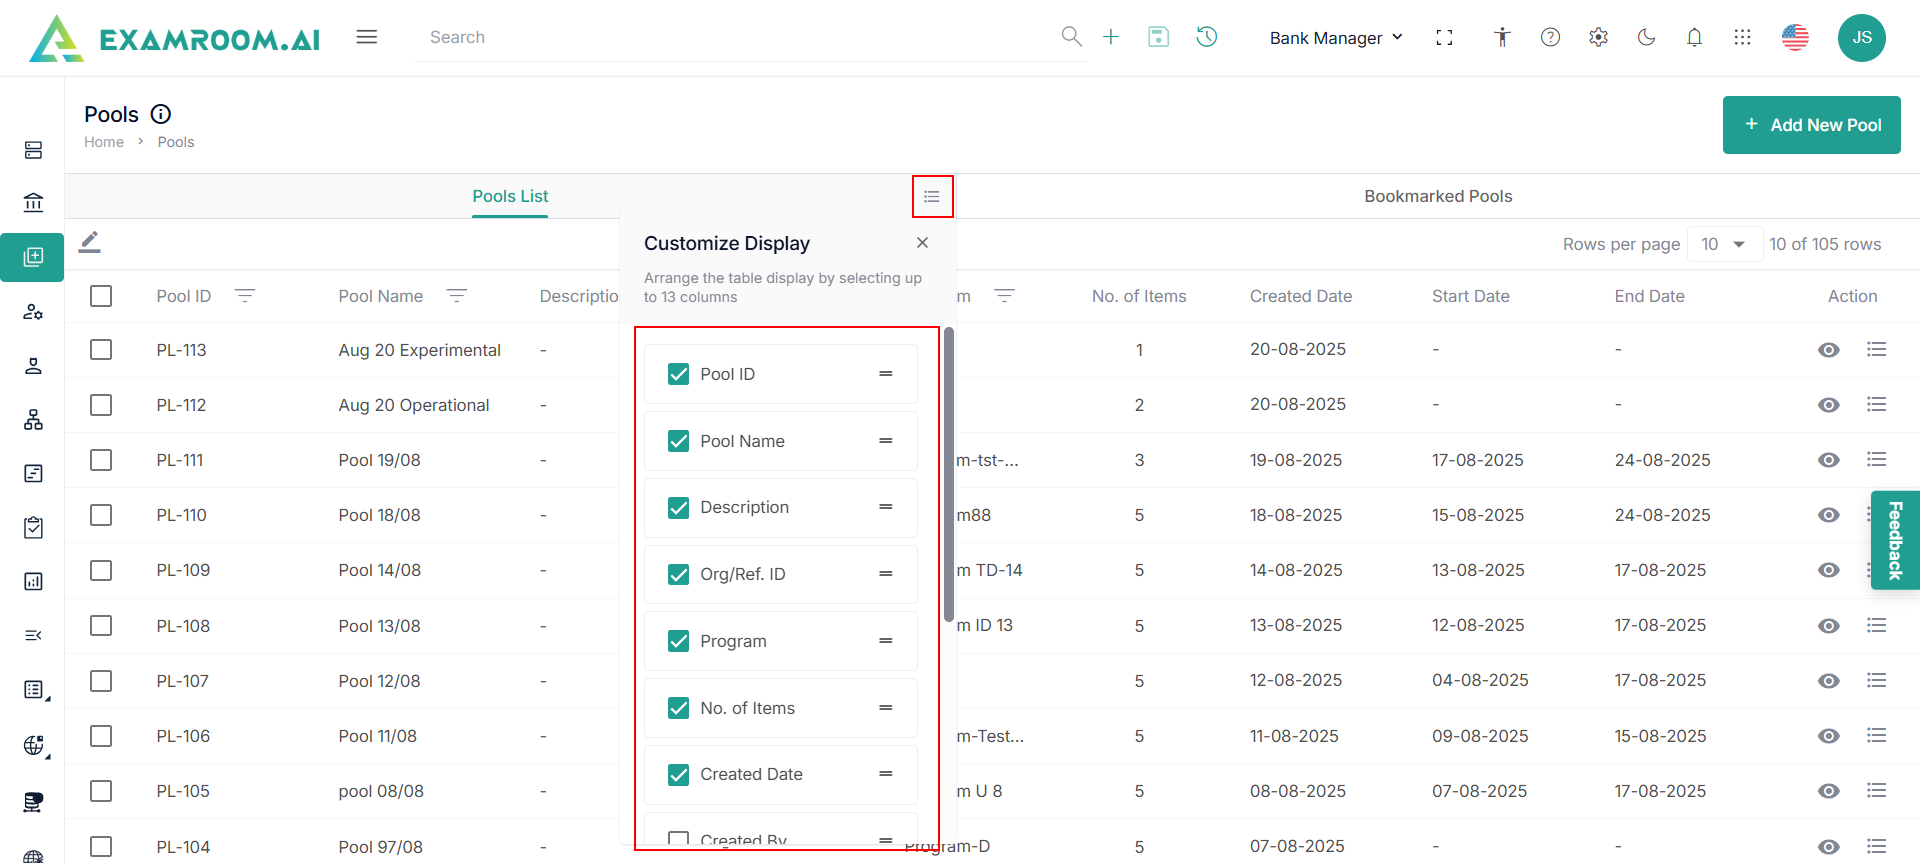
Customize Pools header
- Click the Hamburger Menu at the right of Pool, to view the Customize Display of the tab columns/headers.
Note: Rearrange any of the table headers to display specific column information as required. - The following are the table headers:
- Pool ID: Unique ID generated when a pool is created.
- Pool Name: Pool name of the pool ID created.
- Description: A short description of the pool.
- Org/Ref. ID: Organization or reference id is an alternate ID.
- No. of Items: View the number of items in the pool.
- Created Date: Date when the pool was created.\
- Start Date: Date when the pool starts.
- End Date: Date when the pool ends.
- Action: A choice of Edit, Clone and Edit, Bookmark and Delete.
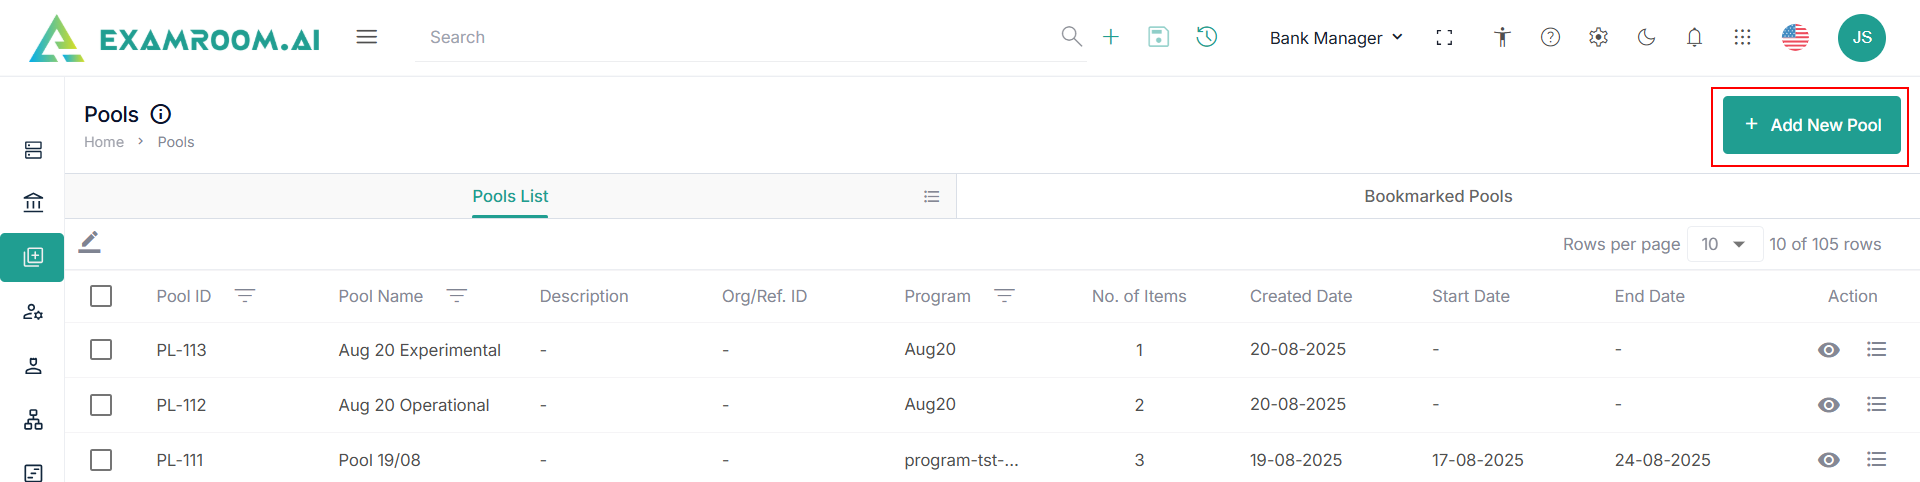
Add New Pool
To add a new pool, perform these steps.
- Click Add New Pool.
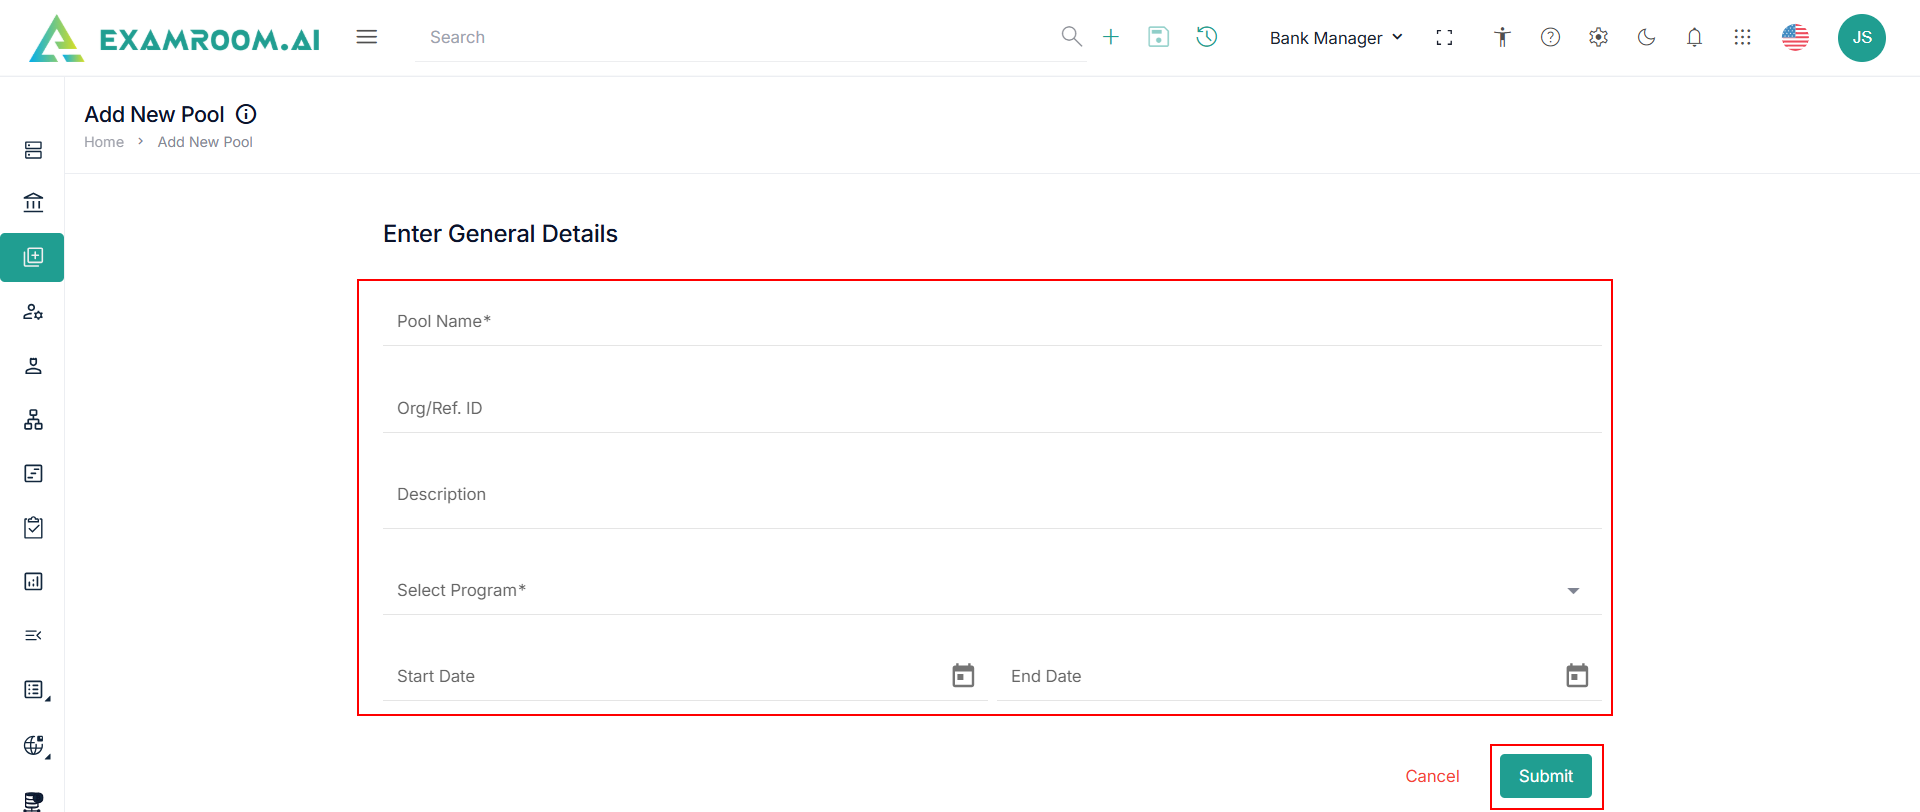
- Enter the following general details in the Add New Pool page.
- Enter the Pool Name, Org/Ref ID, and Description.
- Select the Start and End Date.
- Click Submit to add a new pool.
Mask and Unmask Items from the Pool
To mask items from the pool, follow the below steps:
- In the Pools List tab, select the pool you want to mask.
- Under Actions, click the View icon to open the View Pool Page.
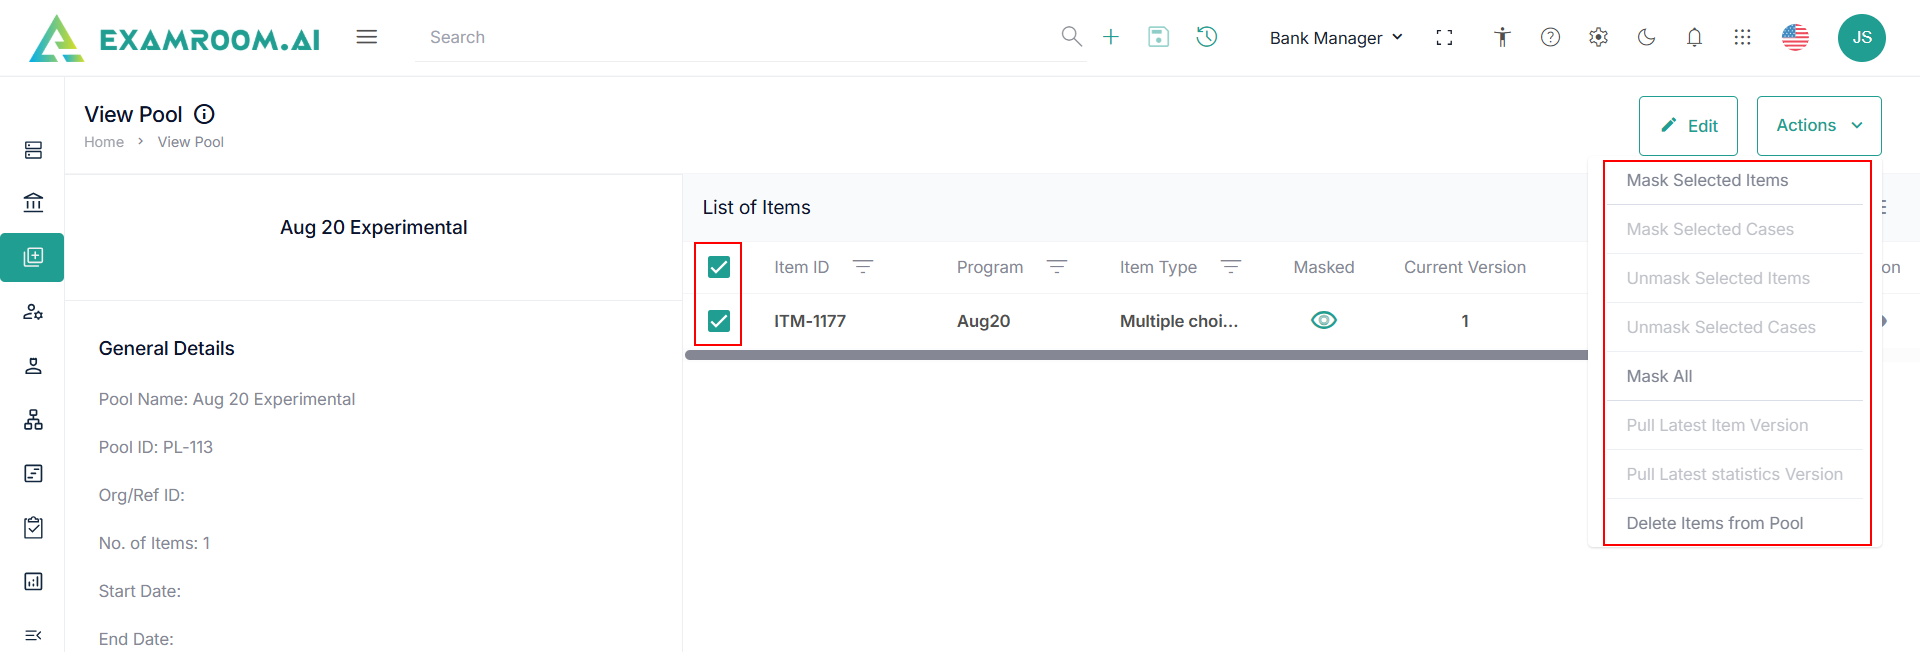
- On the View Pool Page, choose/select an item or multiple items you want to mask from the list.
- You can also use the Pool ID or Name filter option to search and find the items from the list, click the Filter icon, enter the Pool ID or Pool Name, and click Apply to find.
- To remove the applied filter, click the Filter icon again to remove the added Pool ID or Name and click Apply.
- On the top right corner of the page, you will be able to see the two options: Edit icon and Action icon.
- Click checkboxes to select the items from the pool.
- Under Action, view the following option.
- Mask Selected Item: Click this option to mask the currently selected item in the pool.
- Mask Selected Cases: If you have a case selected in the pool, click this option to mask the selected cases.
- Unmask Selected Item: If an item is already masked, select it and click this option to unmask the item.
- Mask Selected Cases: If a case is currently masked in the pool, select the case and click this option to unmask the selected case(s).
- Mask All: Click this option to mask all selected items in the pool at once.
- Pull Latest Item Version: Click here to retrieve and create a new version of the selected item.
- Delete Item from Pool: Click this option to remove the selected items from the pool permanently.
- Click the Mask Selected Items option.
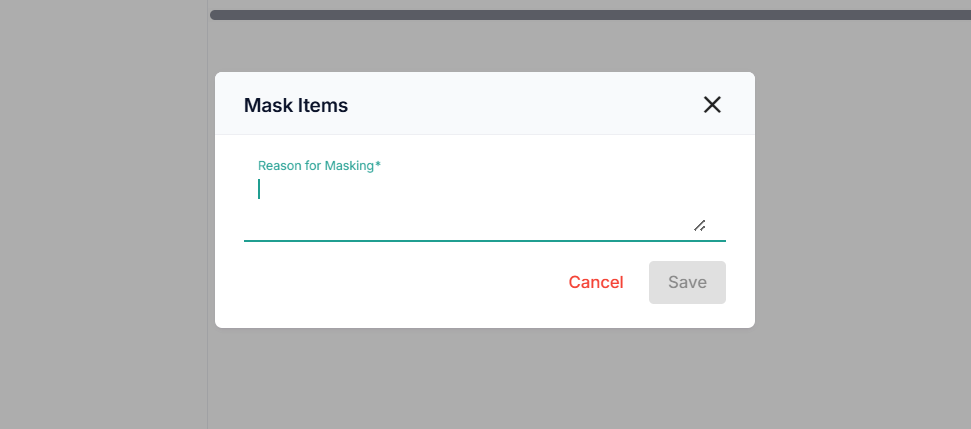
- A pop-up will appear for mask items and enter the Reason for Masking.
- Click the Save button to mask the selected item and a toaster message will appear, letting you know the selected item is successfully saved. (OR)
- Click Cancel to exit without saving.
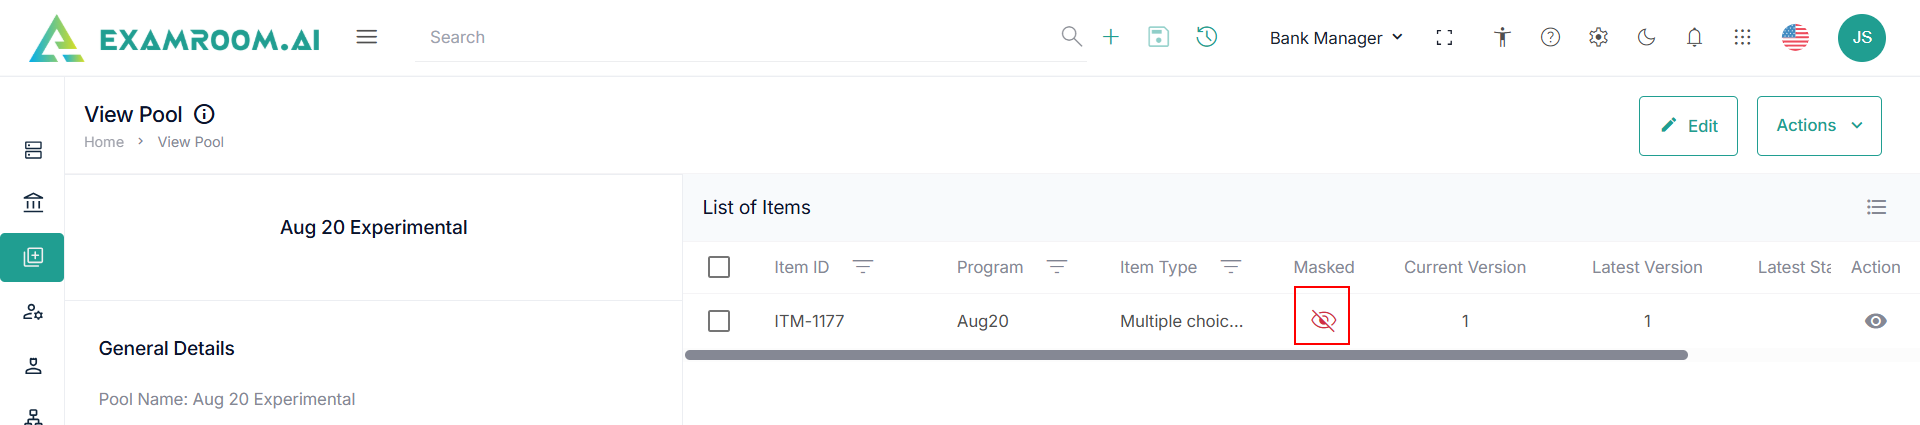
Note: The masked or unmasked status of an item can be viewed on the View Pool page.