Item Frameworks
You can personalize the item creation page by utilizing the item framework.
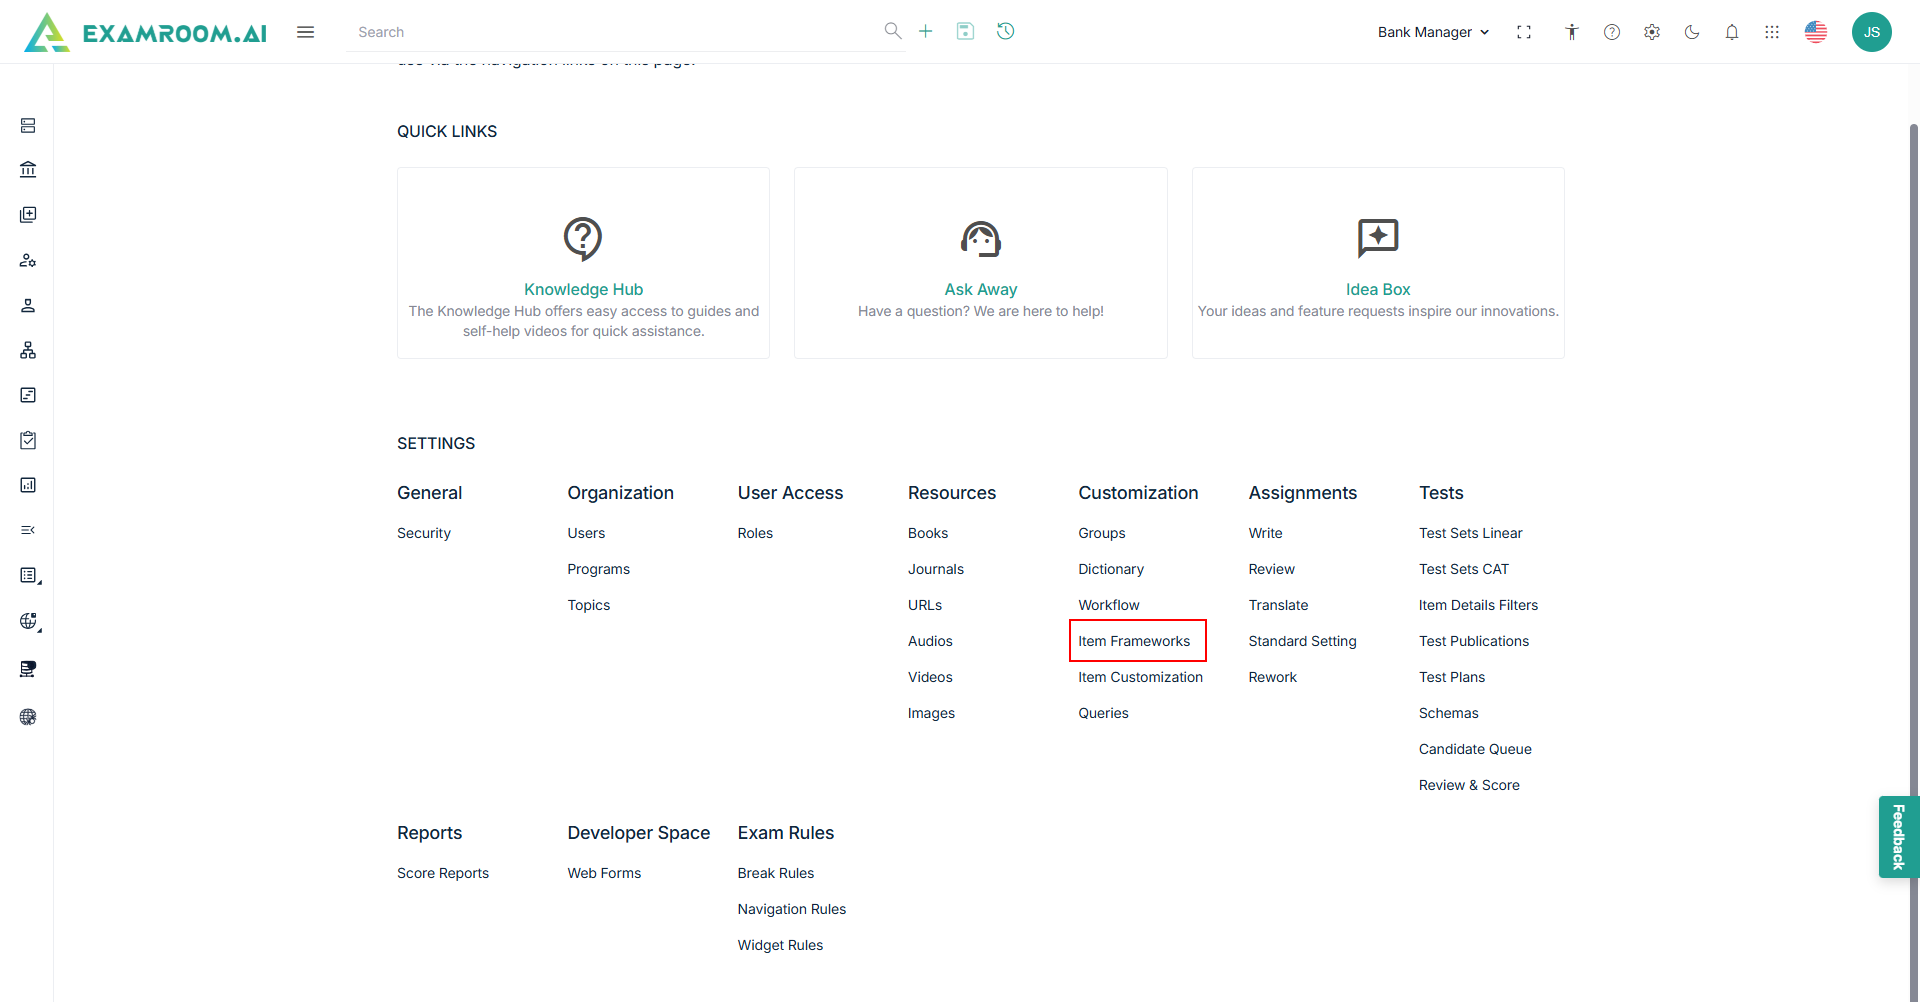
- Click the Settings icon and navigate through settings popup.
- Click Item Frameworks under Customization section.
- The Item Framework page is displayed with All Frameworks and Bookmark.
- Click the Hamburger Menu at the right of All Frameworks, to view the Customize Display of the tab columns/headers.
Note: Rearrange any of the table headers to display specific column information as required. - The following are the table headers:
- Framework ID: Unique ID generated when a framework is created.
- Framework Name: framework name of the framework ID created.
- Programs: Name of the program.
- Description: A short description of the framework.
- User Role: The name of the user role.
- Created By: Name of the person who created the item group.
- Created Date: Date when the item group was created.
- Action: A choice to Edit Group and Bookmark.
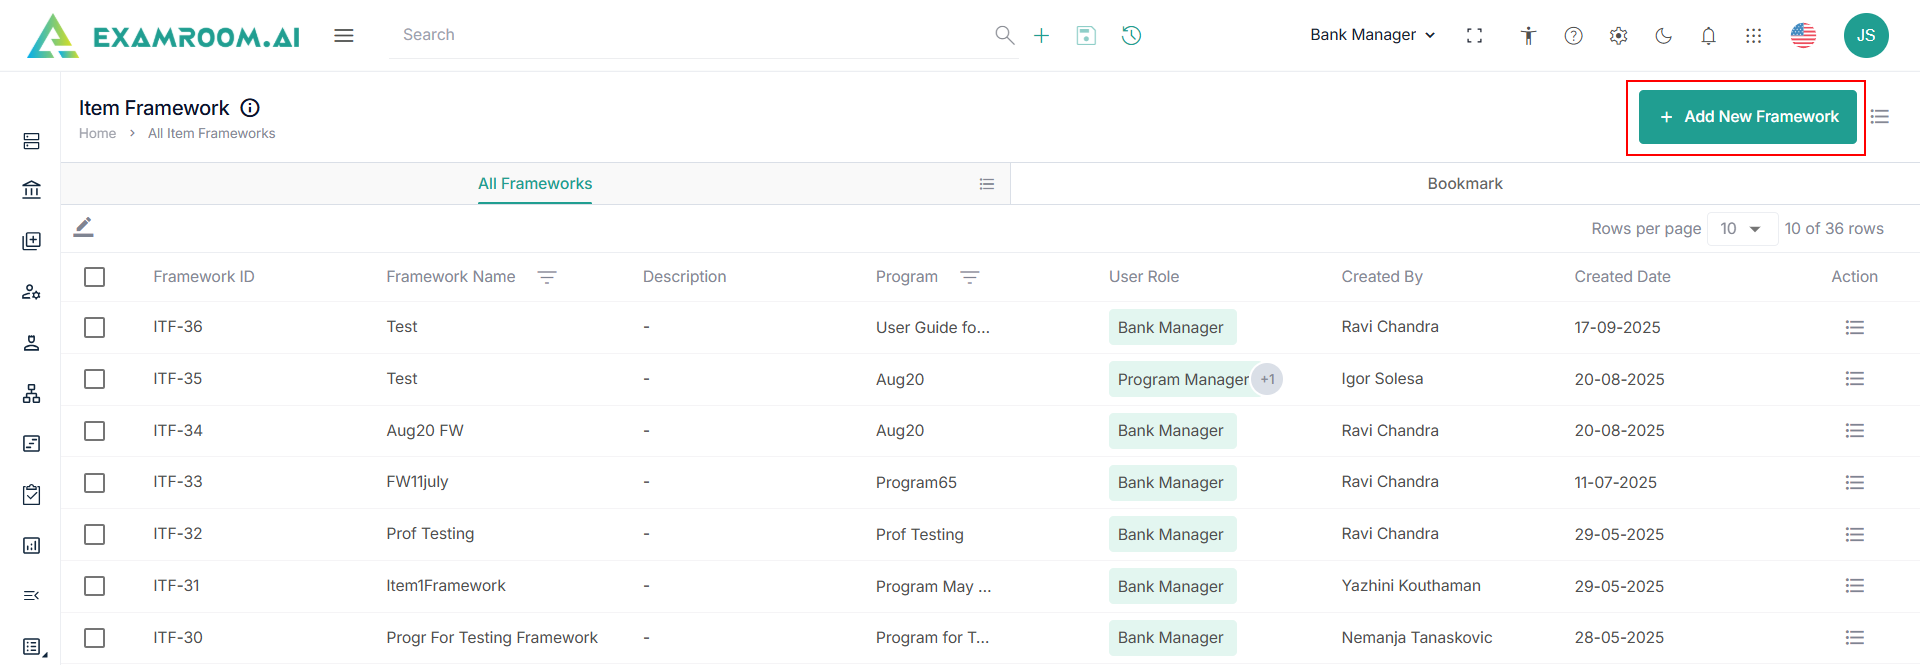

Add New Framework
To add a new framework, follow these steps.
- Click Add New Framework.
- Enter the following details in the General Details section.
- Enter the Framework Name and Org/Ref ID.
- Select the Program and Roles from the dropdown list.
- Enter the Description and click Next.
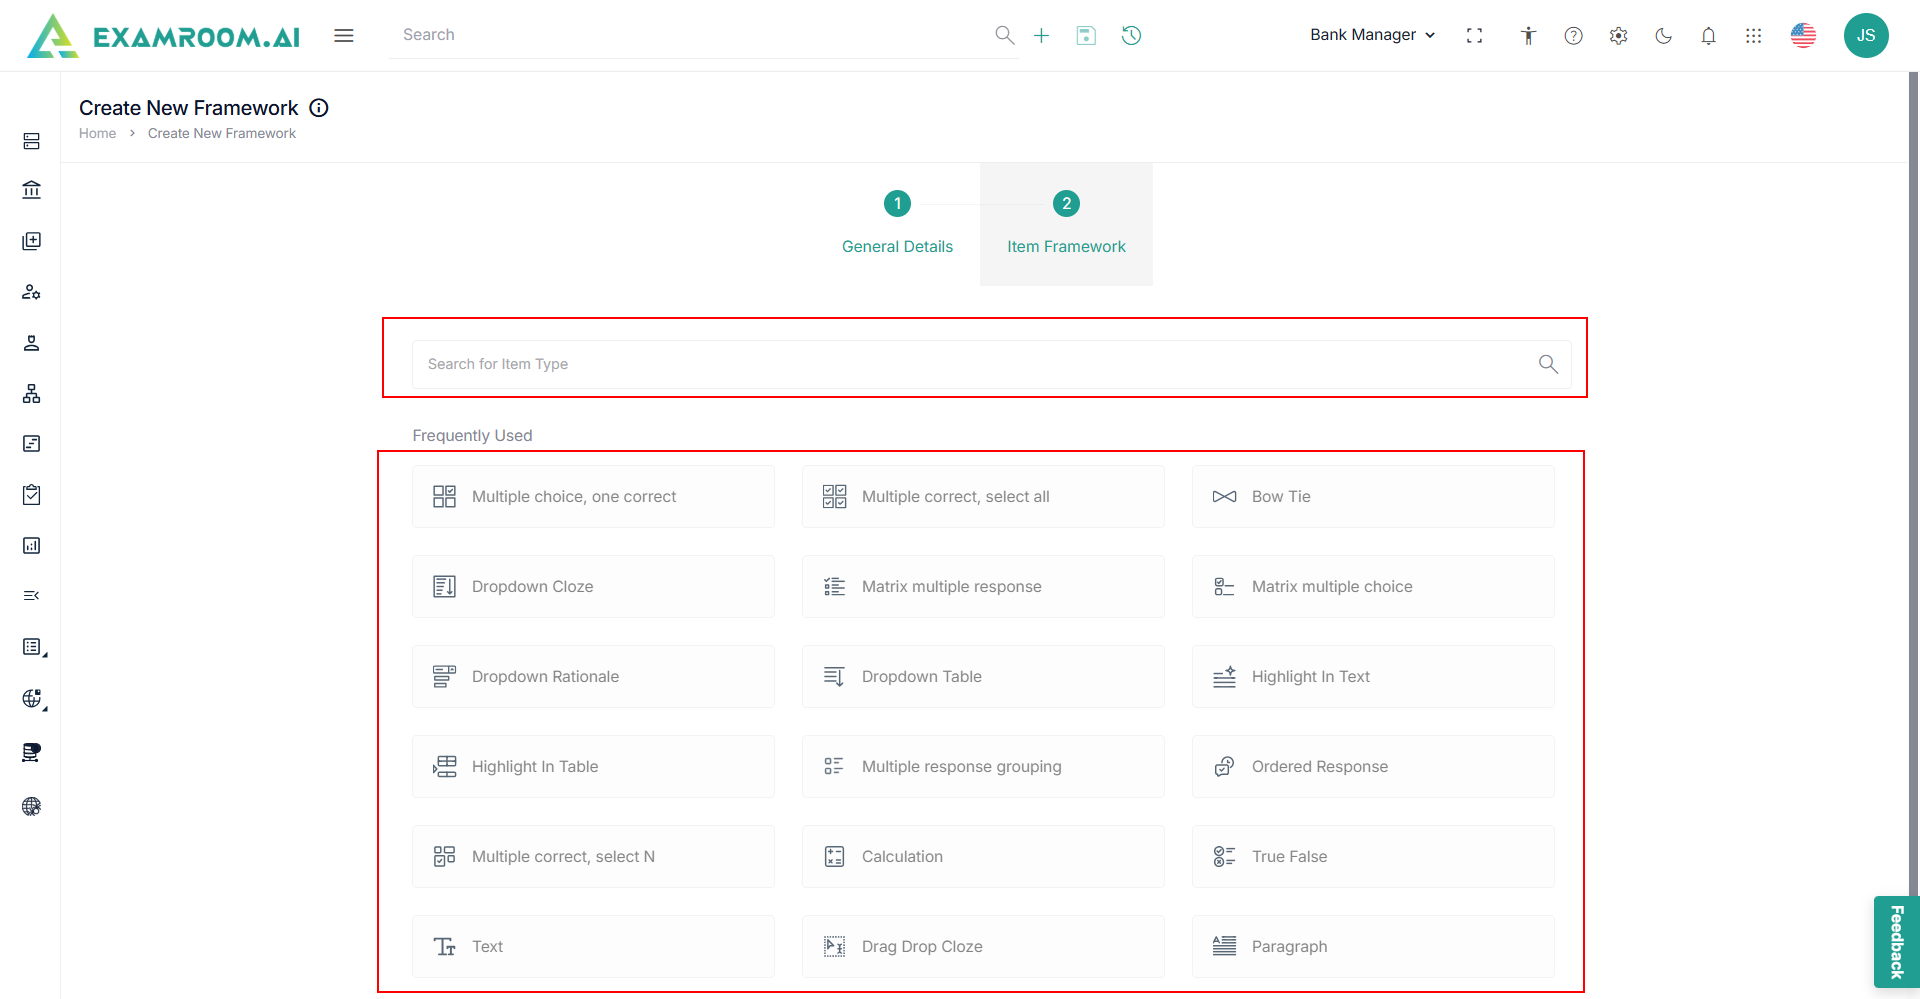
- Under the Item Framework section, view the item types.
- Search for Item Type or click any of the Frequently Used Items.
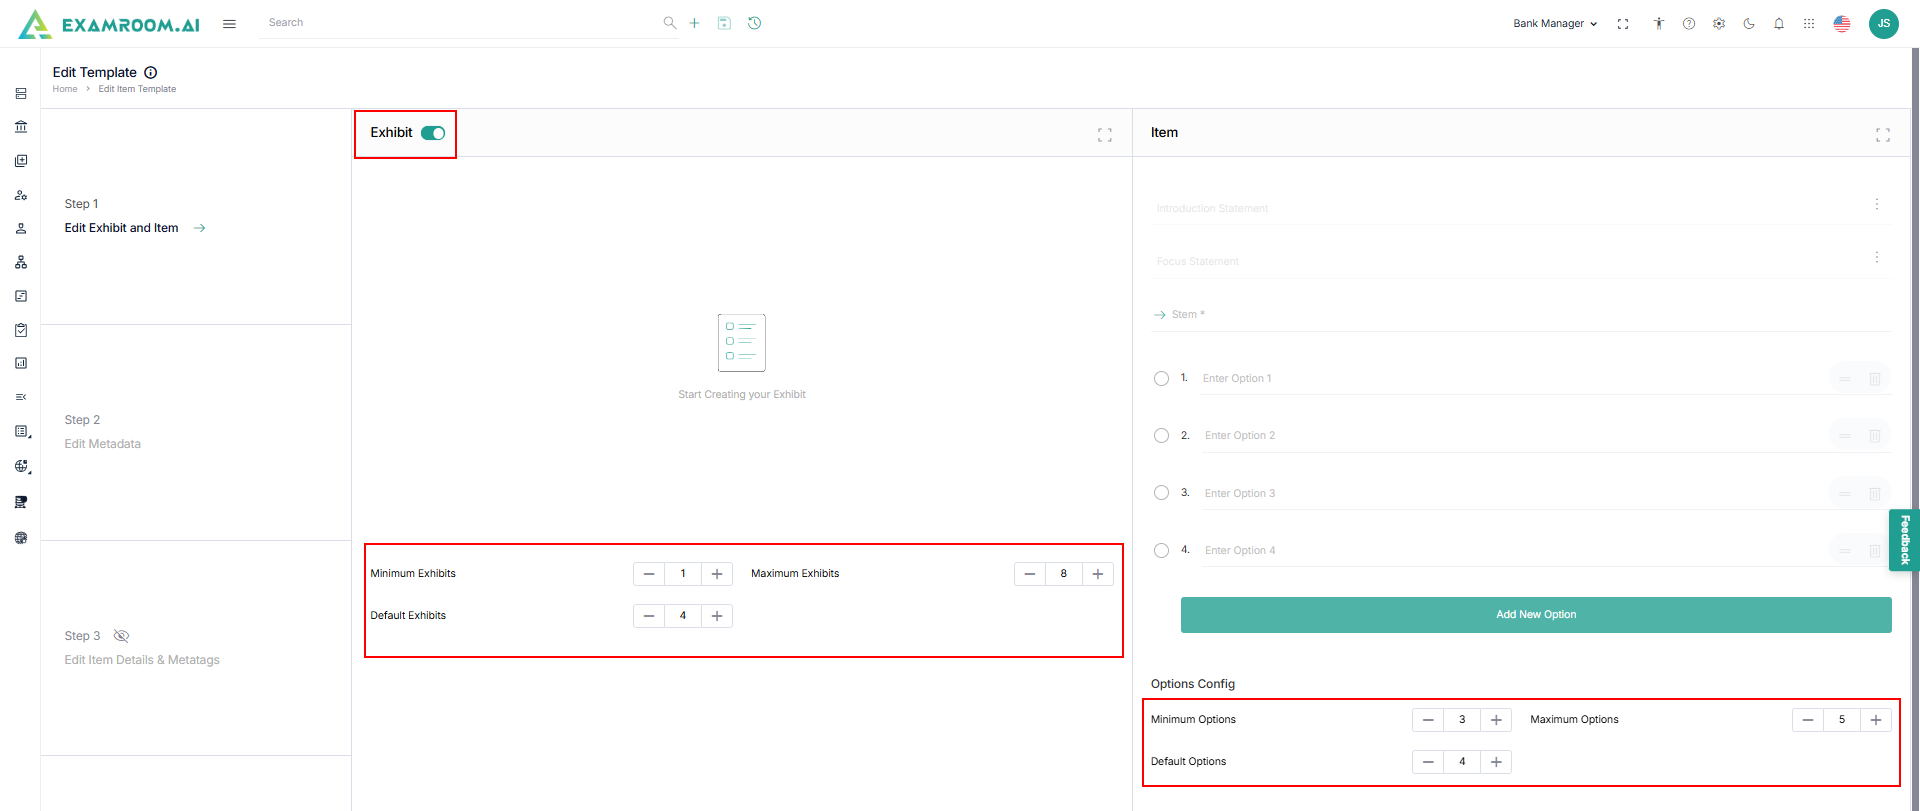
- Click Step 1 - Create Exhibit and Items and provide information for:
- Click the Exhibit toggle button to enable the exhibit fields.
- Enter minimum and maximum exhibits number.
Note: When creating the item, you can include exhibits according to the number specified in the item framework. - Under option configuration, set the minimum and maximum exhibits options.
Note: The Add Another option is provided in item creation only if the number of exhibits is pre-set in the Item Framework module.
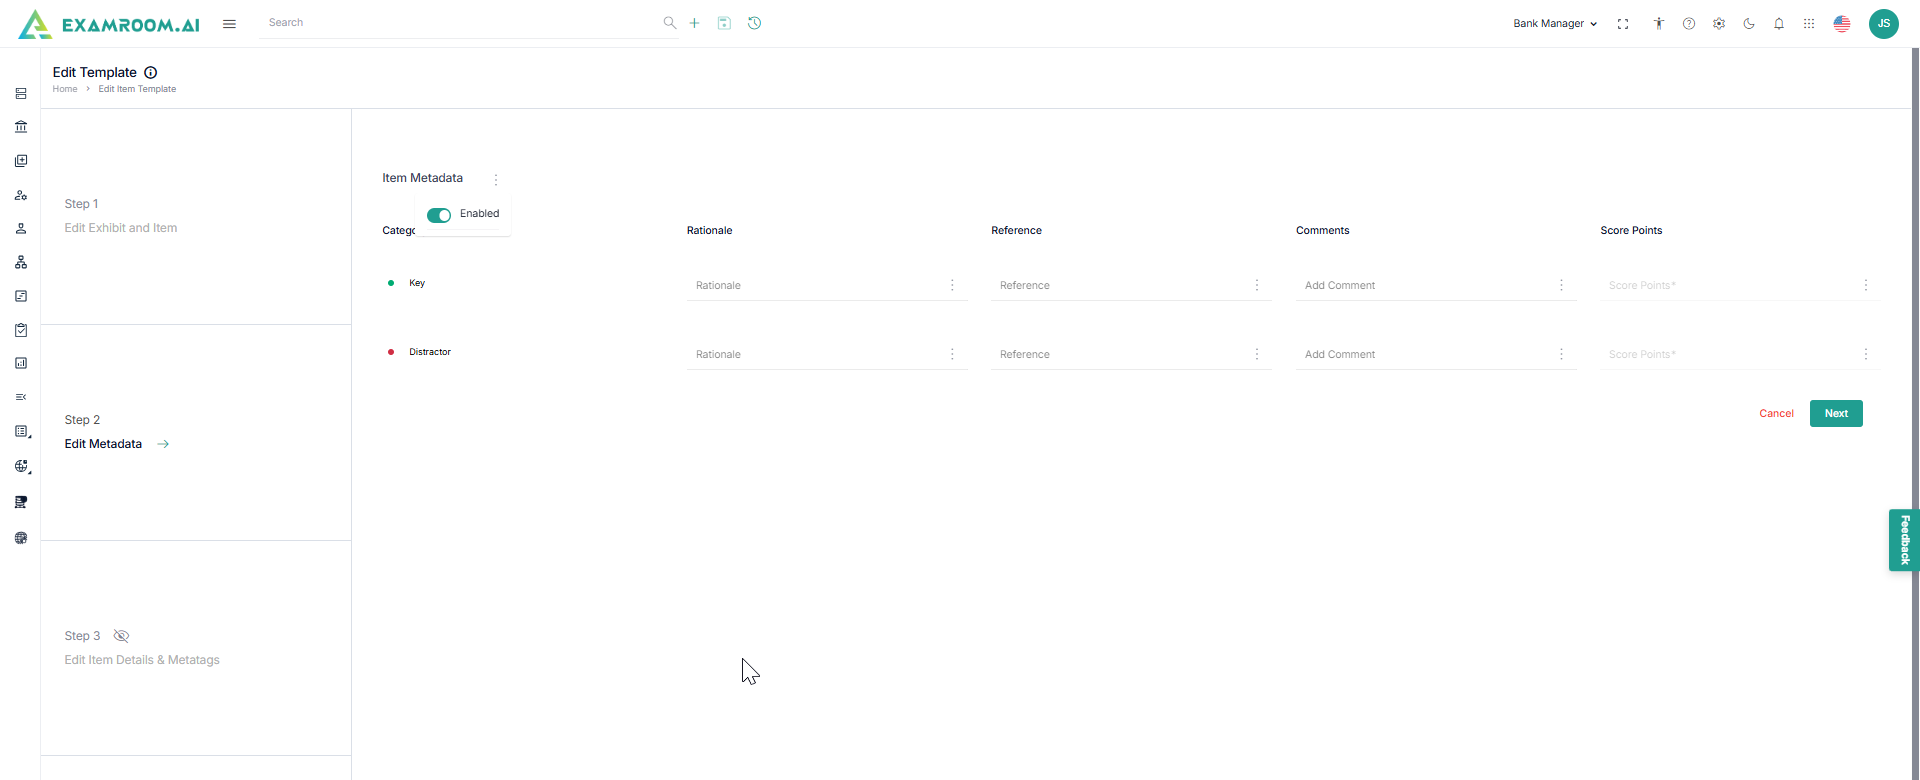
- Click Next or Step 2 – Edit Metadata.
- Enter the following information for Metadata:
- Click the Rationale toggle button to add more detailed information for each answer option.
- Click the Reference toggle button to add from where answer is referred (book, journal, or URL’s).
- Click the Comments toggle button to enable optional comment left by internal SMEs for better communication on each item.
- Click the Score Points toggle button to enter score points for each answer option given.
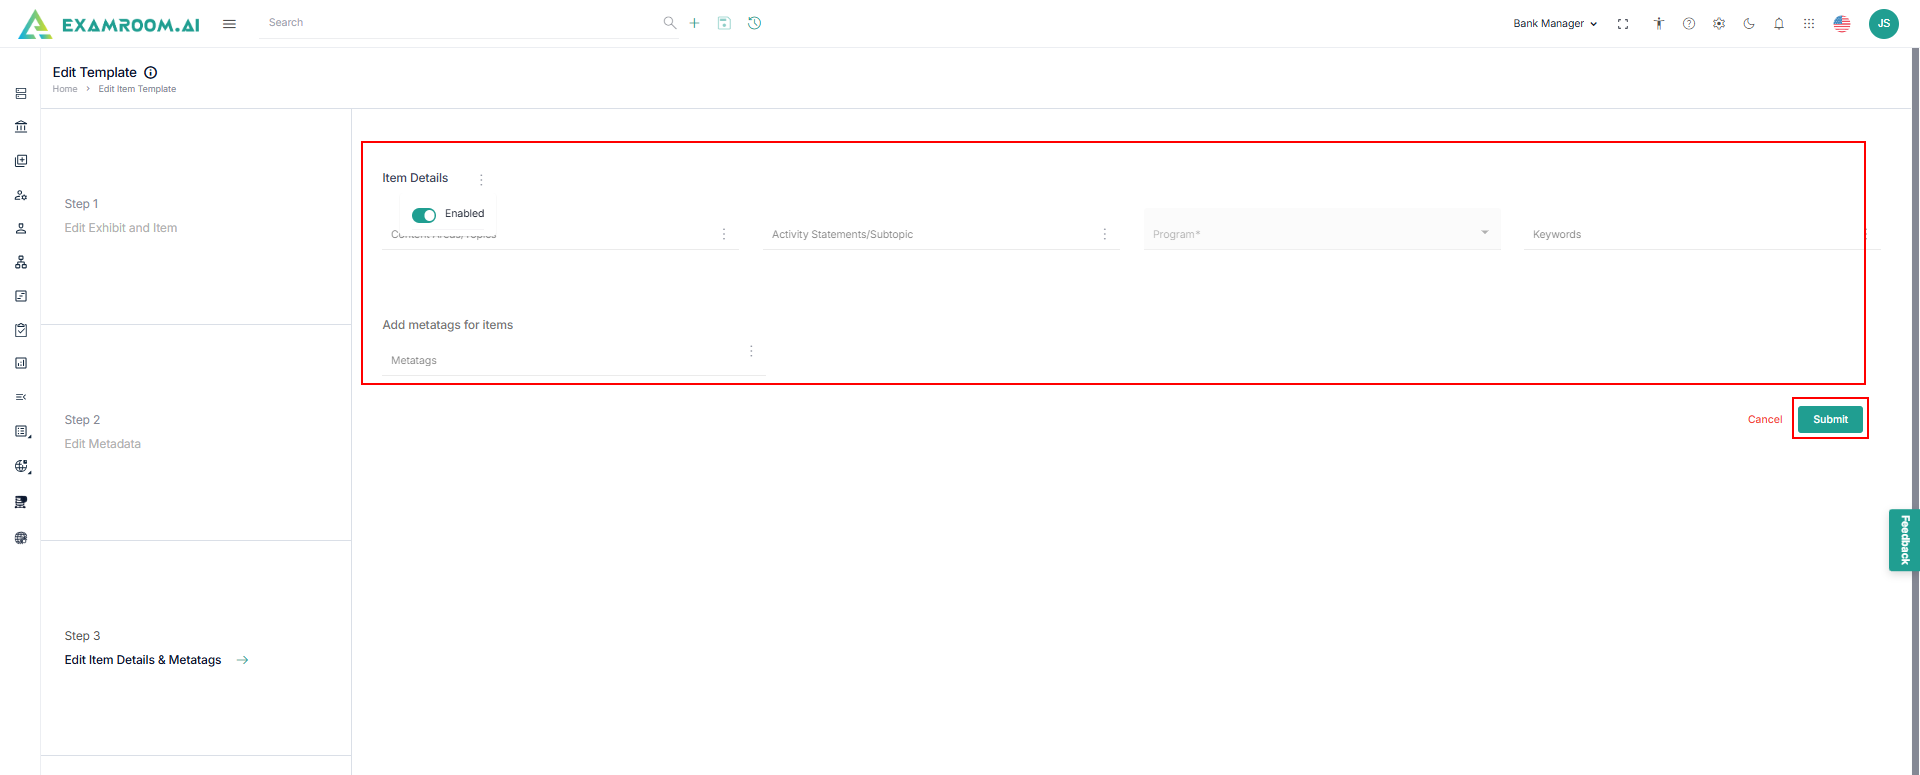
- Click Next or Step 3 – Edit Item Details & Metatags.
- Click the Item Details toggle button to enable the following field or make the field as mandatory for the following information for Item Details and Edit Metatags for Items:
- Content Areas/Topic
- Activity Statements/Subtopics
- Program
- Keywords
- Add Metatags for items - Enter the tags that can define items further.
- Click Submit to set the item framework.